

I love robots. They have the potential to evolve into Asimovian destroyers of the human species, but have only just mastered the art of cleaning my rug. They have an ever increasing cool factor and a growing number of cheap and simple components that let the hobby roboticist reach for the burning miasmas of plasma. But to get to the stars, we need to start with the basics.
Today, we will learn how to use a simple H-bridge to change the direction of a DC motor. The H bridge circuit is in every RC and robotic motor from birthday toy cars to Geneva convention-defying drones.
Materials
- H bridge chip
- Arduino
- DC motor
- Wire
- Breadboard
- Button
- 9V battery
- 9V battery clip
Step 1: Theory
Okay, so why do we need an H bridge to go backwards? DC motors are simple beasts. Apply current one way and the motor spins. Switch the polarity of the wires around and the motor spins at the same speed, but in the opposite direction! Super cool, but we can't be desoldering and resoldering every time we want to change directions! The H bridge reverses the polarity going to the motors using transistors.
Basically, when you tell the Arduino it's time, it will activate the transistors in the H bridge and reverse the direction of the current flowing through the motor, thereby reversing the direction of the robot.
Below, you can see the series of switches surrounding the motor in an H bridge. Changing these connections changes the polarity and therefore the direction of the motors.
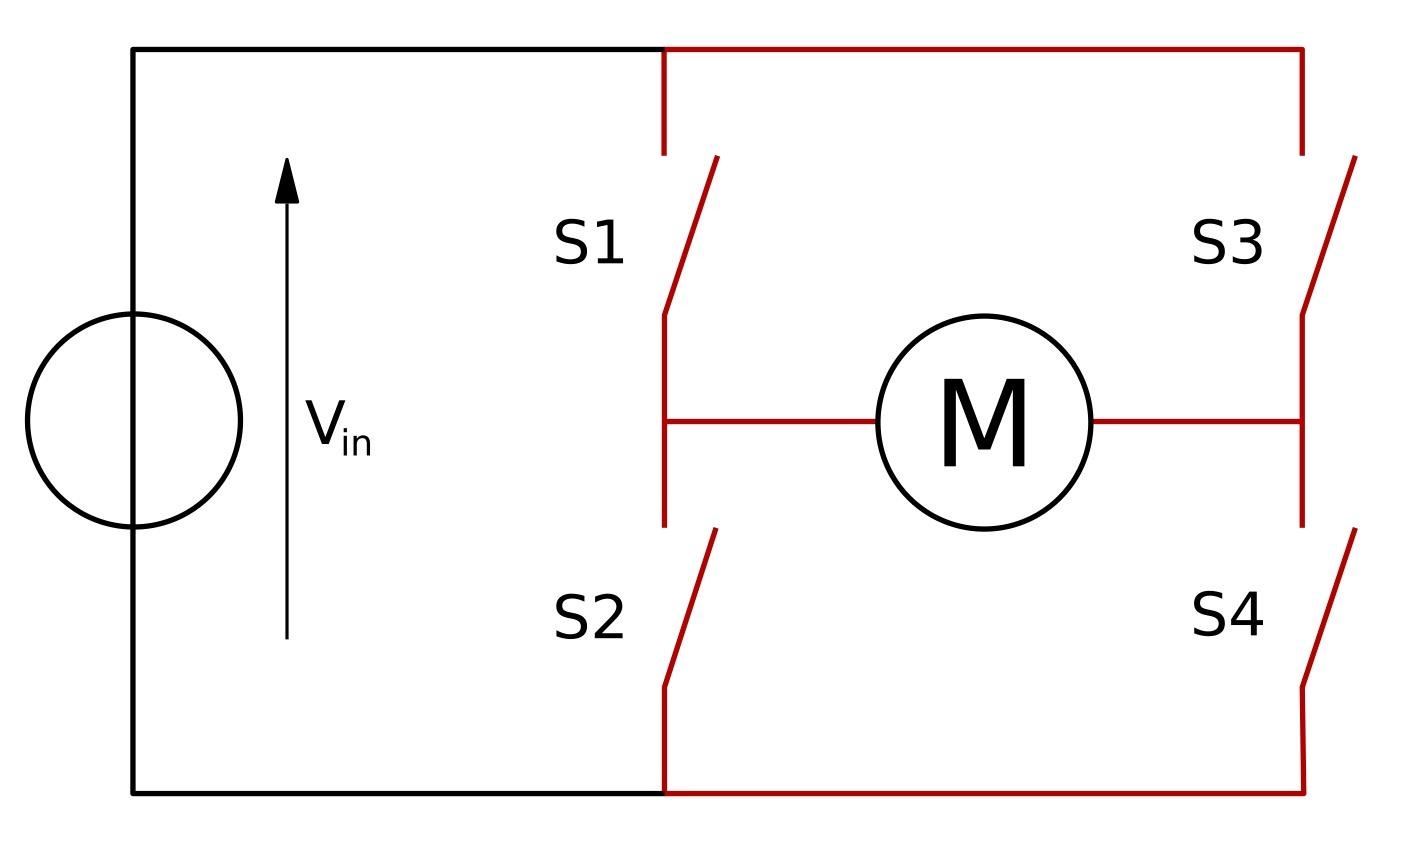
Image by Wikipedia
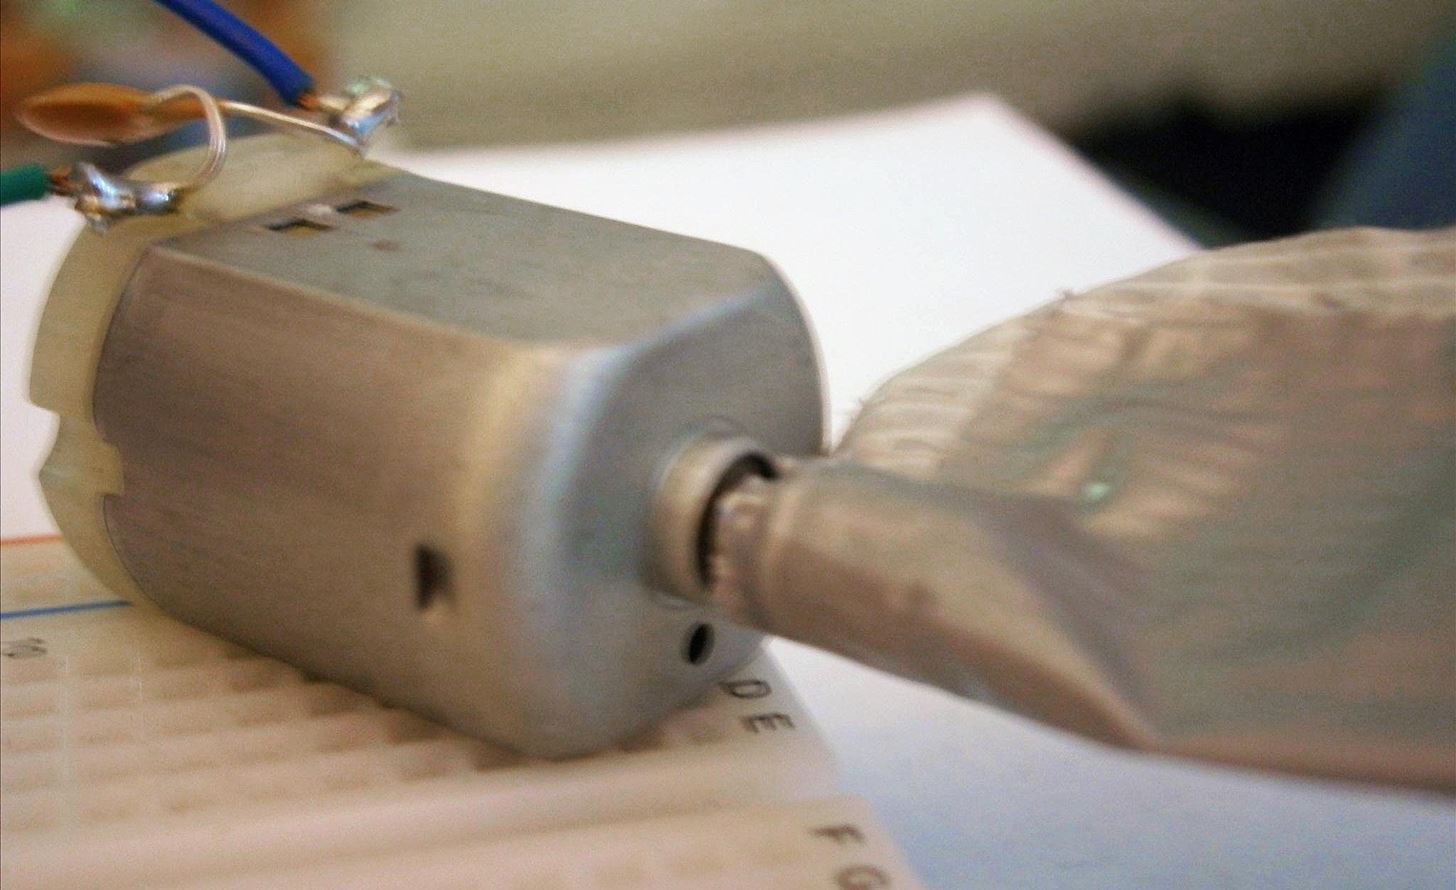
Below is a normal DC motor. You can find these in any old junk toy that has wheels and batteries. Just about anything electronic that moves uses a DC motor somewhere.
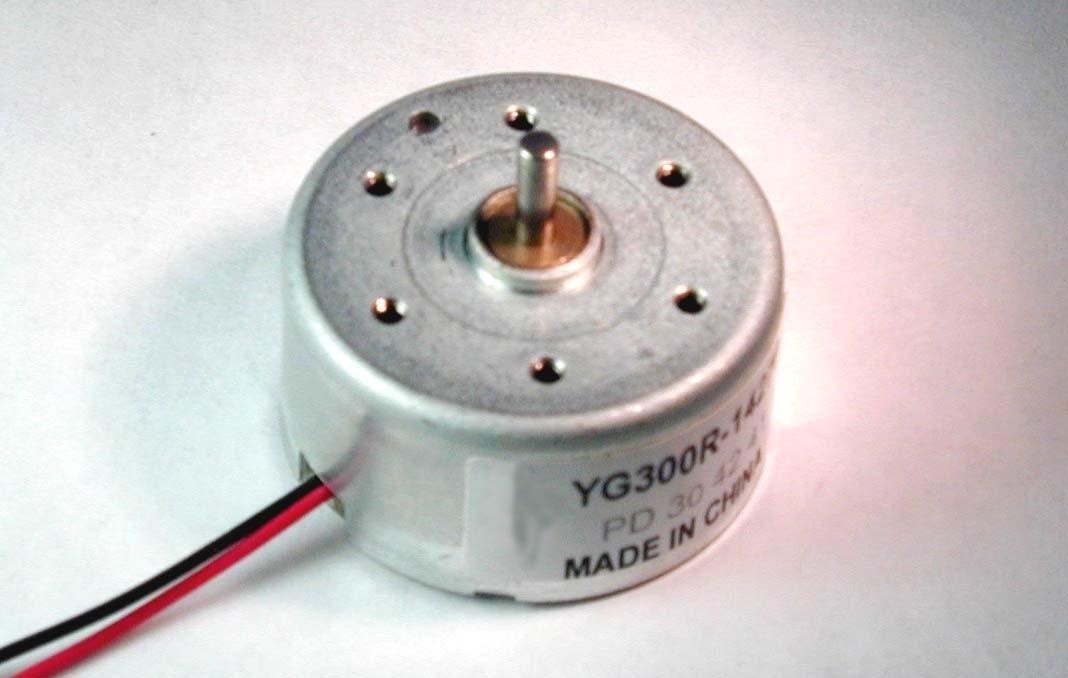
Image by Douglas Repetto
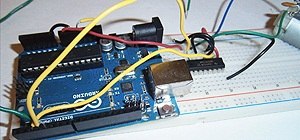
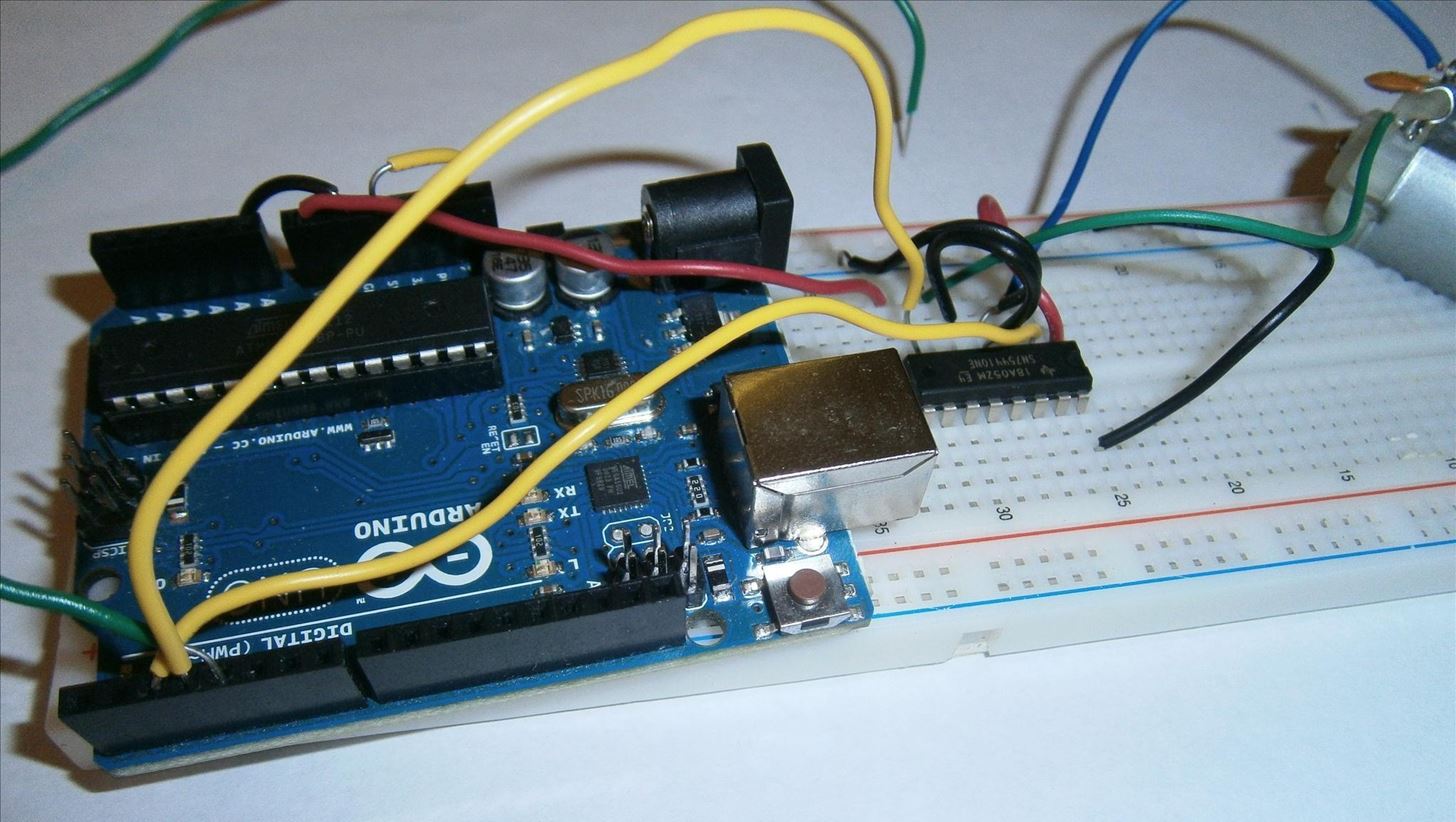
Step 2: The Circuit
We will be hooking up our H bridge to the Arduino so that the Arduino can tell the H bridge when to change the motor direction. Layout the circuit as shown below.
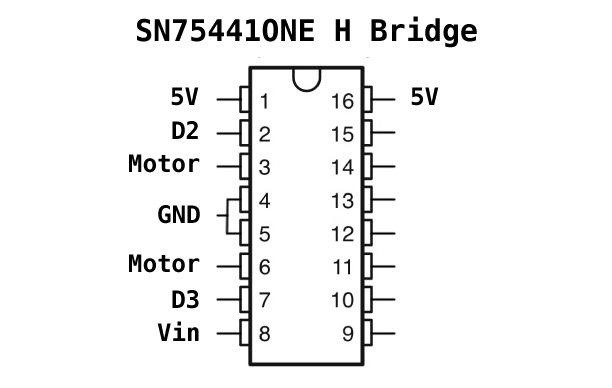
Above, the H bridge pins are shown. Pin 1 and 16 connect to the 5 volts coming from the Arduino. Pin 2 connects to Arduino pin 2. Pin 3 connects to one side of the motor (it doesn't matter which side). Pins 4 and 5 connect to ground. Pin 6 connects to the other side of the motor. Pin 7 connects to Arduino pin 3. And pin 8 connects to the Vin pin on the Arduino.
Afterwards, connect a wire from pin 4 on the Arduino and let the other end hang unconnected. This will be our direction control button. You can use a real button and add a pul-up or pul-down resistor if you like, but the wire will suffice for this demonstration.
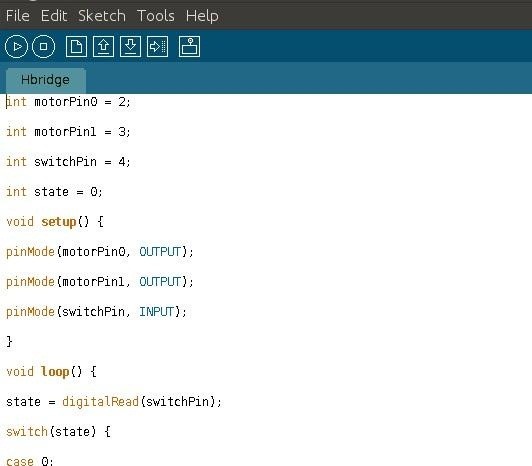
Step 3: Code
The code simply reads the state of the button pin and switches the polarity going to the motors. Download the code here and load it onto your Arduino.
Step 4: Test!
Once the code is loaded onto the Arduino, unplug the board from the computer and power the board using the 9 volt battery. The 9 volt battery brings voltage to the board that is then regulated at 5 volts for all Arduino pins. However, Vin is left unregulated and therefore outputs whatever voltage is plugged in. We will use Vin to power the H bridge as shown in the schematic. Motors usually need more voltage and current than an Arduino pin can provide.
If you are having trouble seeing which way your motors are turning, put a piece of tape on the motor shaft like this:
Step 5: Moon Rover?
Now that you can use an H bridge, it's time to design your own robot! What kinds of robots do you need at the office, around the house, or hiding in the alley? Let us know in the comments! I'm entertaining the notion of a tree climbing robot... or tree defending robot? As always, feel free to post questions in the forum or message me personally.
Just updated your iPhone? You'll find new emoji, enhanced security, podcast transcripts, Apple Cash virtual numbers, and other useful features. There are even new additions hidden within Safari. Find out what's new and changed on your iPhone with the iOS 17.4 update.


4 Comments
I like your post
thanks
I read wikipedia page about the H bridge that it can also can be use as a DC to AC inverter.
cool!
Share Your Thoughts