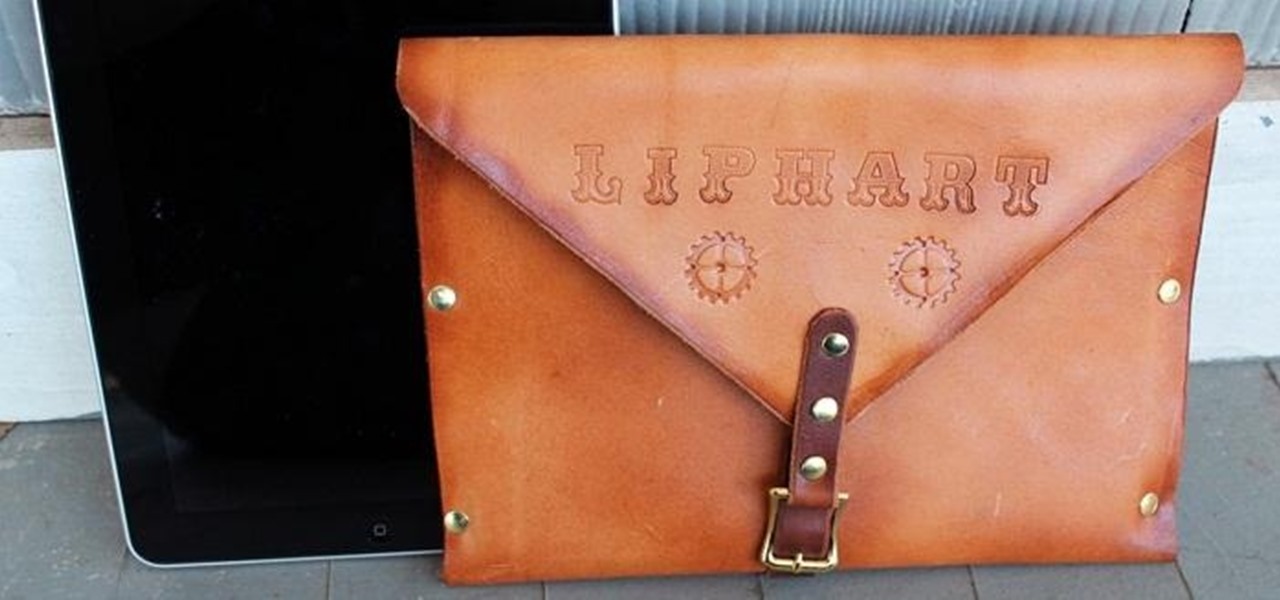

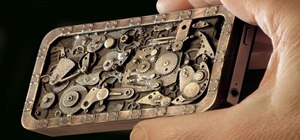
I chose to make this a Steampunk iPad case, but you can change the details and make it look as modern as you'd like. As I said earlier, Steampunks probably shouldn't buy iPhones or iPads, but if you're going to get one, you may as well make it look cool, right? The iPad pictured below was borrowed from a friend of mine, though I should add that this design will easily work with tablet computers of any variety, Apple, Android, or otherwise.
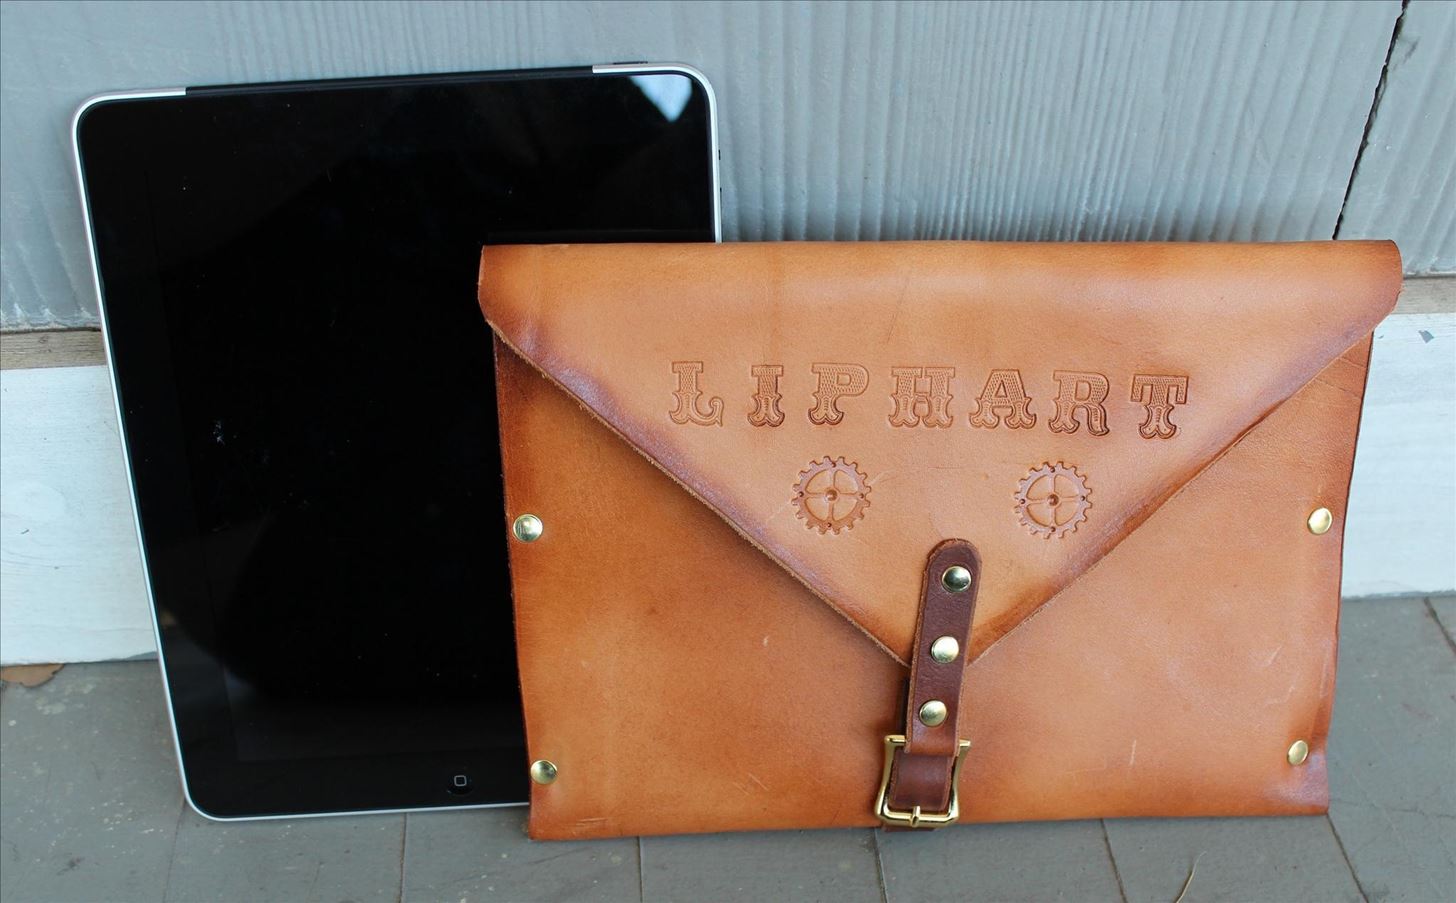
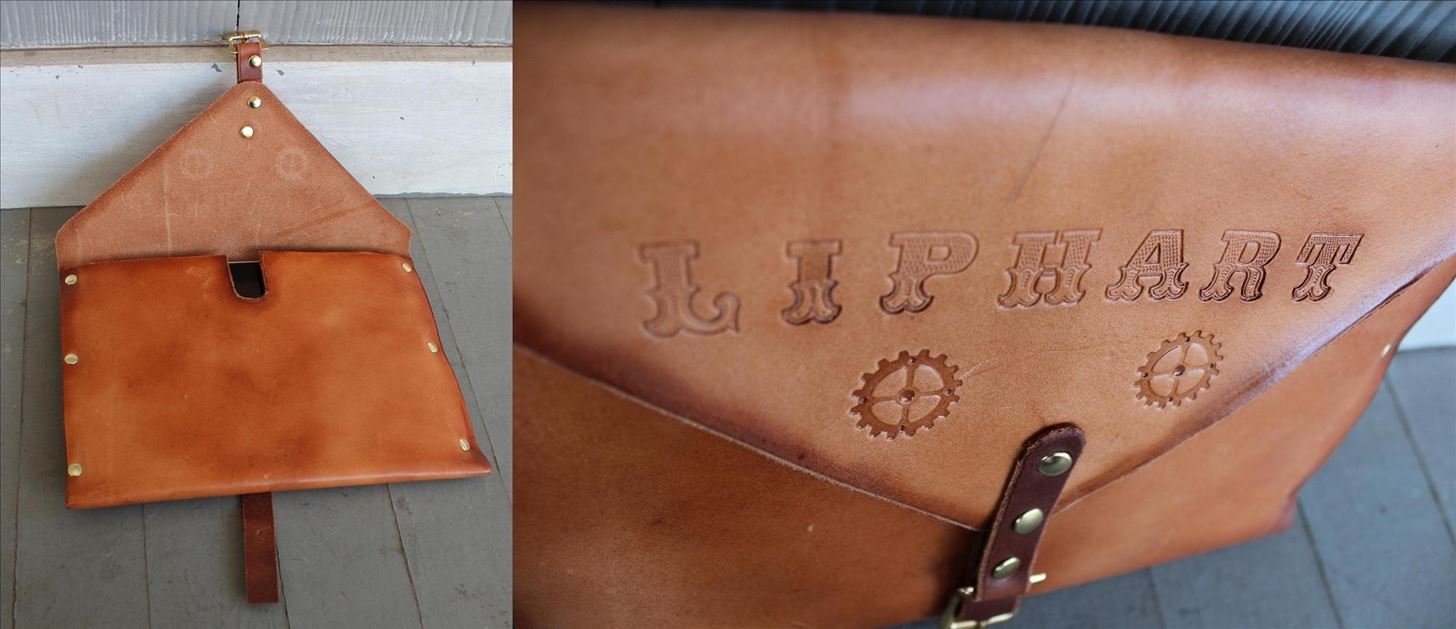
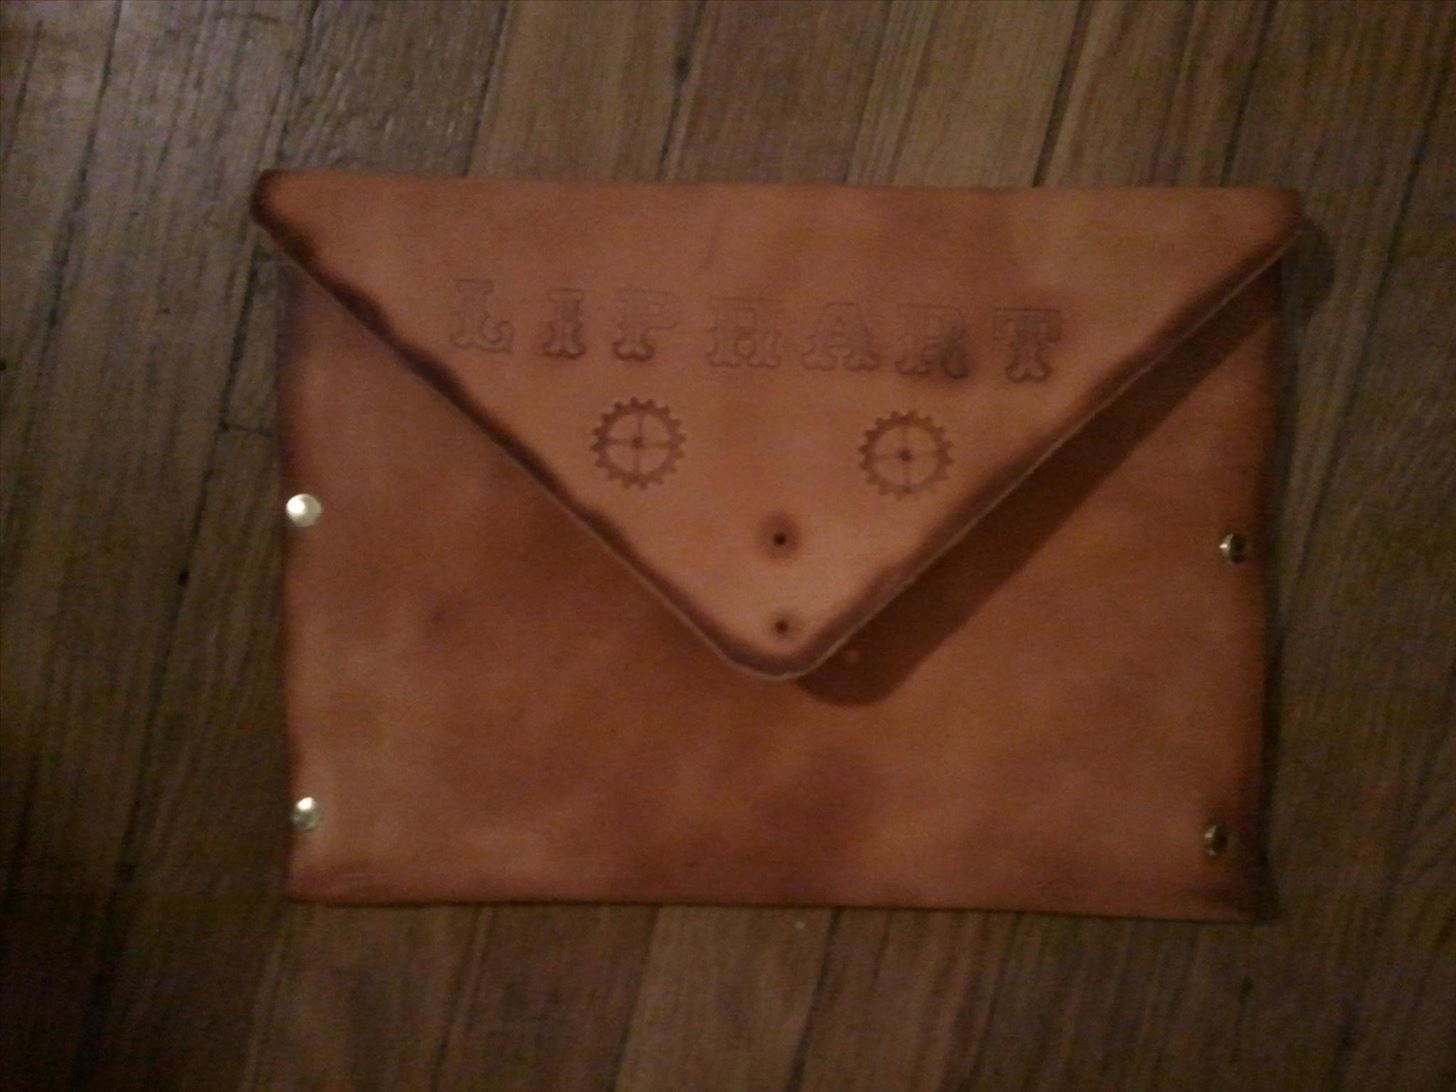
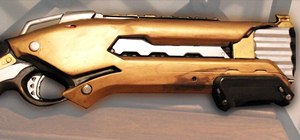
Here are some pictures of my finished product:
I had to puzzle out how to make this along the way, so I made some mistakes that you won't have to make if you decide to follow in my footsteps.
Before we start, I should mention that this case will be a lot sturdier and better-looking if you stitch the sides instead of riveting them. However, hand-stitching leather takes time, and is kind of a pain in the butt, so rivets it is!
Step 1: Measure Your Tablet
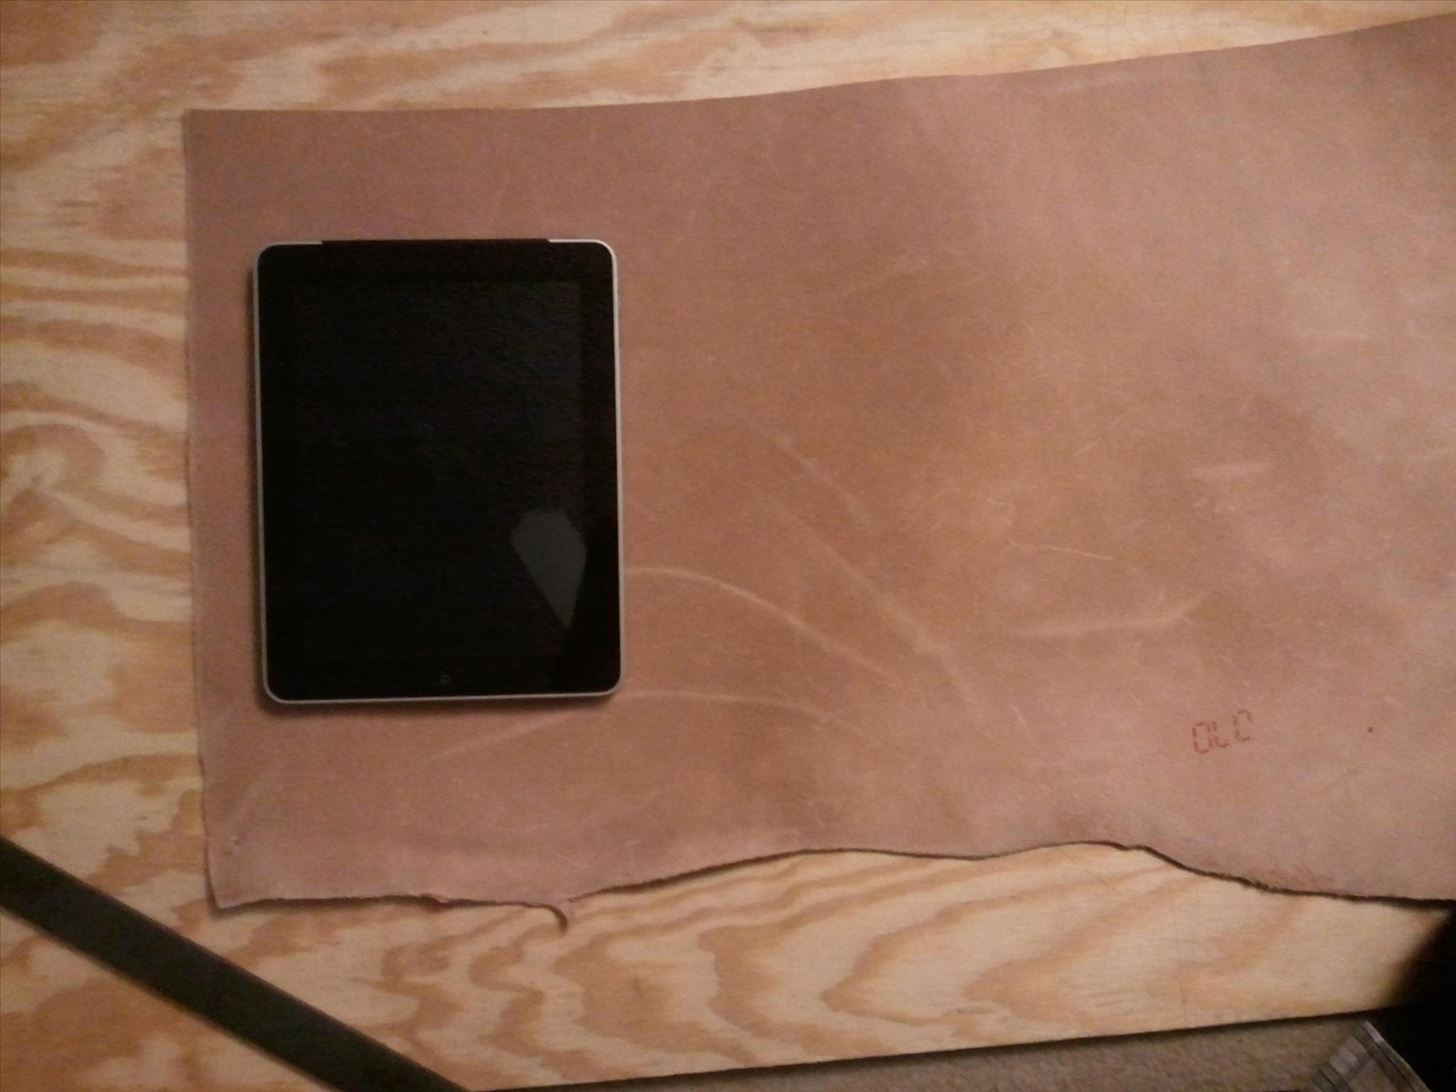
This part is easy. Lay your leather out on the floor (or table) and flip your table across it three times. This way you get the proper length. Measuring the tablet and then multiplying that by three won't work, because you also need the sides taken into account. That's why you flip it, rather than just moving it.
Here's what I mean. Once:
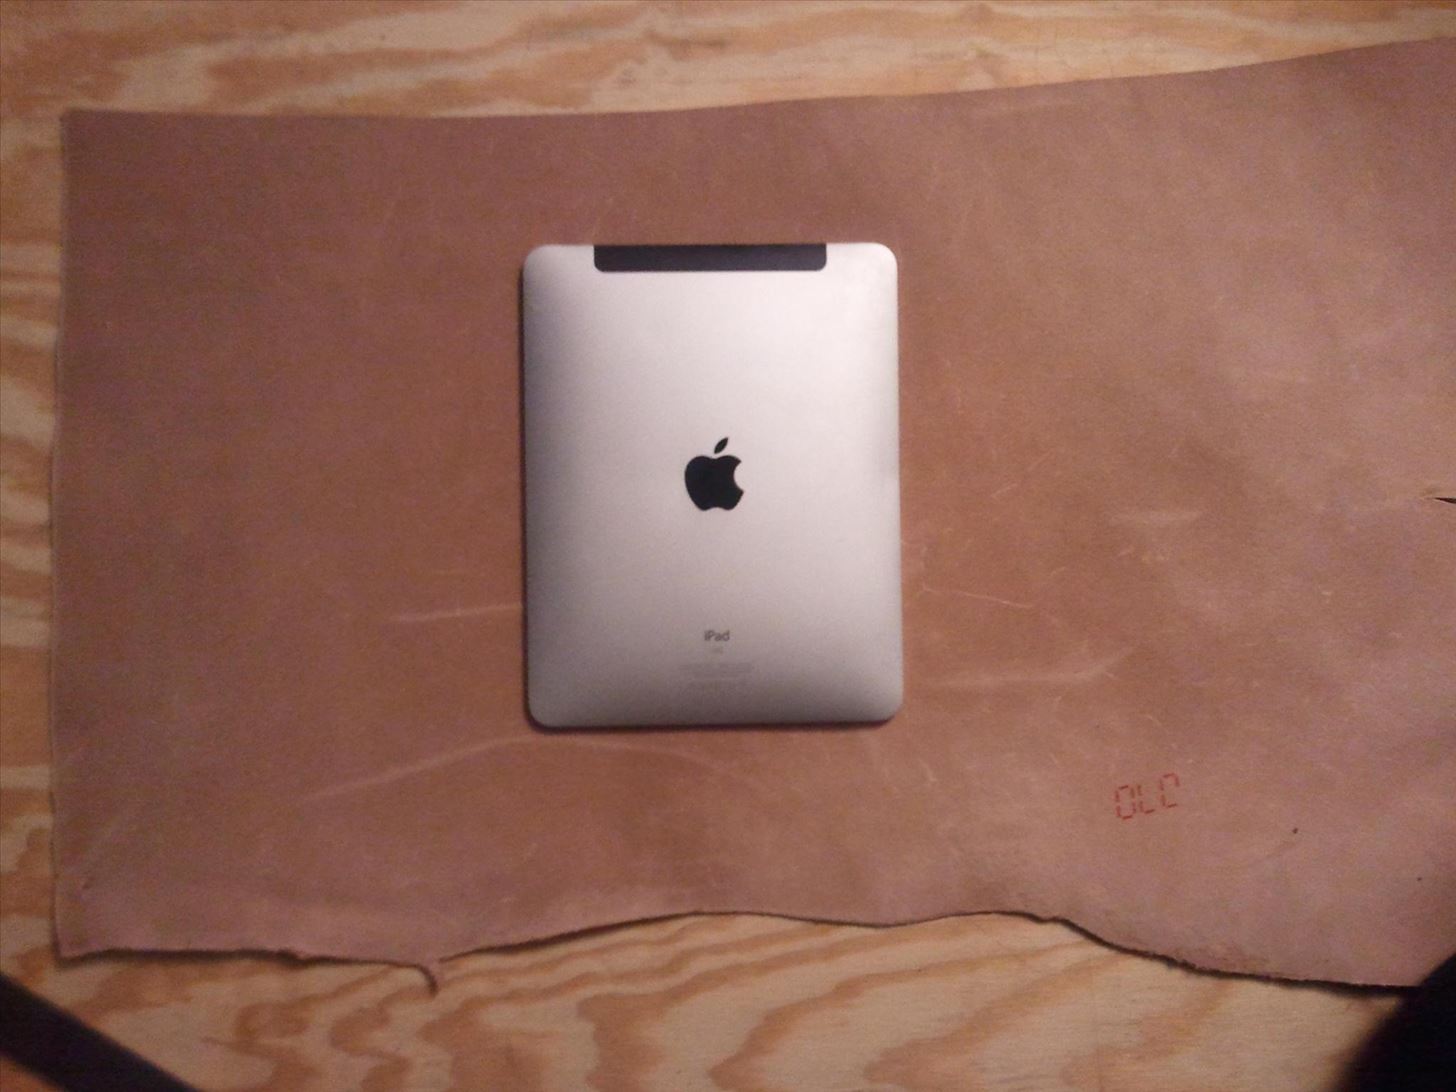
Twice:
Three times:
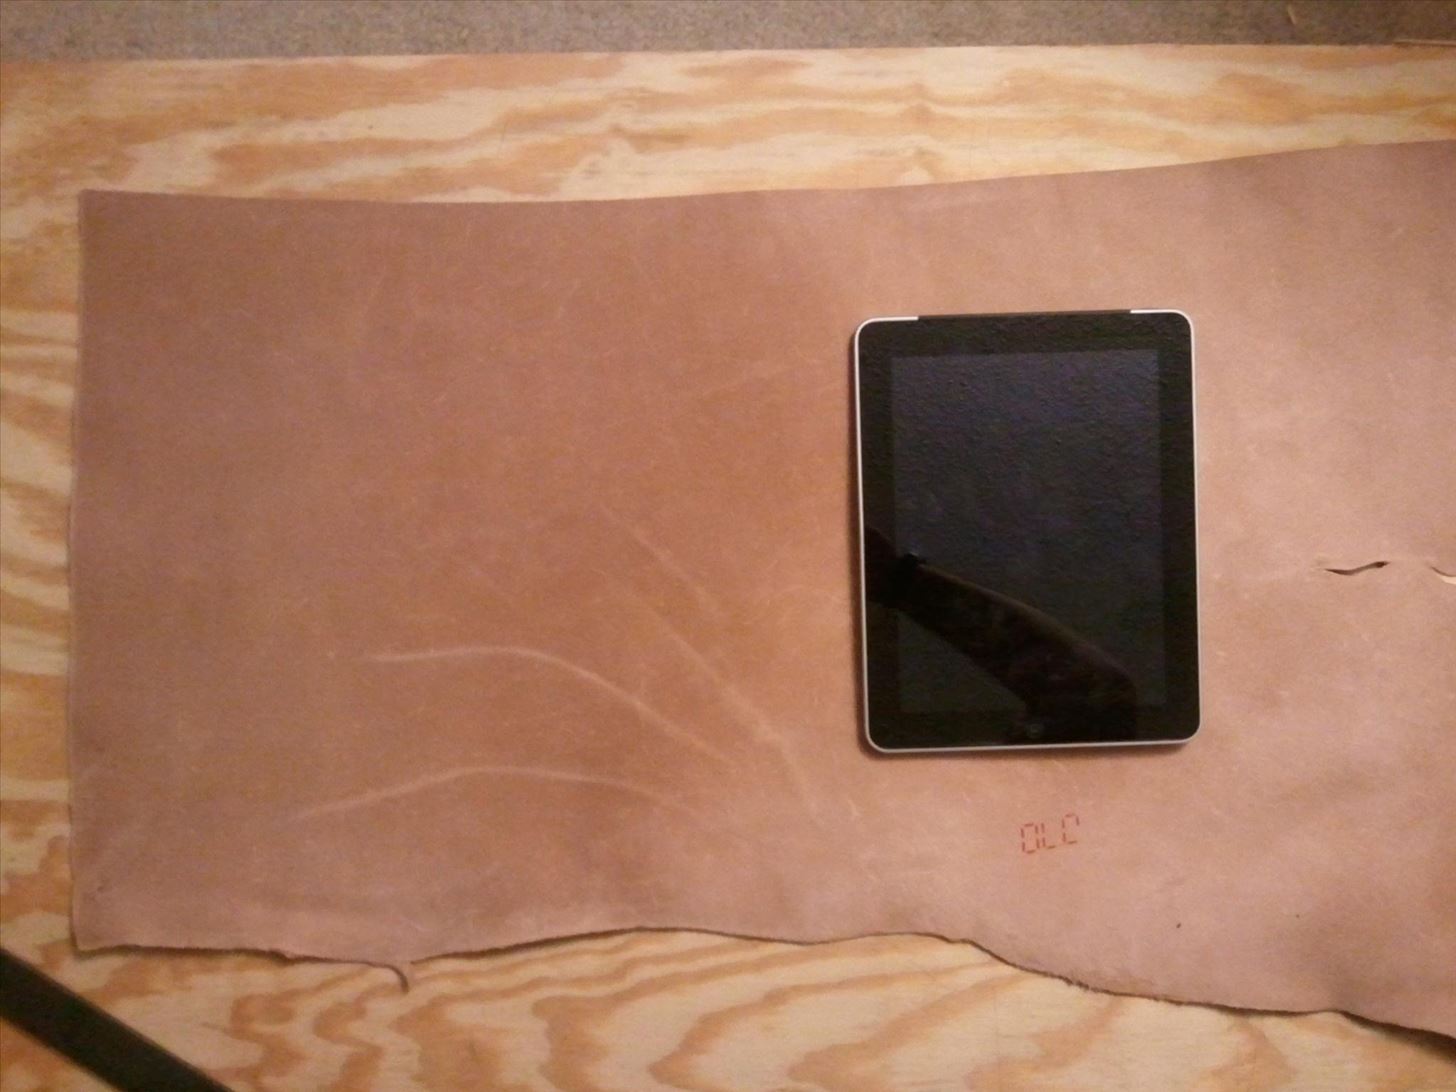
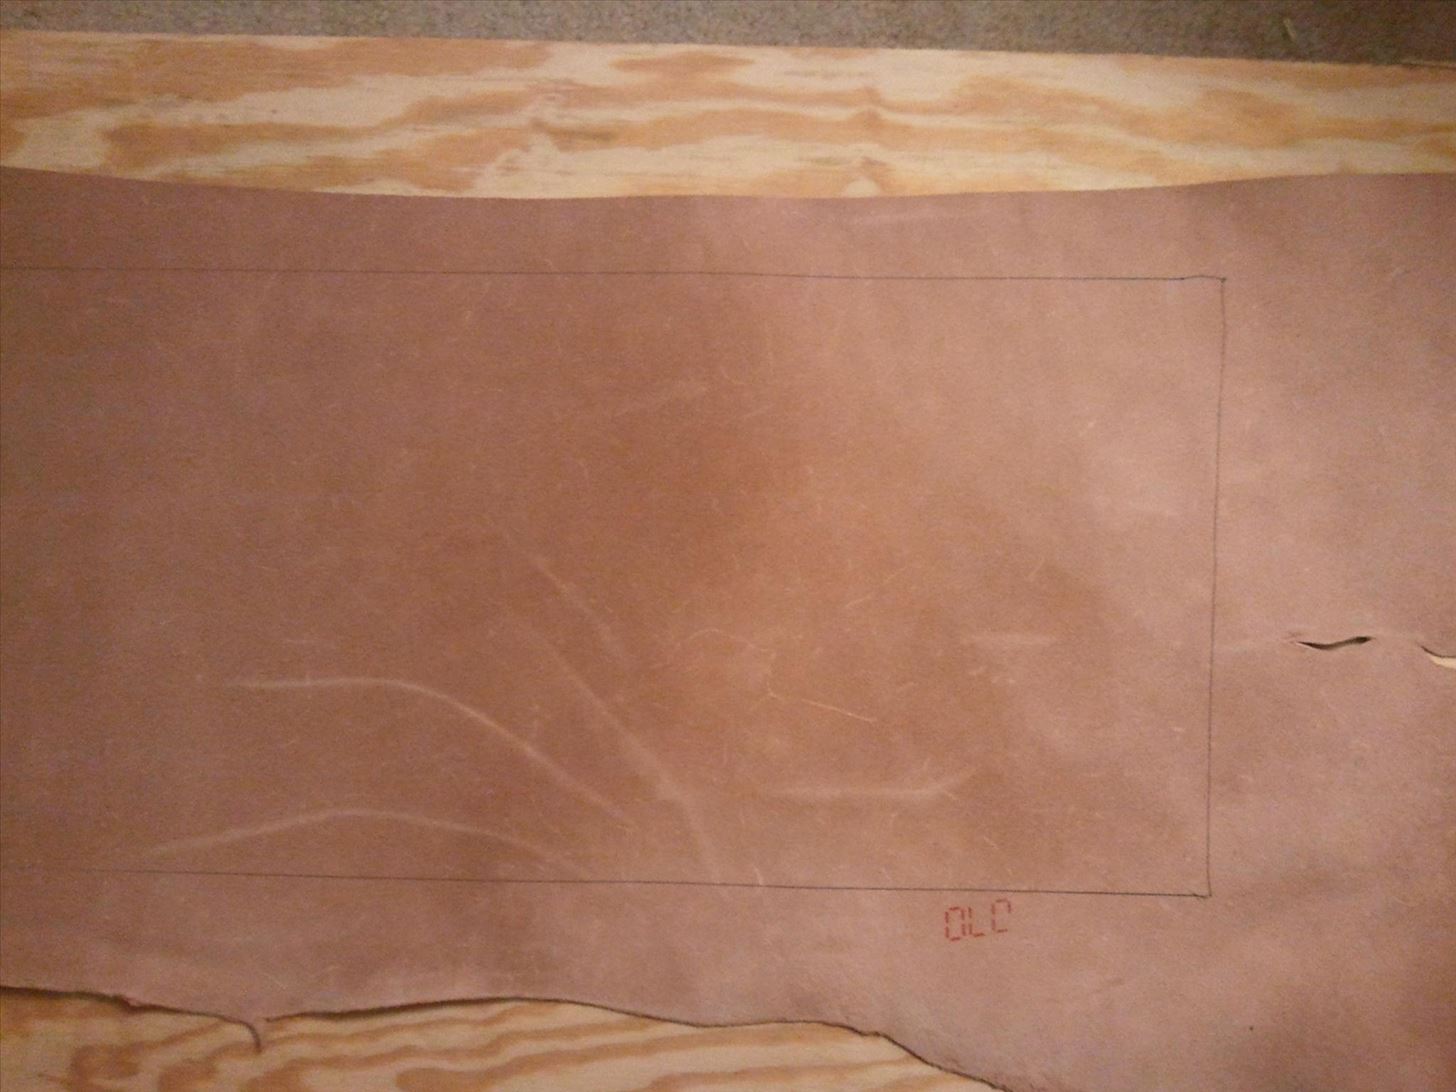
Don't start it flush with the edge, either. Leave yourself about half an inch of clearance to play with on all four sides. You may have to cut it later, but it's always better to have some slack, just in case. This is very important, so don't forget to do it!
When you're done, you should have a shape like this, if you can see the faint rectangle:
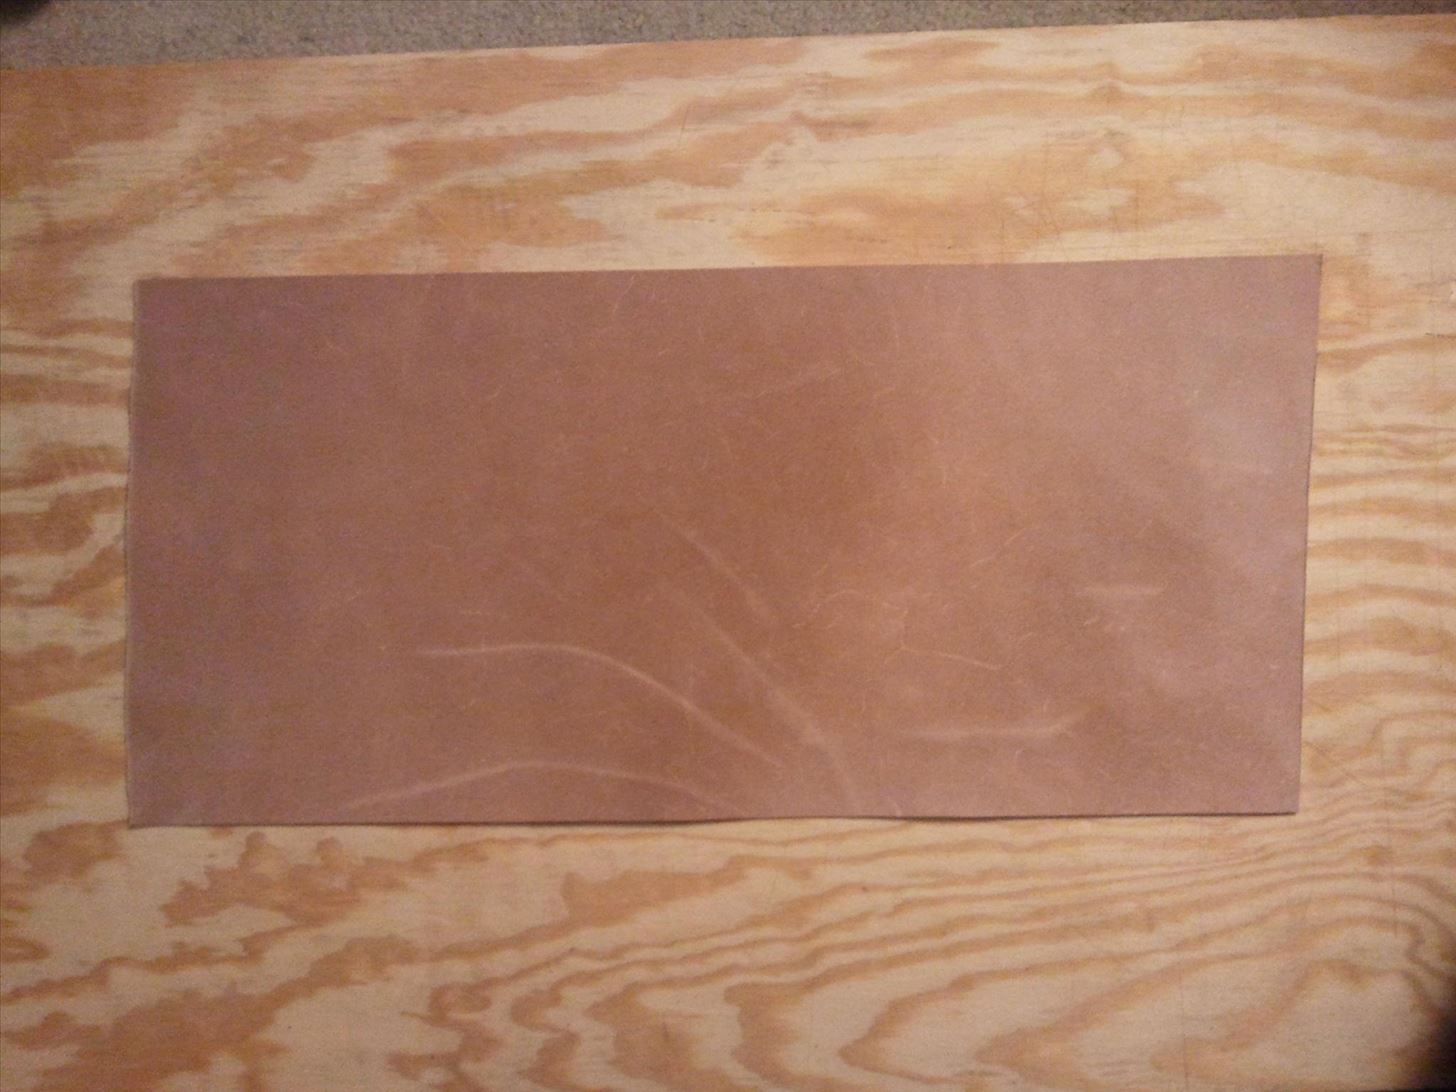
Step 2: Cut It Out
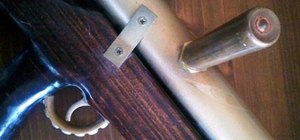
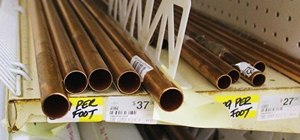
This is pretty simple. Cut out your rectangle. I recommend using a straight edge and a box cutter. Your straight edge can be anything, but I recommend a length of metal. Be careful of cutting your fingers!
When you're done, this is what it will look like:
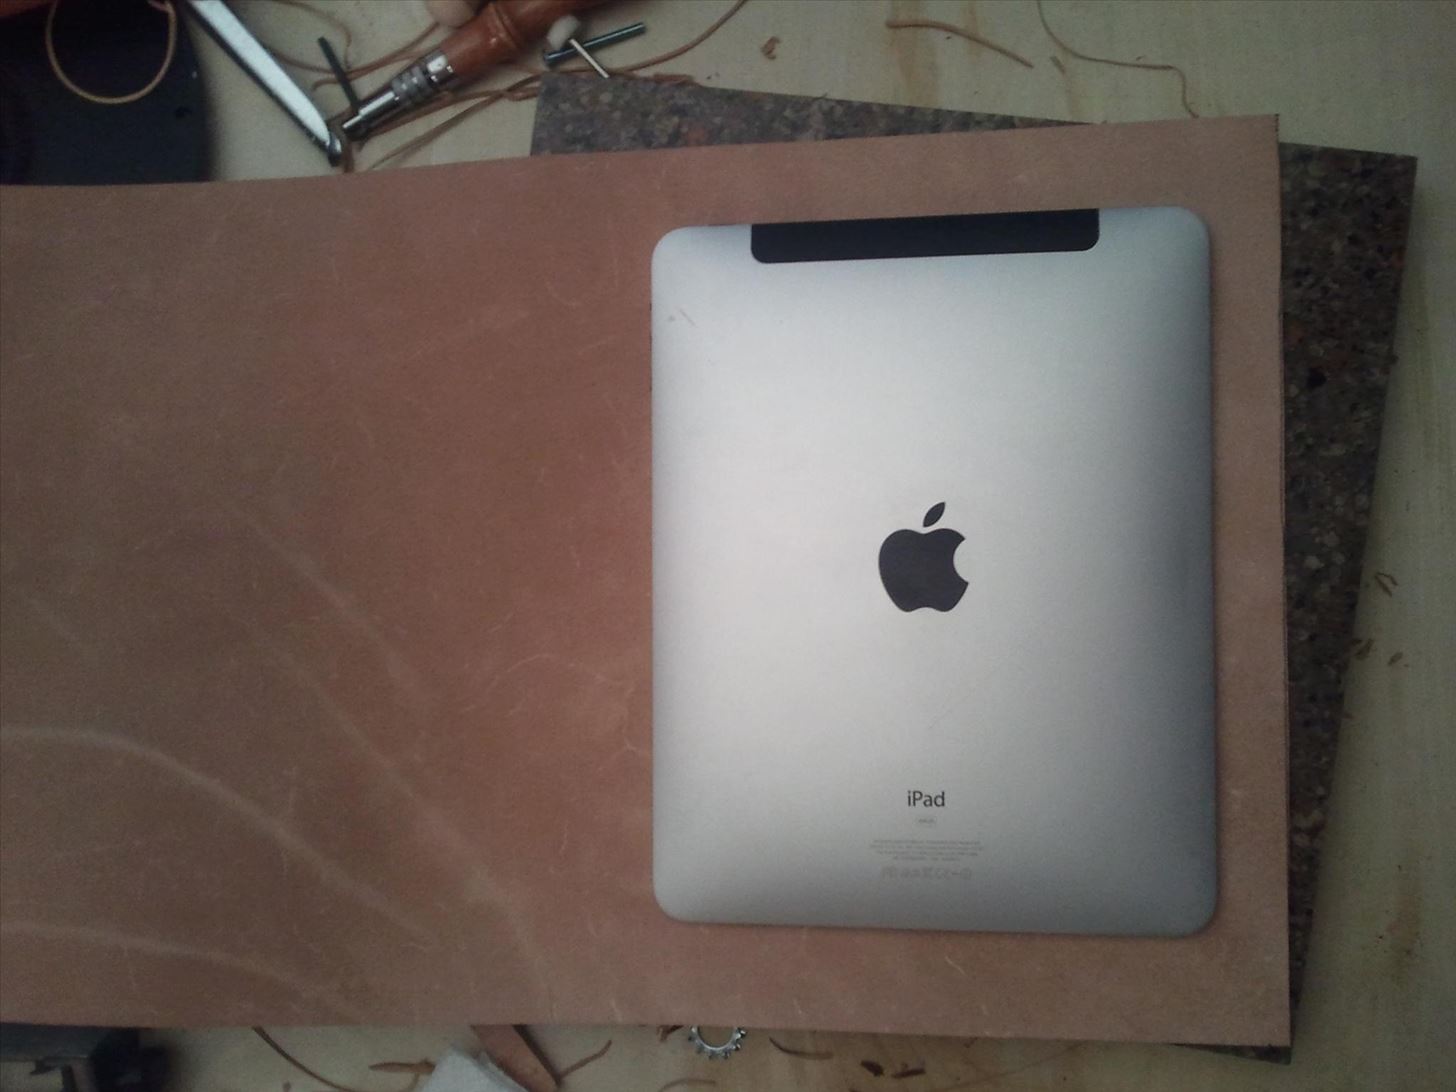
Step 3: Fold and Punch
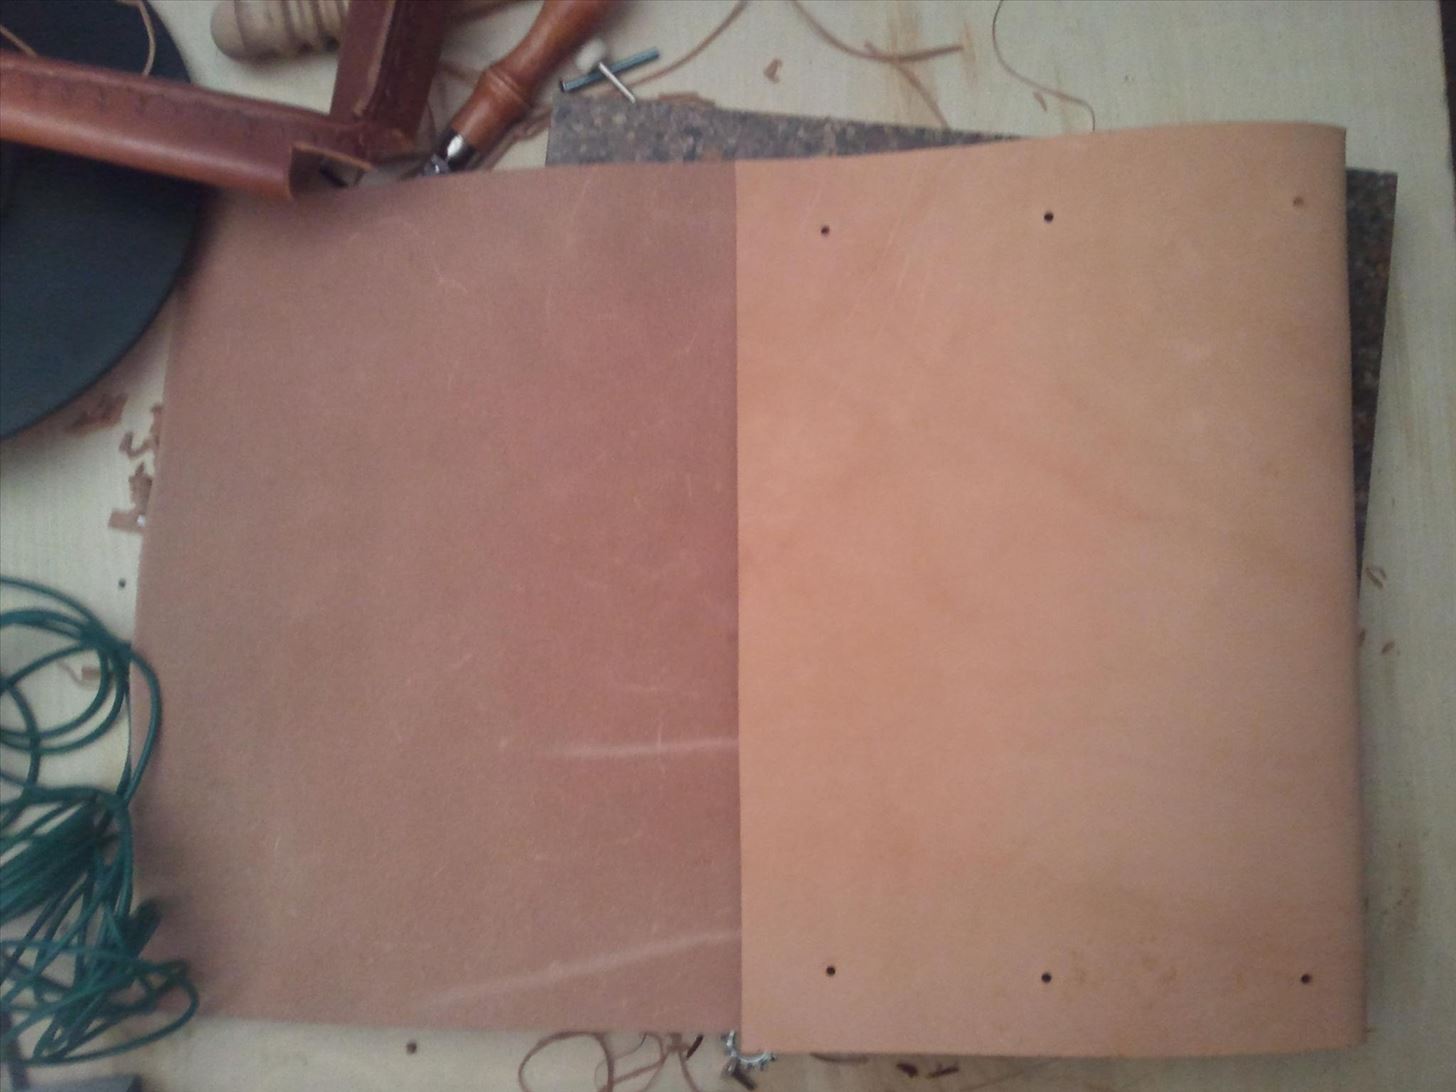
Now take your rectangle to your work area and lay it flat, with the rough side of the leather facing up. Now lay your iPad in it...
And flip it over once, so it looks like this:
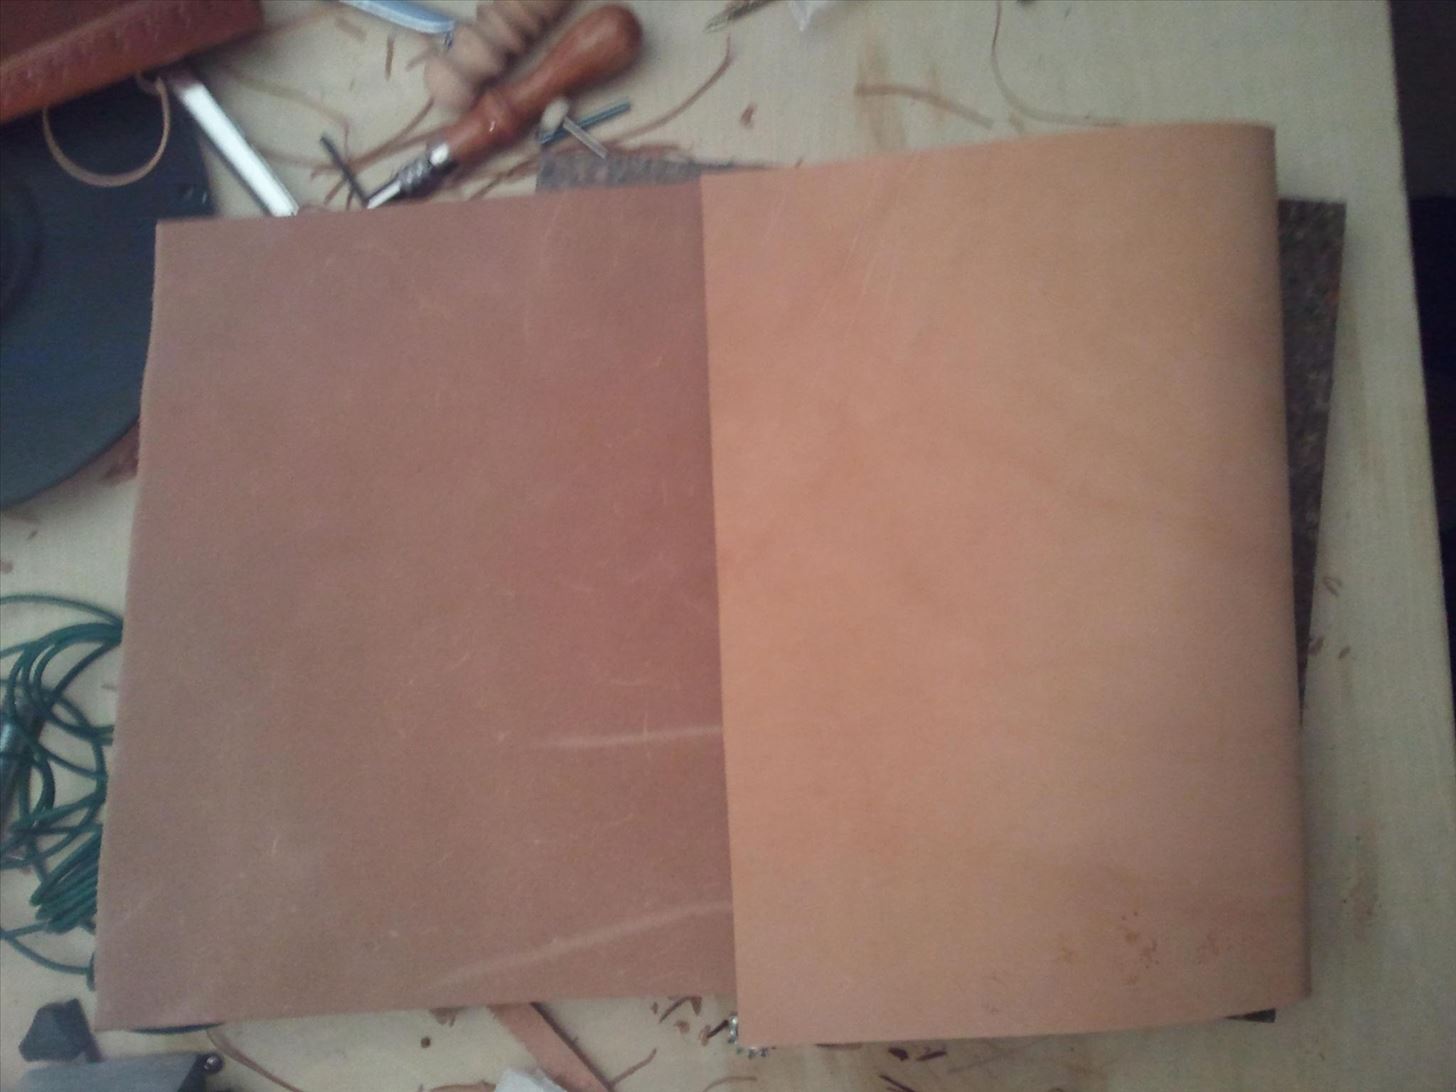
Center the tablet in the middle of this section, and mark where you want your rivets. I recommend putting them pretty darn close to the tablet, so that you get a nice, tight fit.
When you punch holes, you can use a regular leather punch. I use the cheapest one I can find. They work just fine! Also, I recommend punching through both layers of leather at the same time, rather than doing one and then the other. This way you know that the holes will line up.
Now, I went ahead and riveted these holes closed, but that was a mistake. The reason I riveted at this stage (which one wouldn't normally do... riveting is usually the very last step of a project) was because I wanted to make sure the iPad fit properly. Having never done a project like this before, I was paranoid that it wouldn't turn out right.
So don't rivet it yet. I'll repeat that, because it's important.
Step 4: Don't Do Any Riveting Yet
The next few pictures will show the side rivets done. Don't do that. Your life will be so much easier if you save that for last, trust me.
Step 5: Make a Cutout
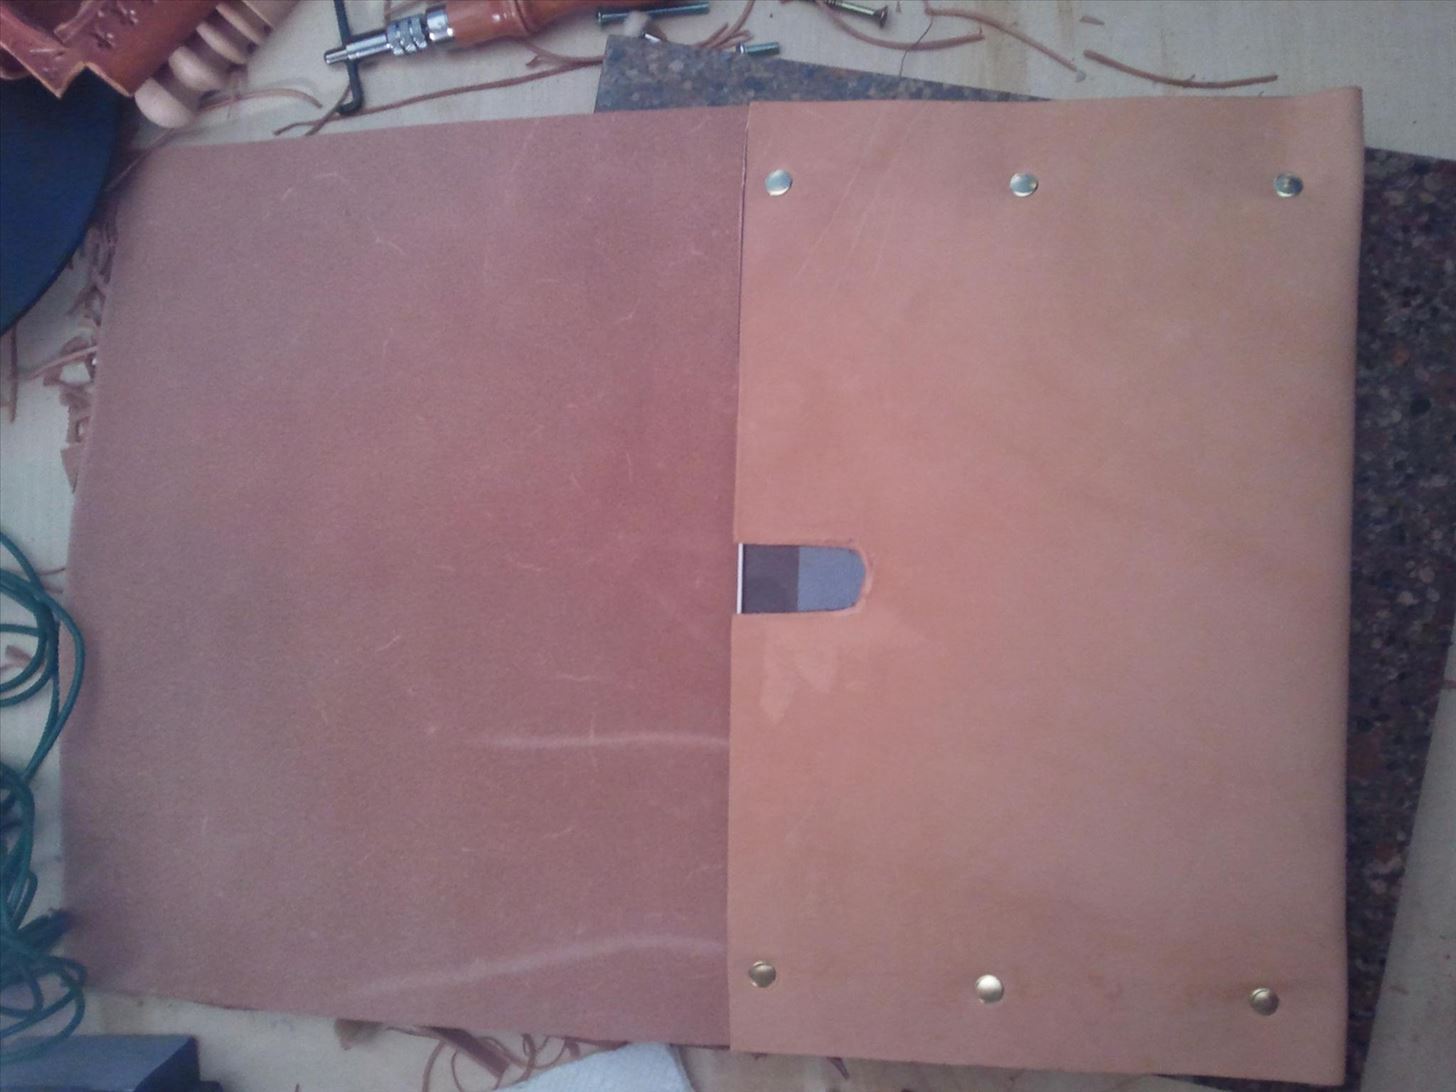
I removed a section of leather so that it would be easier to pull the iPad out, like so:
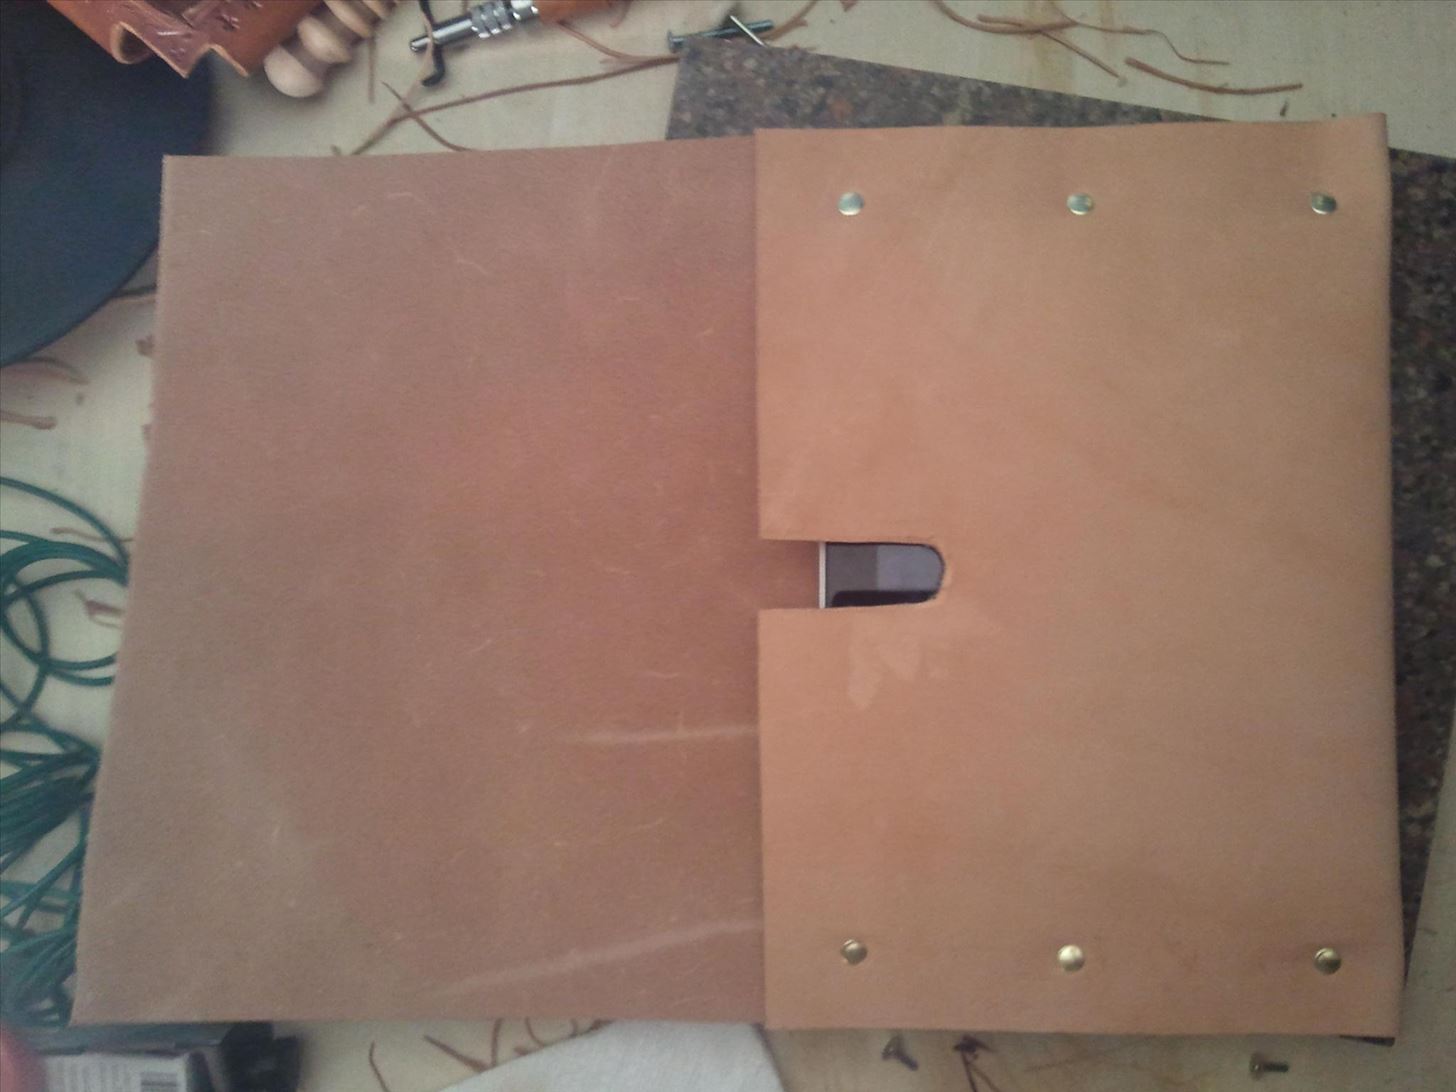
I just used a pair of scissors, rather than the box cutter. Scissors work a lot better when it comes to tight curves.
Step 6: Trim the Excess
At this stage, I found it useful to trim away any excess leather. Leave maybe a quarter of an inch beyond your rivet holes, but cut the top flush with the level of the iPad.
Step 7: Cut Your Flap
I decided to make the top flap look like an envelope, but you can do whatever you want. All I did was put a round object in the middle, traced about a third of the way around it, and then used a ruler to finish the lines. This is what I ended up with:
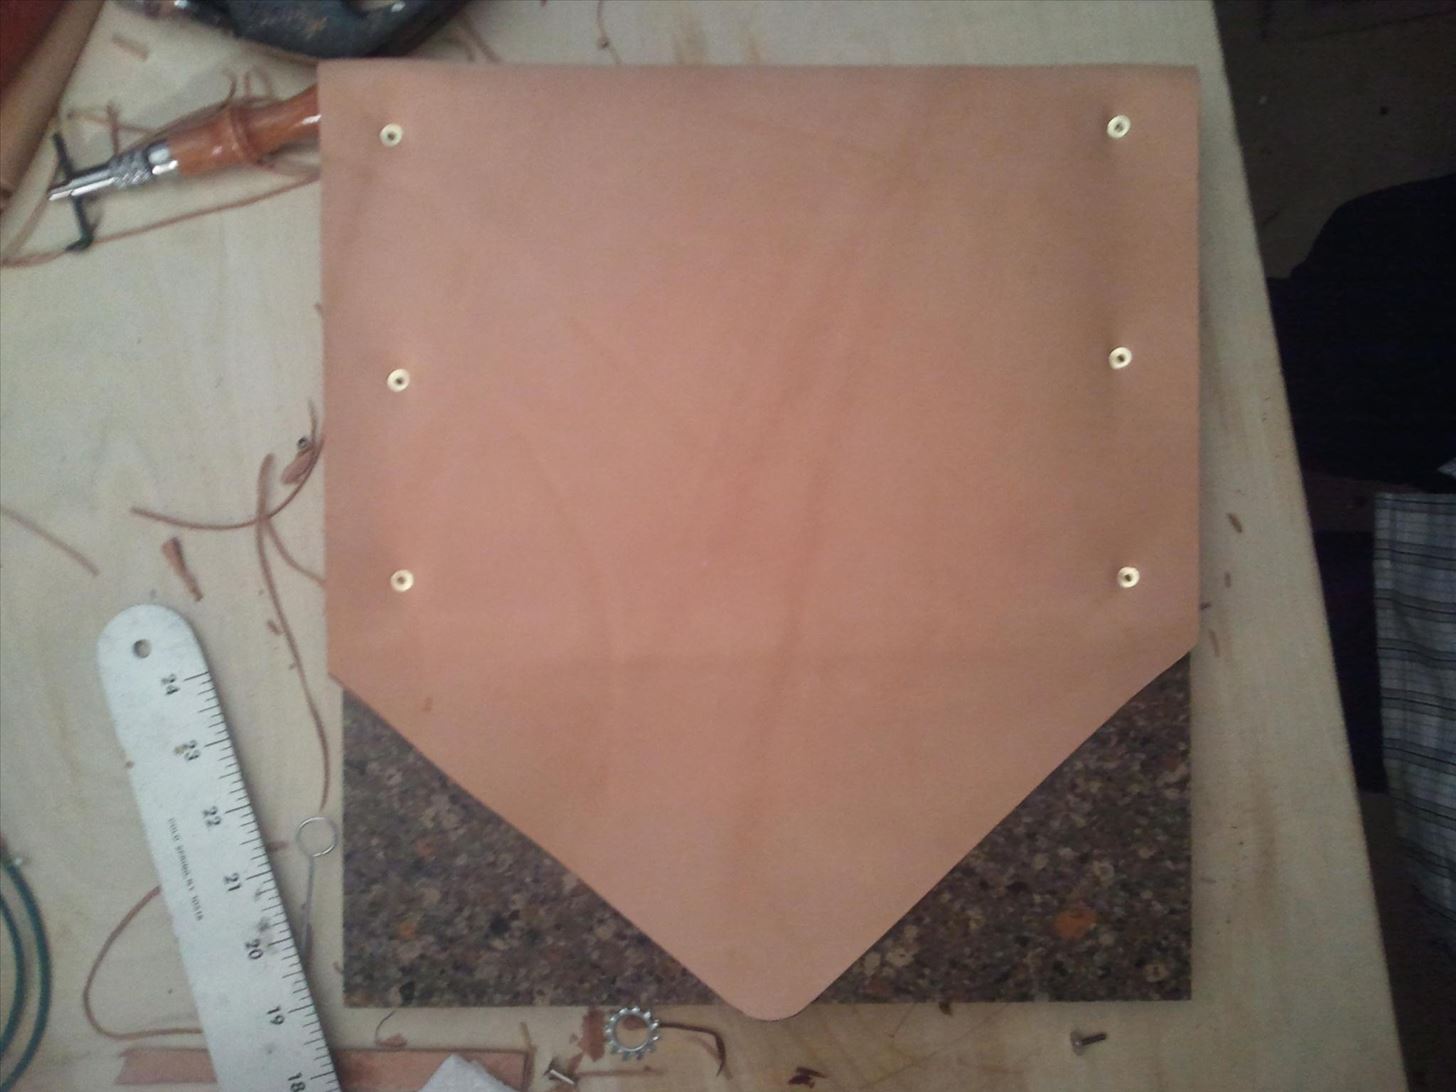
It sort of looks like a home plate. Huh.
Step 8: Decorate and Punch the Last Holes
Now there are two last things to do: punch any remaining holes, and then decorate it.
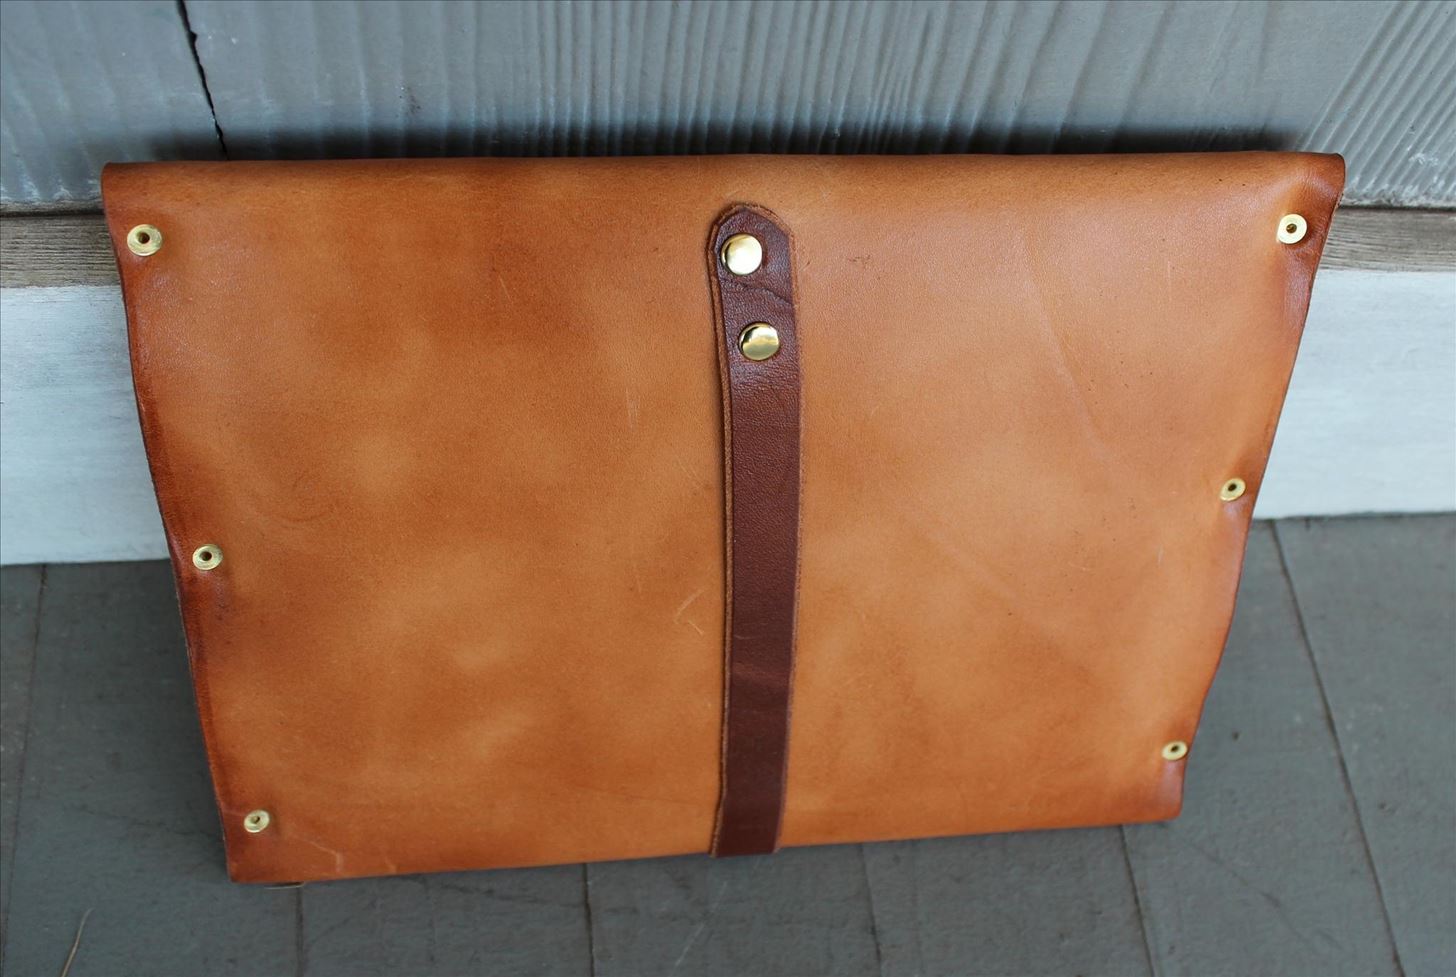
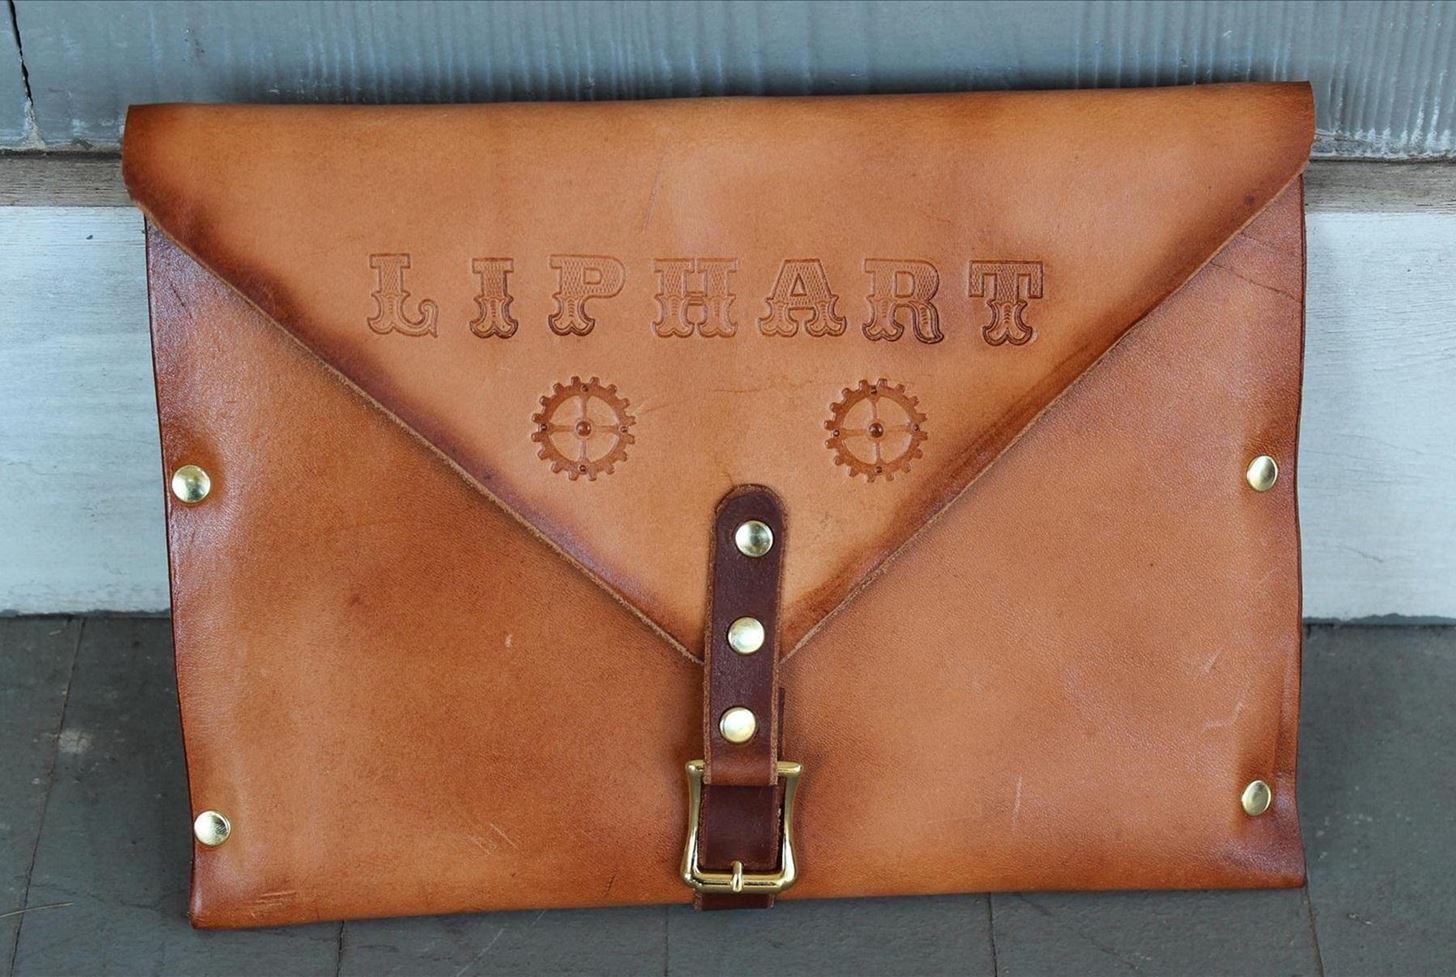
I wanted the straps to be sturdy but not too thick, so I added two vertical holes for rivets on both the flap and on the back. Then I decorated the flap with the last name of my friend who I was making this for. She let me borrow her iPad for this tutorial, so I'm giving her the case for free.
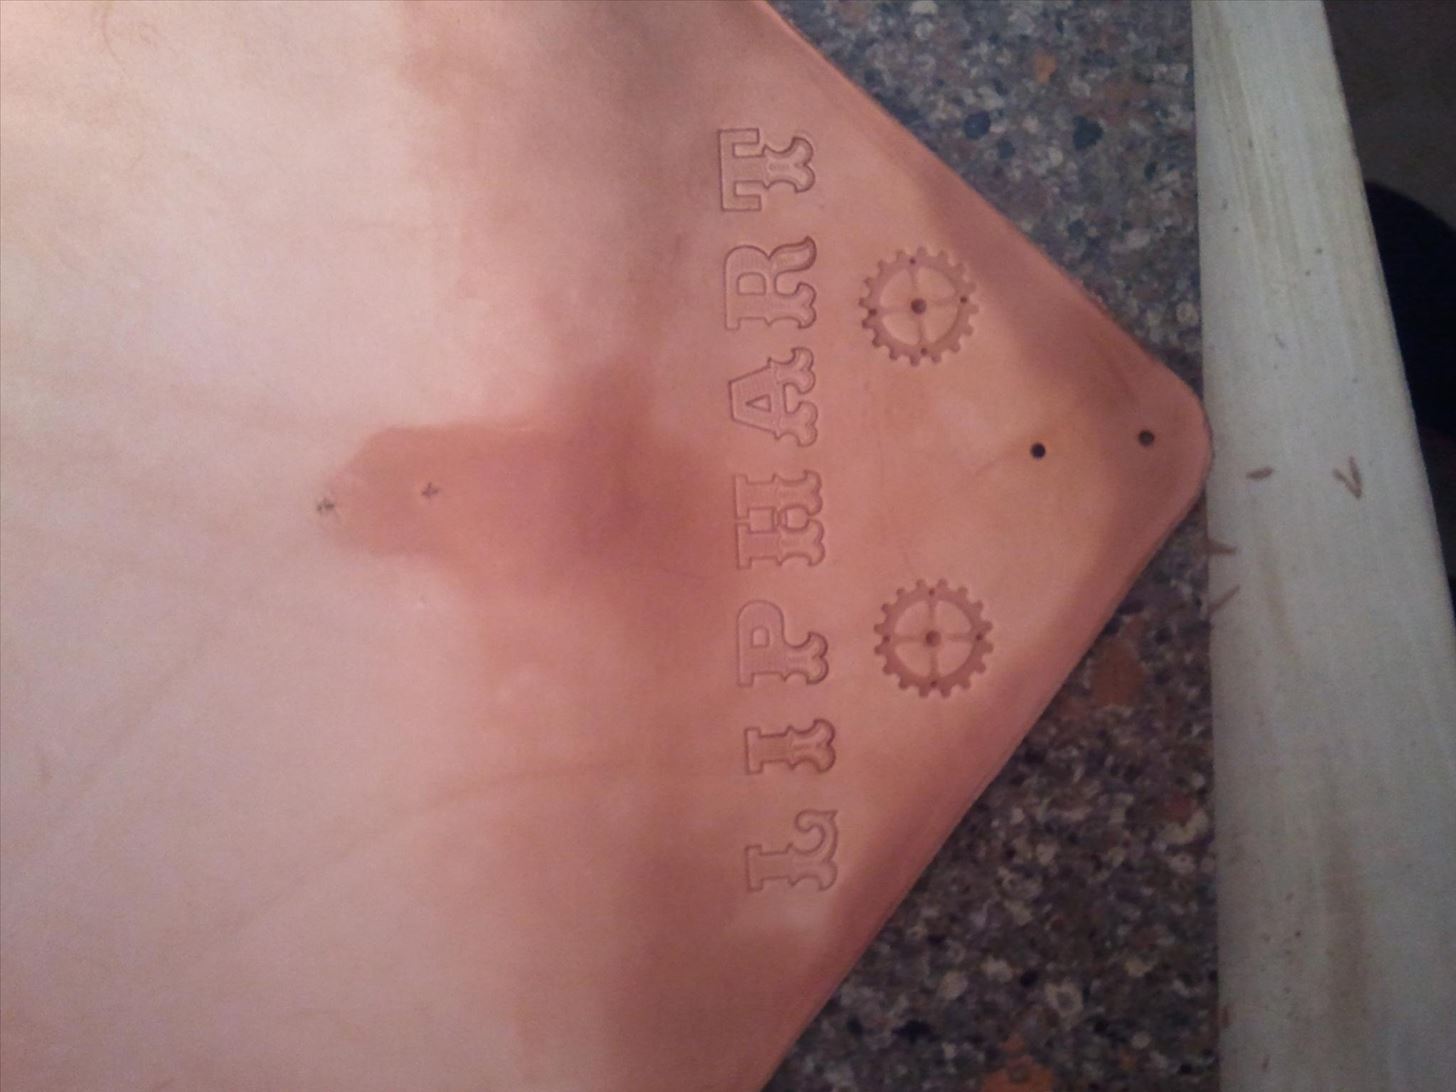
For the letters, I own a set of leather stamps. So I just stamped out the letters onto the wet leather. You can really use anything to stamp leather, such as the gear concho that I used on this and also on the leather dog harness tutorial. Anything hard will leave an indentation when hit properly with a hammer.
Try different things, and be creative!
Step 9: Burnish It
Burnishing is usually your last step before dying, and dying is your last step before riveting. Burnishing will give you nice, finished edges on your leather so that it will look professional. To burnish, you use a slicker (more on which can be found at this earlier article about tools) on your wet edges, just rubbing it back and forth until the edge curls over and gets nice and rounded. It was hard to get a good picture of this stage, but it should be pretty easy to figure out. Just rub the edges back and forth.
Step 10: Dye It
I actually didn't use any dye for this case, but that's because I'm lazy and I didn't have any in my house. Instead, I used neatsfoot oil which, while it is a natural leather softener, also has the side effect of turning your leather a nice shade of brown, too.
Because of the way the oil distributed itself across the leather, it even made a rather neat design all on its own.
It is way, way, waaaaay easier to dye or apply oil when the leather isn't riveted, which is why I suggested that you refrain.
Step 11: Just Add Rivets
You can make straps out of scraps, and once they're cut and dyed like the case itself, just rivet them on. Straps are really just the easiest thing in the world to make.
Add them on, and voilà!

As I said in the beginning, the case would look a lot better with stitches, so consider stitching instead of riveting. I also went with a more minimalist approach in terms of decoration—just a last name and some gears. Generally when you're not super skilled, less is more. The more you add, the easier it is to mess up.
This is about as easy as it gets when it comes to cases. No complicated stitching, no complicated shapes to cut out... It's really simple, but still looks nice when finished.
A great project for a beginner leatherworker!
Just updated your iPhone? You'll find new emoji, enhanced security, podcast transcripts, Apple Cash virtual numbers, and other useful features. There are even new additions hidden within Safari. Find out what's new and changed on your iPhone with the iOS 17.4 update.


2 Comments
Yep I think I will be trying this soon. Well as soon as I can convince my husband that my tablet needs this :)
It's so easy. I really had no idea how easy basic leatherworking was until I got a tutorial from an experienced leatherworker.
And it's so much fun! =D
Share Your Thoughts