

Everybody loves the stars. Well, I certainly do. As a child I'd spend hours outside during summer nights marveling at the seemingly endless amount of sparkling dots spanning the sky. Maybe you have children of your own and want to create a sparkle in their eyes, or in your own. This tutorial will provide a basic method of bringing the stars inside—at least, in part.
Parts & Tools
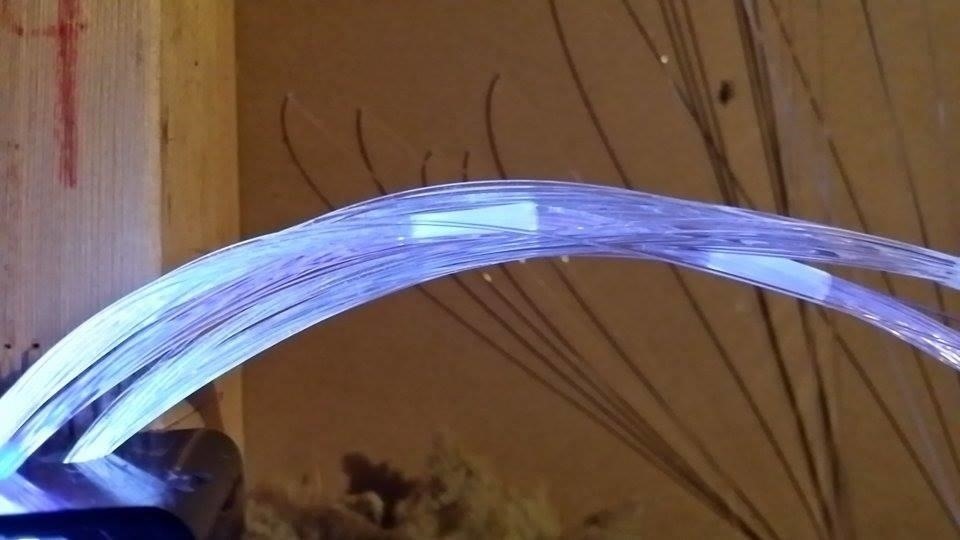
This project is very simple. All you need is:
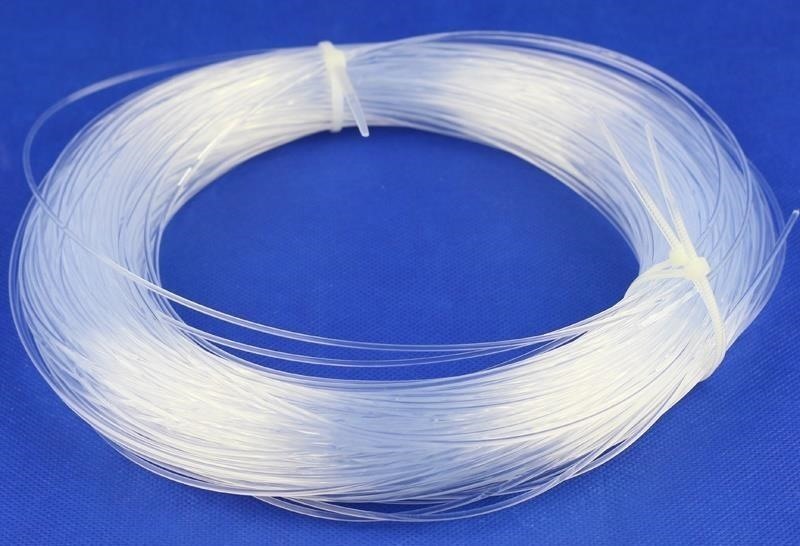
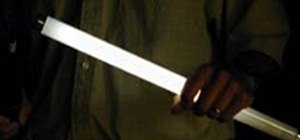
- Loose fiber optics (available on eBay or Amazon, see Fig. 1)
- LightBox
- A 5V power supply
A few tools are needed:
- Needle or very thin punch
- Wire cutters
- Tape
Step 1: Plan Your Stars
I'll be adding stars to a vertical wall, but if you're adding yours to the ceiling, there's no difference in the procedure.
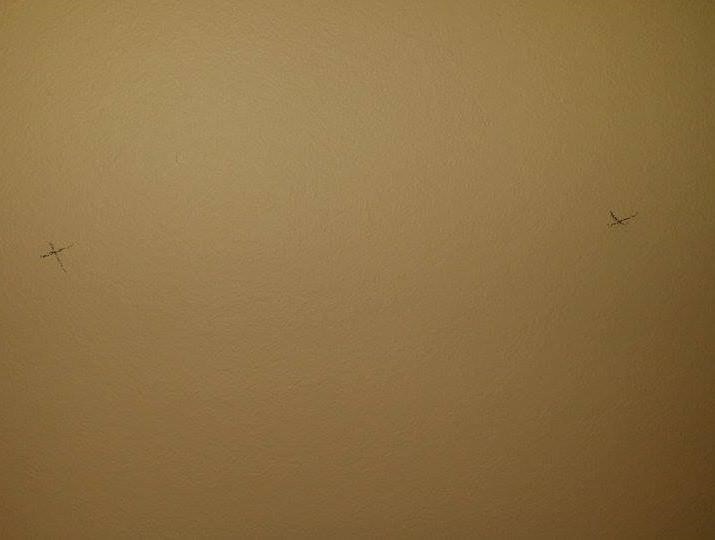
Start plotting random but uniformly spaced dots on the surface of choice using a pencil. This can take a while...be patient!
Step 2: Poke the Holes
This can be fast and easy if you have a punch, or really tedious if you're using a needle. The trick is to be as careful with the front-face of the surface as possible, as any damage/frayed edges will reveal the location of the star-hole when the room is lit.
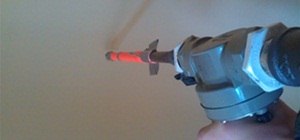
Step 3: Tape and Feed the Fibers
Using some scotch tape, fold a small piece of tape over each end of the fibers. This is important as it will prevent the fibers from going all the way through the wall when feeding them.

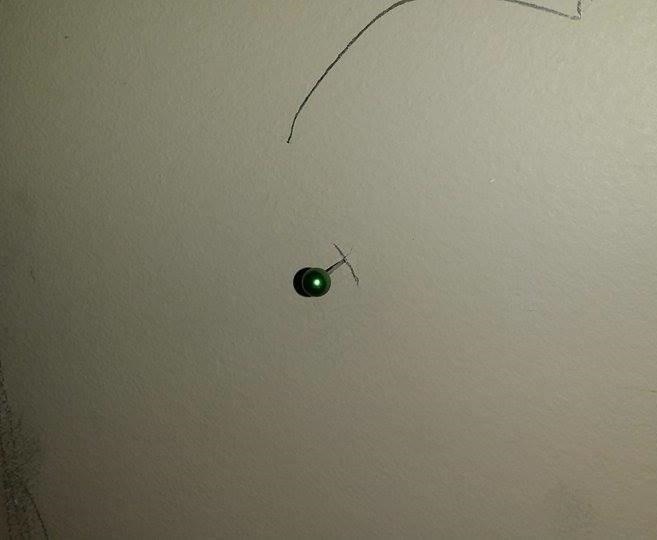
Now, feed the fibers through the holes (opposite end to the tape).
Then pull each one from the other side until the tape reaches the wall.
Step 4: Fasten and Cut
Using some heavy-duty tape, gently fasten the loose fibers to the inside wall. This prevents the fibers from falling out or malfunctioning.
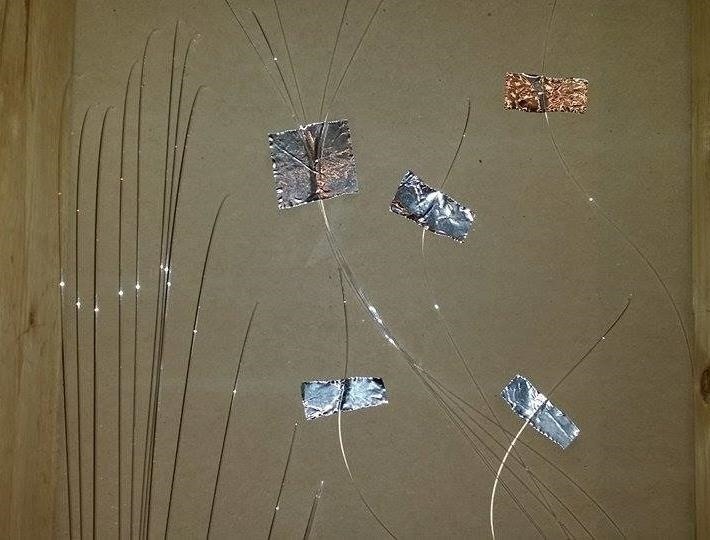
Once each fiber is taped, organize the strands into several "ropes." This makes the fibers easier to manage when running them into the LightBox.
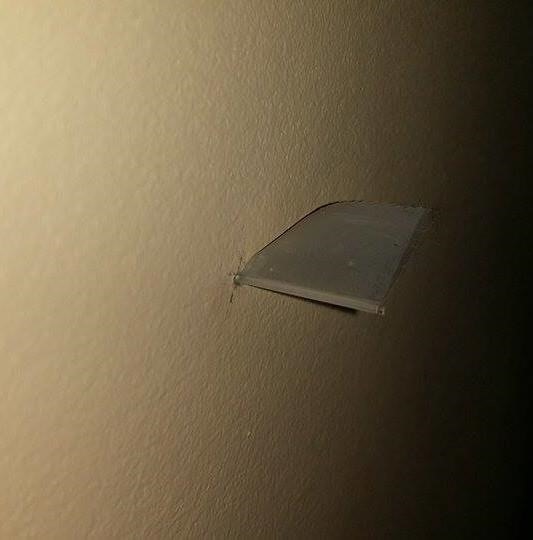
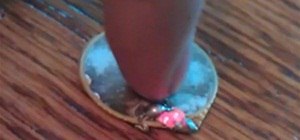
Step 5: Break Off Extra Fibers
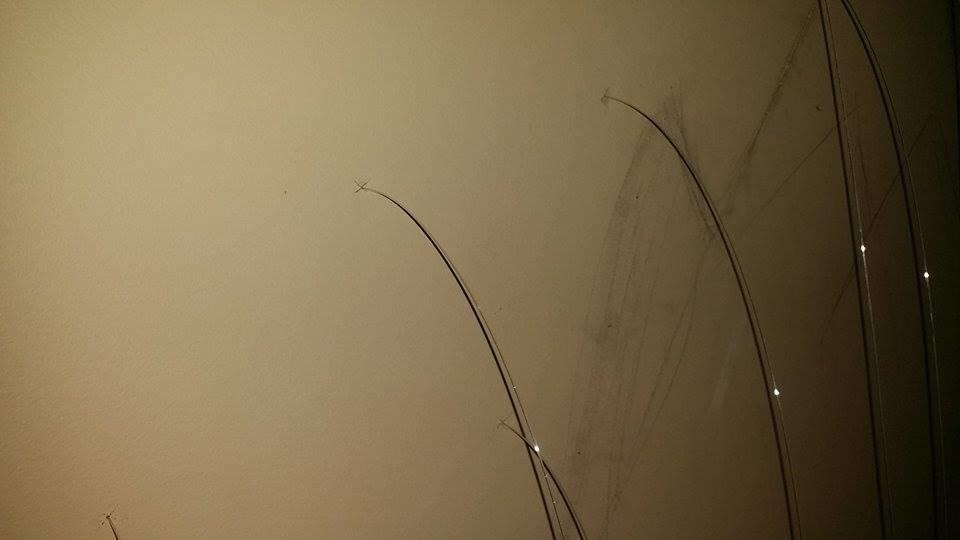
Heading over to the front-facing wall, snap off the extra taped ends so the fibers are flush with the wall surface.
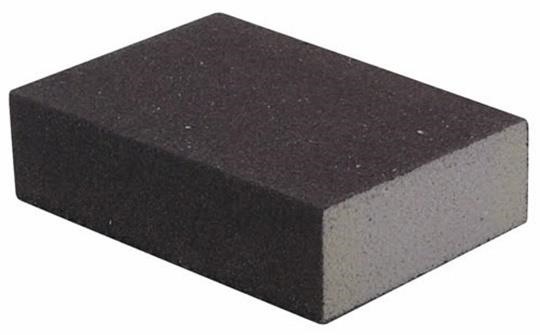
Step 6: Sand the Holes
Using very fine sandpaper or a sanding sponge, gently sand off any protruding edges or fiber ends.
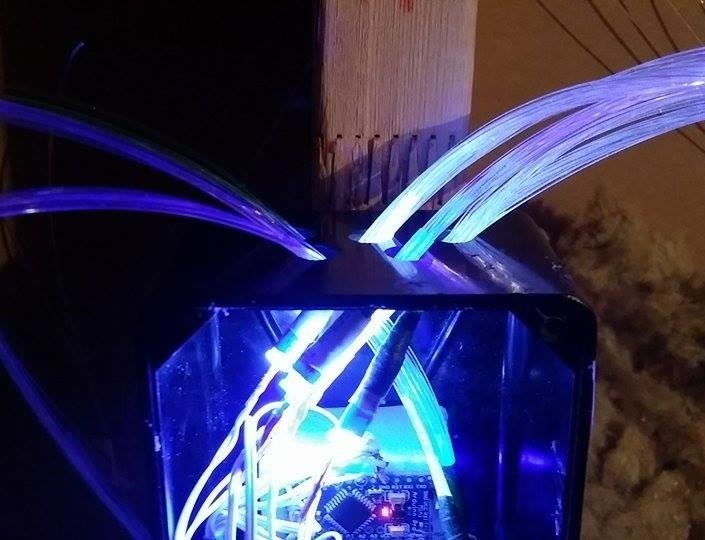
Step 7: Insert Fiber Ropes into Lightbox
Gather the fiber ropes we made in Step 3 in an organized fashion, then feed them into the LightBox. This particular photo was taken after I'd already installed the LEDs onto the fibers. Check out this article on how to build the LightBox.
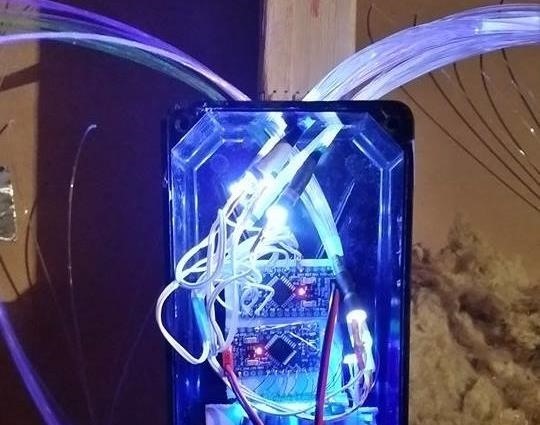
Step 8: Mount Everything Securely
Using your favorite adhesive, mount the LightBox and fiber ropes in a secure manner. This will prevent fiber breaks and loss of stars.
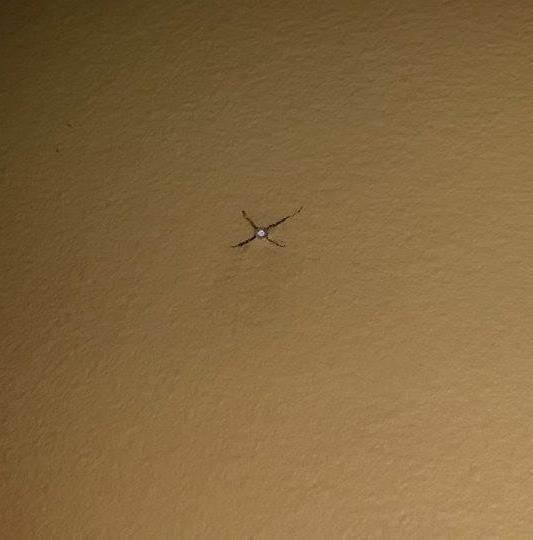
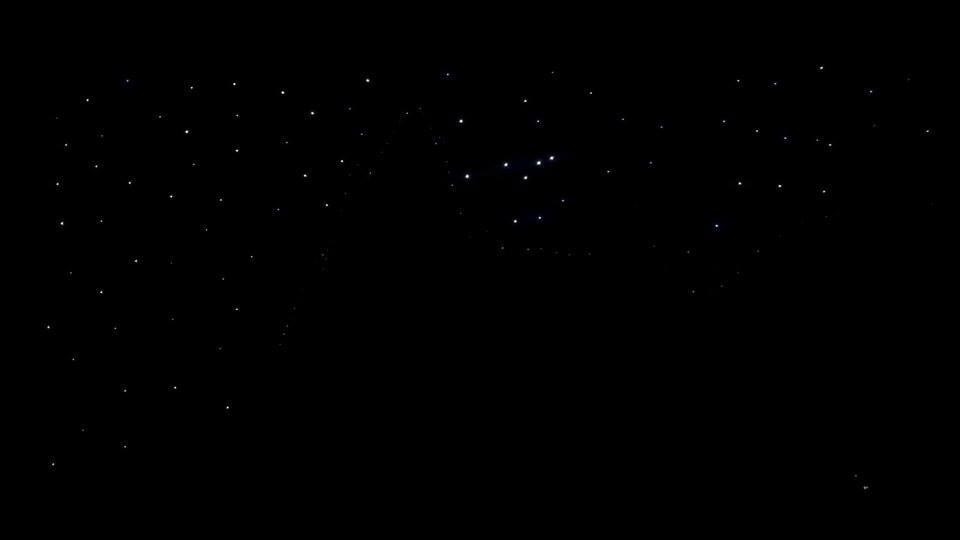
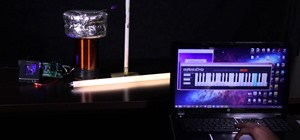
Enjoy Your Starscape!
Turn on the LightBox and marvel at your new stars. Unfortunately, my camera doesn't capture the brilliance and color presented by the fiber stars, but use your imagination! (or better yet, build it yourself).
If you've enjoyed this article, check out some of my others, such as:
The Hardware Hacker's Introduction to Microcontrollers, Part Two: How Does Arduino Think? « Fear Of Lightning
 In this article, I'll be continuing my series on microcontrollers. If you haven't read part one, I'd recommend heading over there and reading it!
Just updated your iPhone? You'll find new emoji, enhanced security, podcast transcripts, Apple Cash virtual numbers, and other useful features. There are even new additions hidden within Safari. Find out what's new and changed on your iPhone with the iOS 17.4 update.


Be the First to Comment
Share Your Thoughts