
In Guardians of the Galaxy Vol. 2, Mantis resides in the shadow of an Ego who considers himself the actual heart of the universe. But when it comes Halloween costumes? Mantis will be the center of attention every time.
The internet sure has noticed Mantis, and it's abuzz with debate over who she is. Is she just another iteration of the submissive Asian woman stereotype? Or is her character an empowering representation of empathy and the autism spectrum?
You'll have to decide that for yourself, but there's no denying that with her comic timing, signature antennae, and accompanying thinkpiece firestorm, she's not only the breakout Guardians of the Galaxy Vol. 2 character — she's the costume to be this Halloween.
Luckily for us, MadeupWonderland has produced a Mantis tutorial that's both thorough and convincing. We've broken down her routine into a step-by-step tutorial for you, but be sure to also check out her video at the end of this Halloween how-to.
What You'll Need
- light foundation/concealer to match Mantis' skin tone
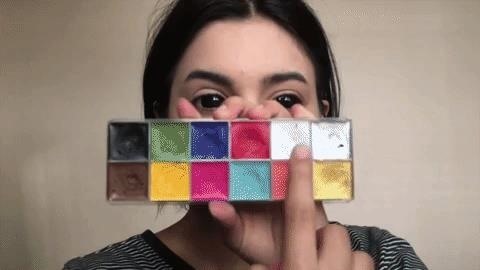
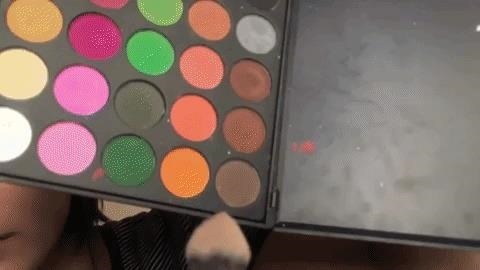
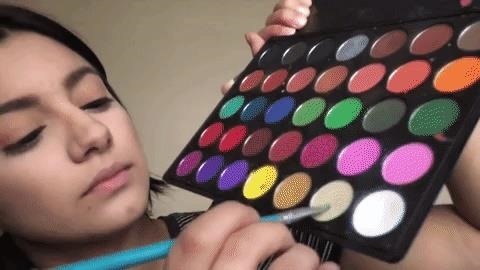
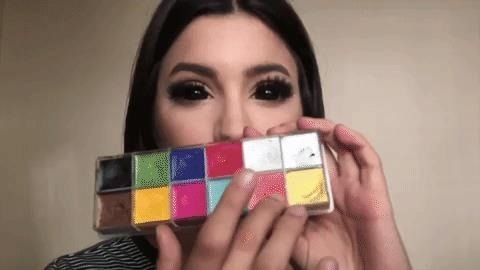
- makeup palette
- makeup blender
- no-color powder
- brushes
- thick, long, fake eyelashes
- eyelash curler
- eyelash glue
- rosy blush
- mascara
Step 1: Foundation
Begin by applying foundation evenly across your face and neck. The goal here is to achieve a color that will perfectly match the antennae you will create. If you own foundation and concealer that are very close matches, go ahead and use your foundation (you will eventually be using your concealer to paint the antennae). Use your beauty blender to achieve an even tone throughout.
In her video, MadeupWonderland just uses her concealer as foundation instead, because she's trying to match Mantis' exact skin tone, and MadeupWonderland's concealer was a closer match than her foundation. If you have darker skin though, it might be more effective to just use your usual foundation and concealer combination and go for a darker-skinned iteration of Mantis.

Step 2: Highlight (& Fake!) Facial Contours
Use the beauty blender to apply white powder from your palette to your chin and under your eyes. Mantis' face has very intense contours, and these highlights will bring out our contours.
Then use a darker brown shade to hollow out your cheekbones. Mantis has very high-set cheekbones, so if you don't, you can fake it by adding a darker shade higher than where your actual cheekbones are.
Apply RCMA powder over all the makeup work you have done thus far to set it.

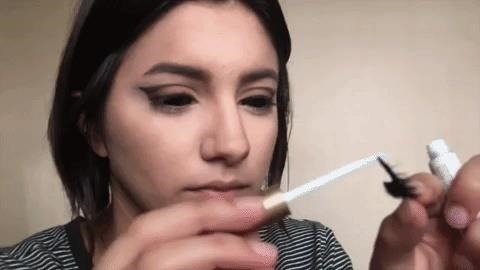
Step 3: Cut-Crease Eyelids
Mantis also has cut-crease eyelids. To create the illusion that you also have cut-crease eyelids, start by adding a light cream color from your palette to the inside corners of your eyelids.
Fill in a dark brown color from the outsides of your eyelids, and even it out to achieve a gradient that gets lighter from outside to in. Then use the darker brown color to draw along the curve of your eyeball (this is where you will be faking the cut-crease).

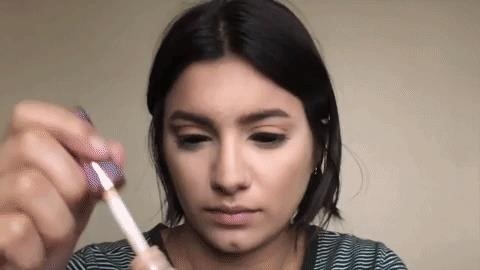
Add some concealer to your fine-tipped brush to clean up the edges of the cut-crease lines and give them high contrast.
Using a clean fine-tipped brush, add black to the very outer corner of the eyelid, giving it the pointy shape that MadeupWonderland achieves below.

Gently smooth out the transition from the black corner to the brown middle of your eyelid, so you achieve an even gradient.

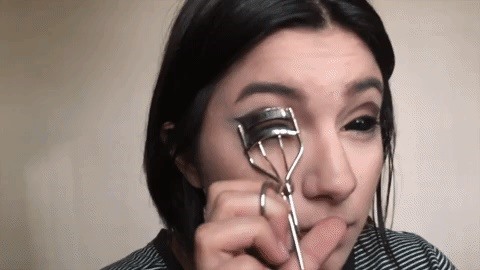
Step 4: Stick on Fake Eyelashes
To prepare your actual eyelashes for the fake ones you will be adding to them, curl your eyelashes.
Following the instructions on your eyelash glue, stick your fake eyelashes on your actual, freshly-curled eyelashes.
Apply some mascara to conceal the transition between your fake eyelashes and your real ones.
Step 5: Rosy Cheeks & Lips
Add blush to your cheeks. Note how MadeupWonderland is careful to apply it above the fake cheekbone line she created earlier. You don't want your rosy cheeks to detract from the hard work you put into the illusory cheekbones.
For the last step of the makeup routine, apply a coral shade to your lips.
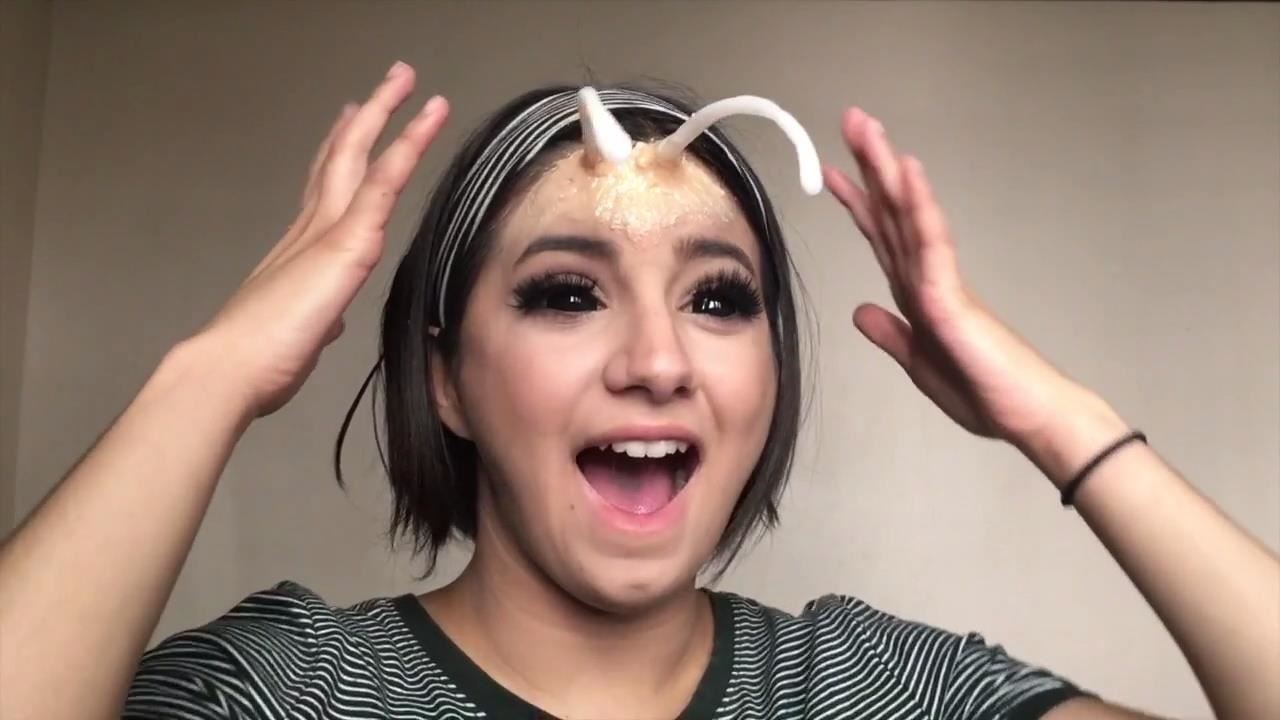
Antennae
Now that you've finished off the makeup work, it's time to move on to Mantis' signature anatomical feature — her antennae. First, gather up everything that you'll need for this portion:
- moldable plastic
- silicone molding compound
- heat- and water-friendly work surface, like a cutting board
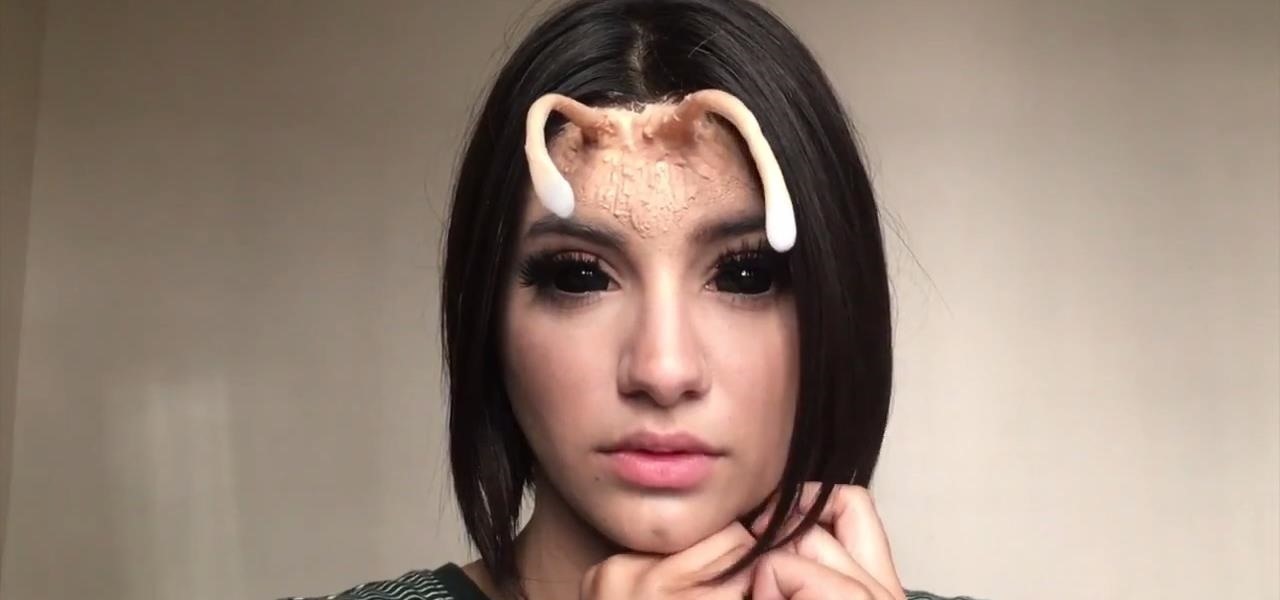
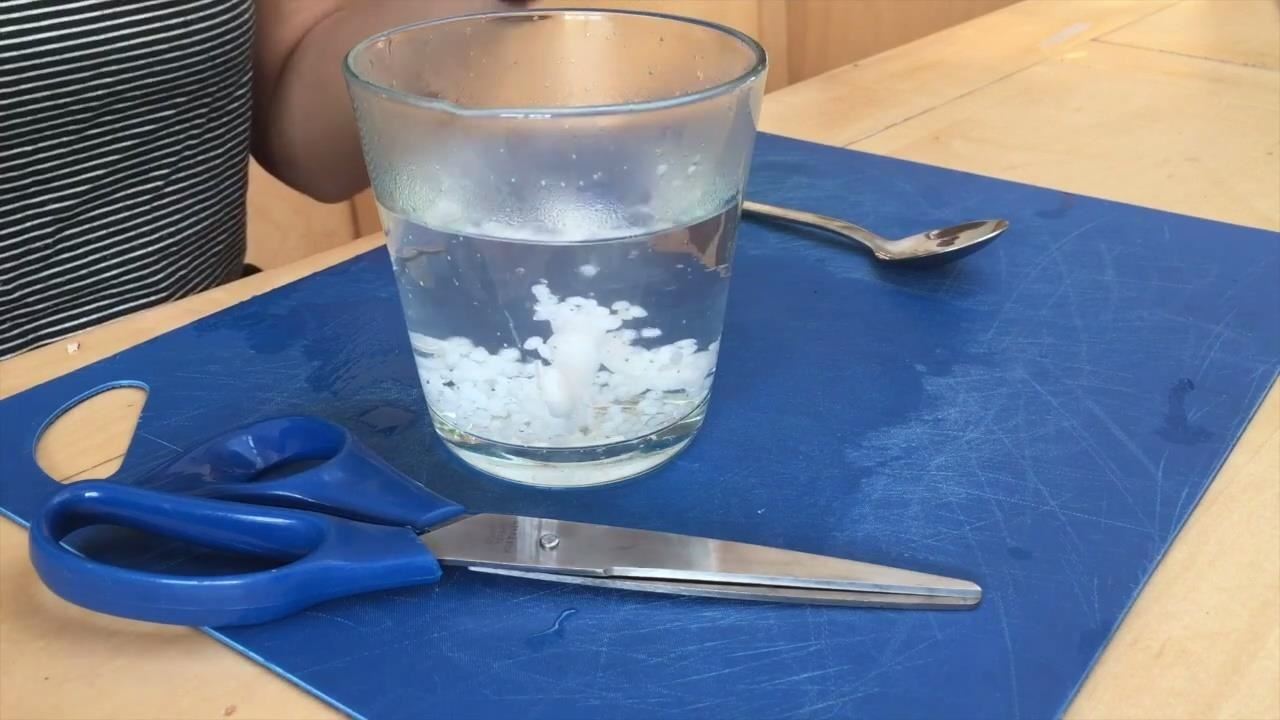
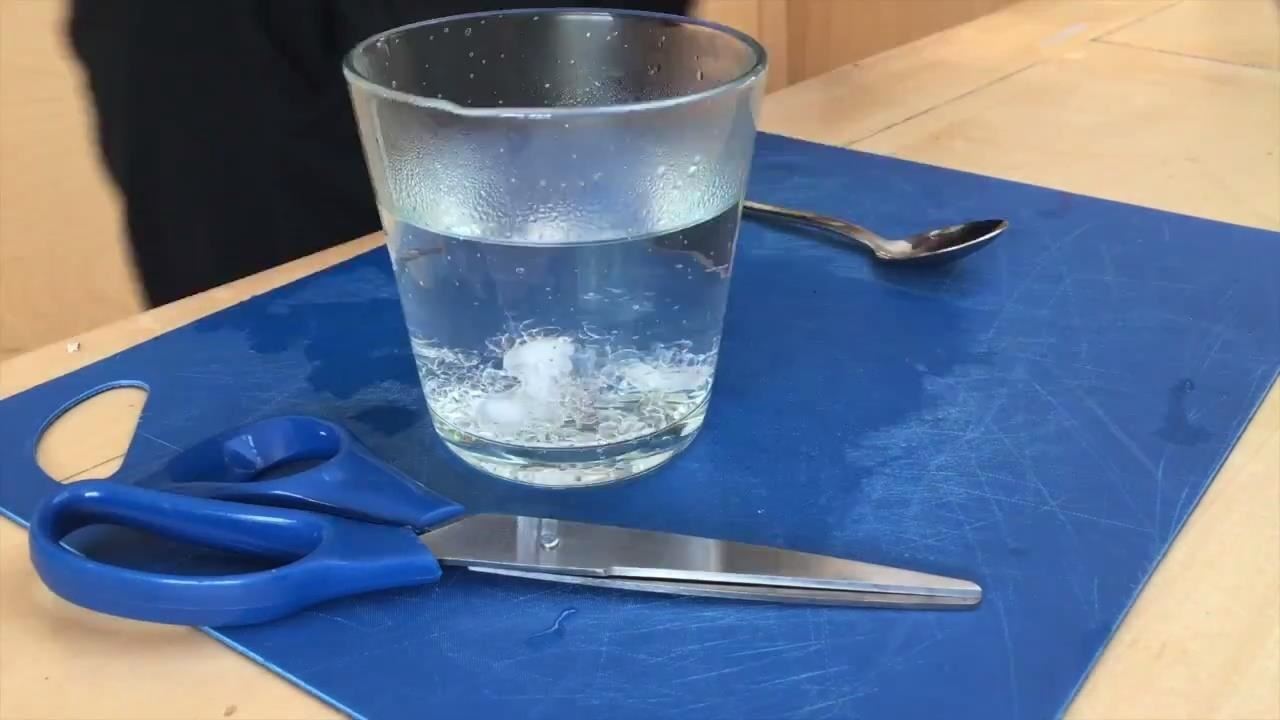
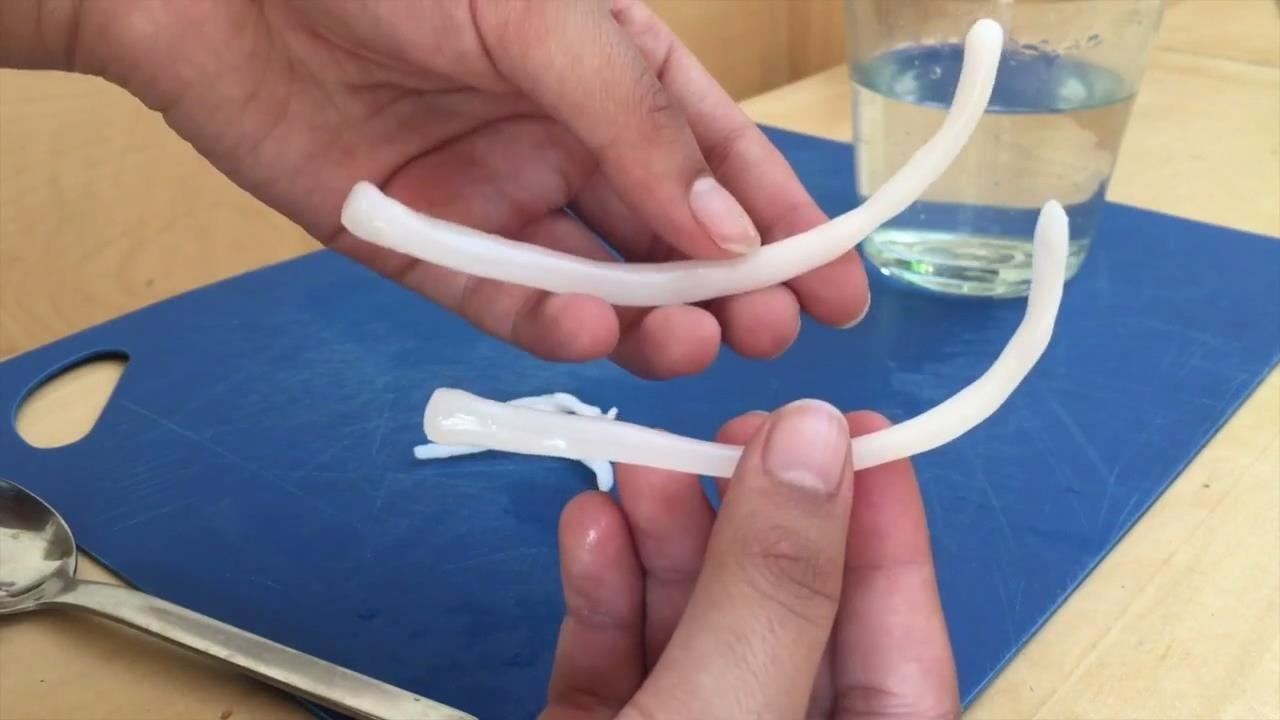
Step 1: Mold Plastic
Add a generous handful of moldable plastic to a cup of boiling water. The plastic will start out opaque and white, but when it gets hot enough it turns clear to indicate that it's malleable. Clump the plastic balls together with a spoon and fish it out onto your work surface.
Make sure the plastic has cooled enough that it's safe to touch (you can put on gloves if your skin is sensitive to heat). Tear the plastic into two clumps. Using your palm, roll the clumps into antenna shapes. Both antennae should be curved and smooth overall, but you want the tips to be slightly bent away from the overall arc of the antenna, and you want the ends that'll go on your head to be flat so they can actually stick to you.
Step 2: Mix & Apply Adhesive
Now you need to prepare the adhesive that will hold your antennae in place. This might be a challenging step, so don't get discouraged if it takes you several tries — MadeupWonderland took three attempts herself! You might also want to use a cheap throwaway brush you don't care too much about in case the adhesive hardens on the bristles. This is not a job for your favorite paintbrush or makeup brush.
Mix parts A and B of your silicone molding compound on a palette, blend some concealer in so your "glue" will be the same color as your skin. Make sure you use different tools to take parts A and B out of their respective jars, or you'll cross-contaminate and ruin both (expensive) jars. The mixture will begin to set fairly quickly, so finish gluing one antenna before mixing the adhesive for the other.
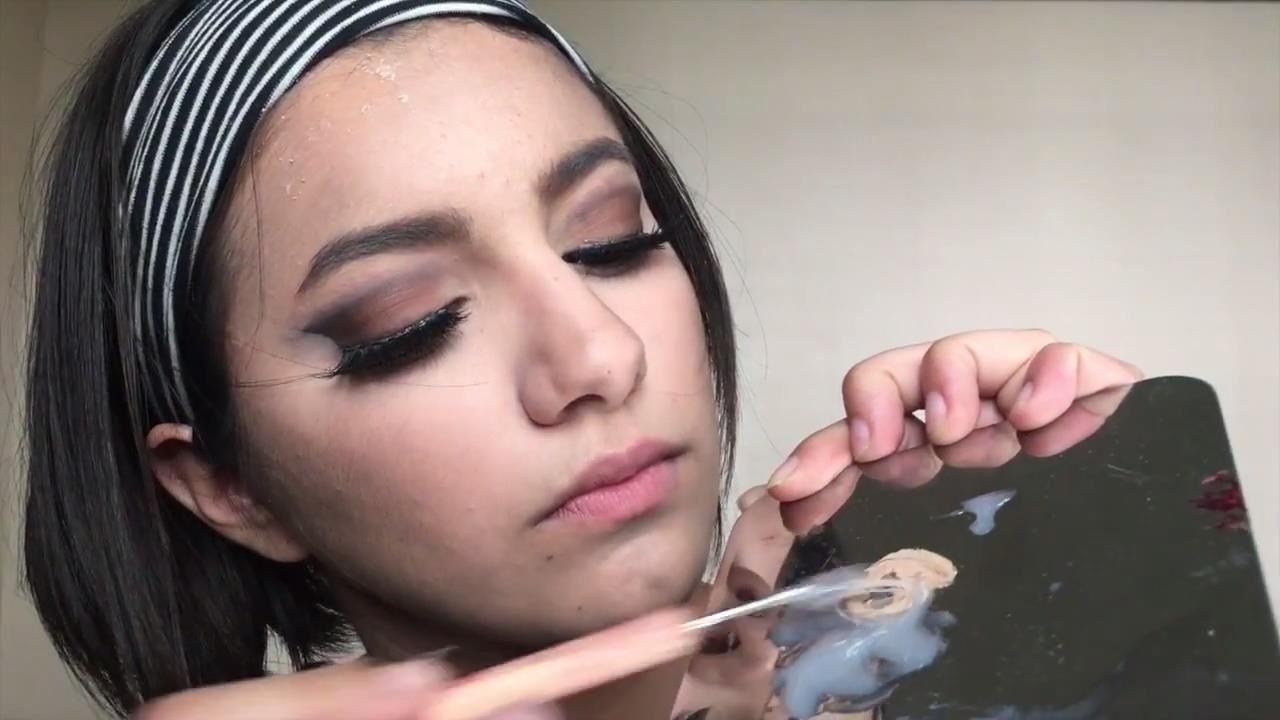
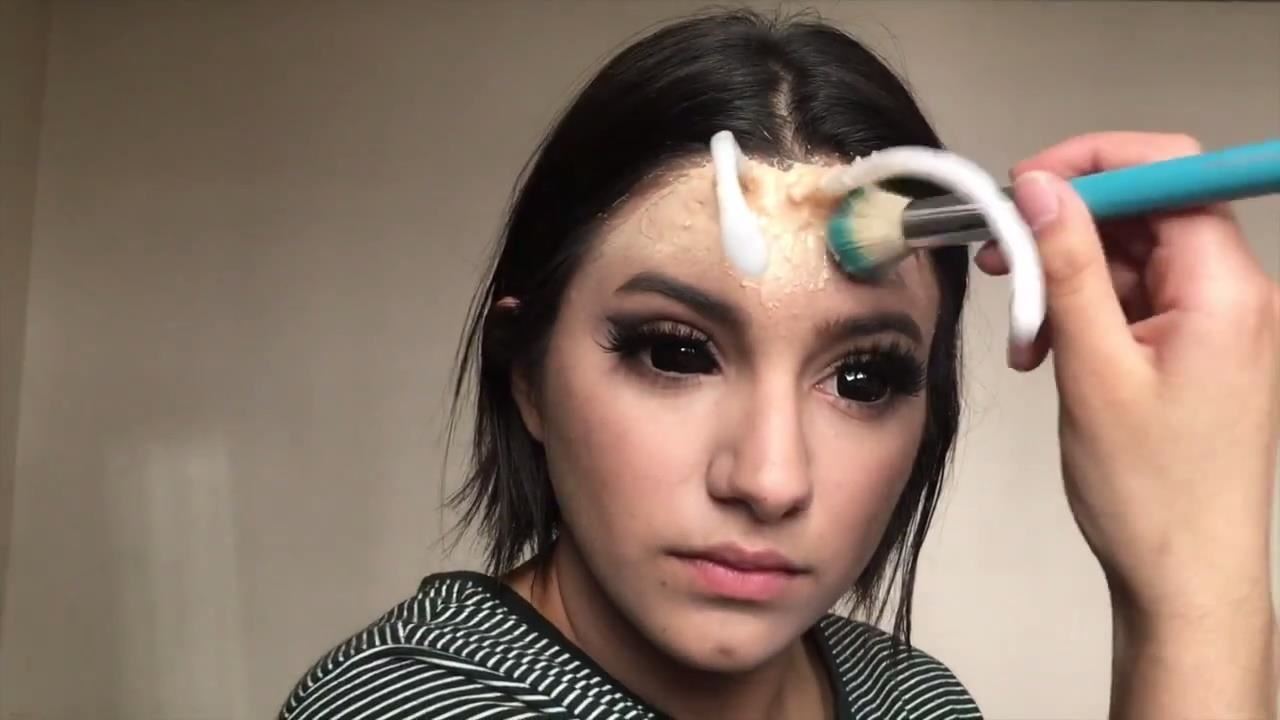
Hold one antenna in place while adding layers generously but quickly so it doesn't set too much on the palette.
Use your brush to blend the glue naturally into your forehead. You want to minimize any lumps or unevenness.
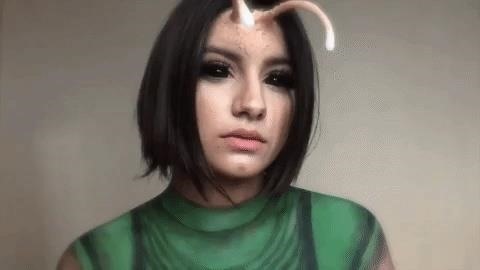
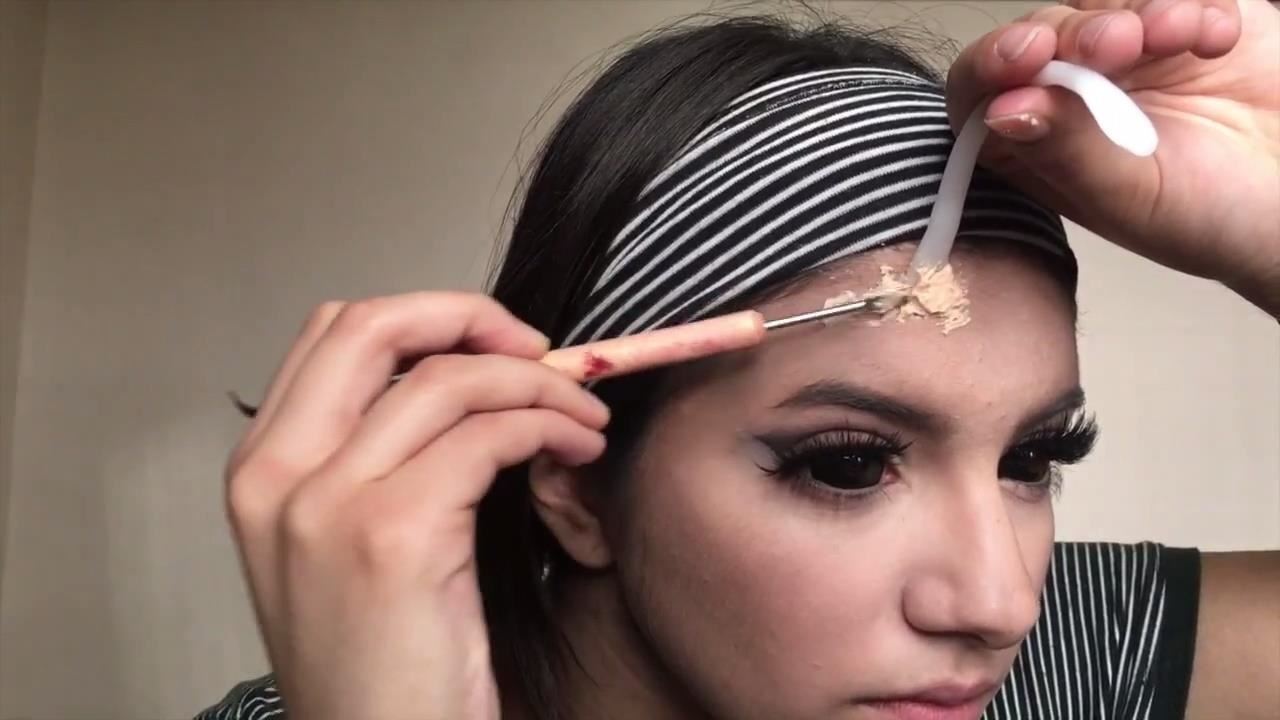
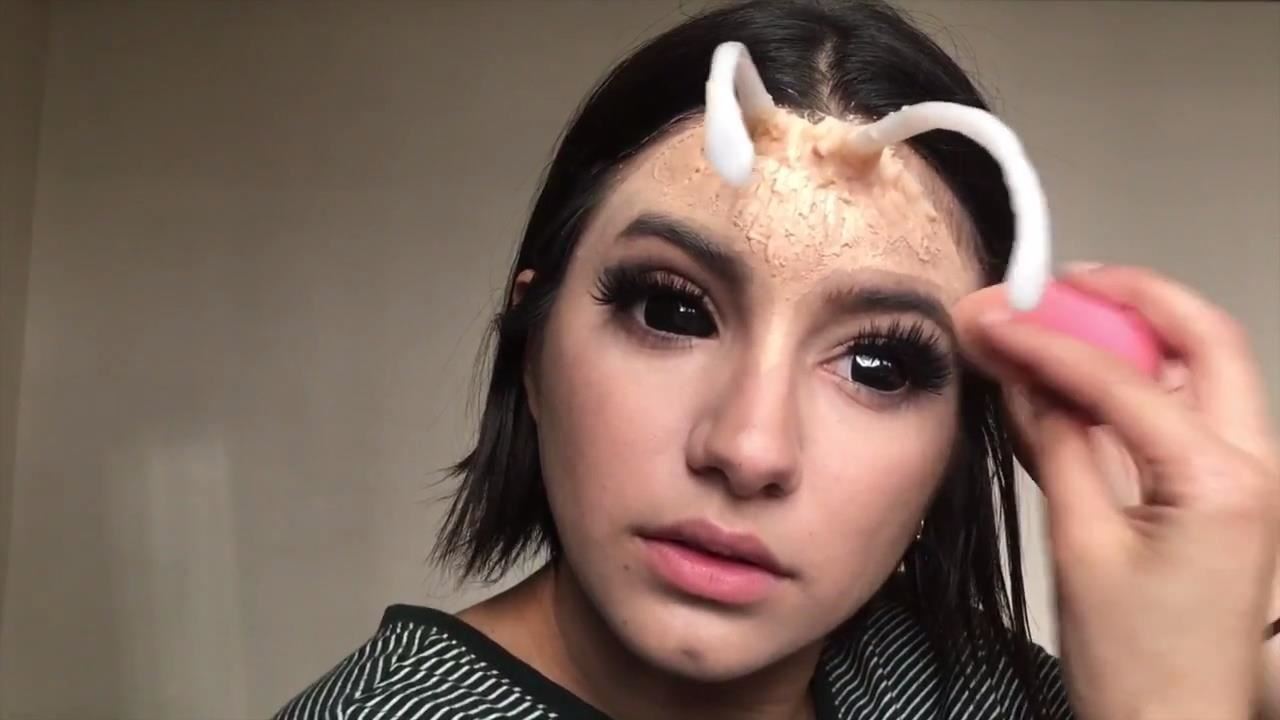
Step 3: Make Them Look Natural
Using a combination of powder from your palette and concealer, blend the transition from the adhesive to your forehead some more, so that you end up with a seamless transition.
Blend with concealer and sponge.
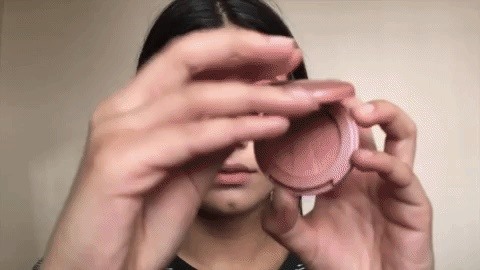
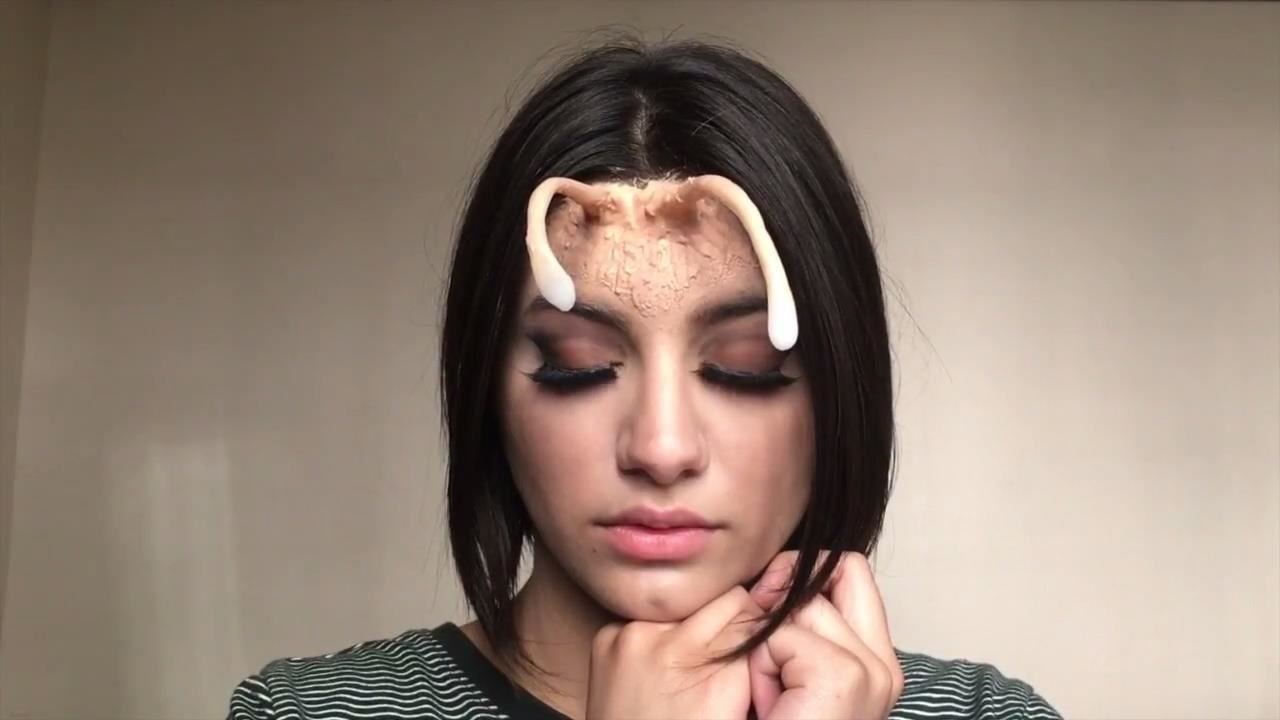
To finish the antennae off, paint them with your concealer applicator. You want to aim for a gentle gradient such that the tips are completely white.
Finishing Touches
All that's left to do is pop in some and black contact lenses, and don Mantis' costume. Although, if you don't want to break the bank with an exact replica, a green t-shirt, black jeans, and a black jacket (leather, preferably) will do in a pinch, because really, everyone's going to be focused on your antennae.
Nailed MadeupWonderland's antennae technique? Found an awesome workaround that's even easier? Let us know in the comments below!
Just updated your iPhone? You'll find new emoji, enhanced security, podcast transcripts, Apple Cash virtual numbers, and other useful features. There are even new additions hidden within Safari. Find out what's new and changed on your iPhone with the iOS 17.4 update.


Be the First to Comment
Share Your Thoughts