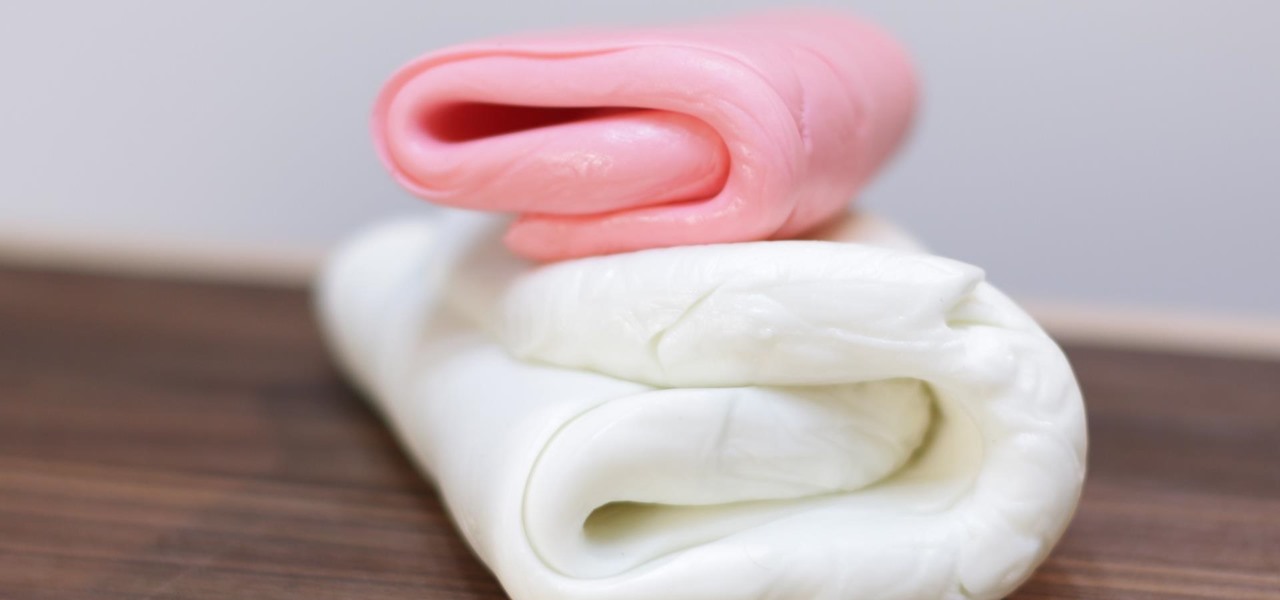

In this Food Hack I will show you how to make fondant, more specifically marshmallow fondant. This homemade fondant recipe for cakes and other treats is really easy to make using only a very few ingredients. Homemade marshmallow fondant is a little messy to work with and make but it is a lot of fun and it is much cheaper then store bought fondant. There are some countries where traditional fondant is super expensive. So this is a great alternative for people living there. :) If I can do it, you can do it, let's get started!
Ingredients:
1lb. - 16 oz bag of marshmallows (I use the mini ones) (400g)
2 to 4 tbsp. of water (30 to 60ml)
2 lb. - 32 oz bag (8 cups) of powdered sugar (confectioners), sifted (900g)
Food coloring gel (optional):
Shortening for your hands and work surface
Tools:
large bowl
spoon
silicon mat (optional):
sifter
plastic wrap
The above links are affiliate links. :)
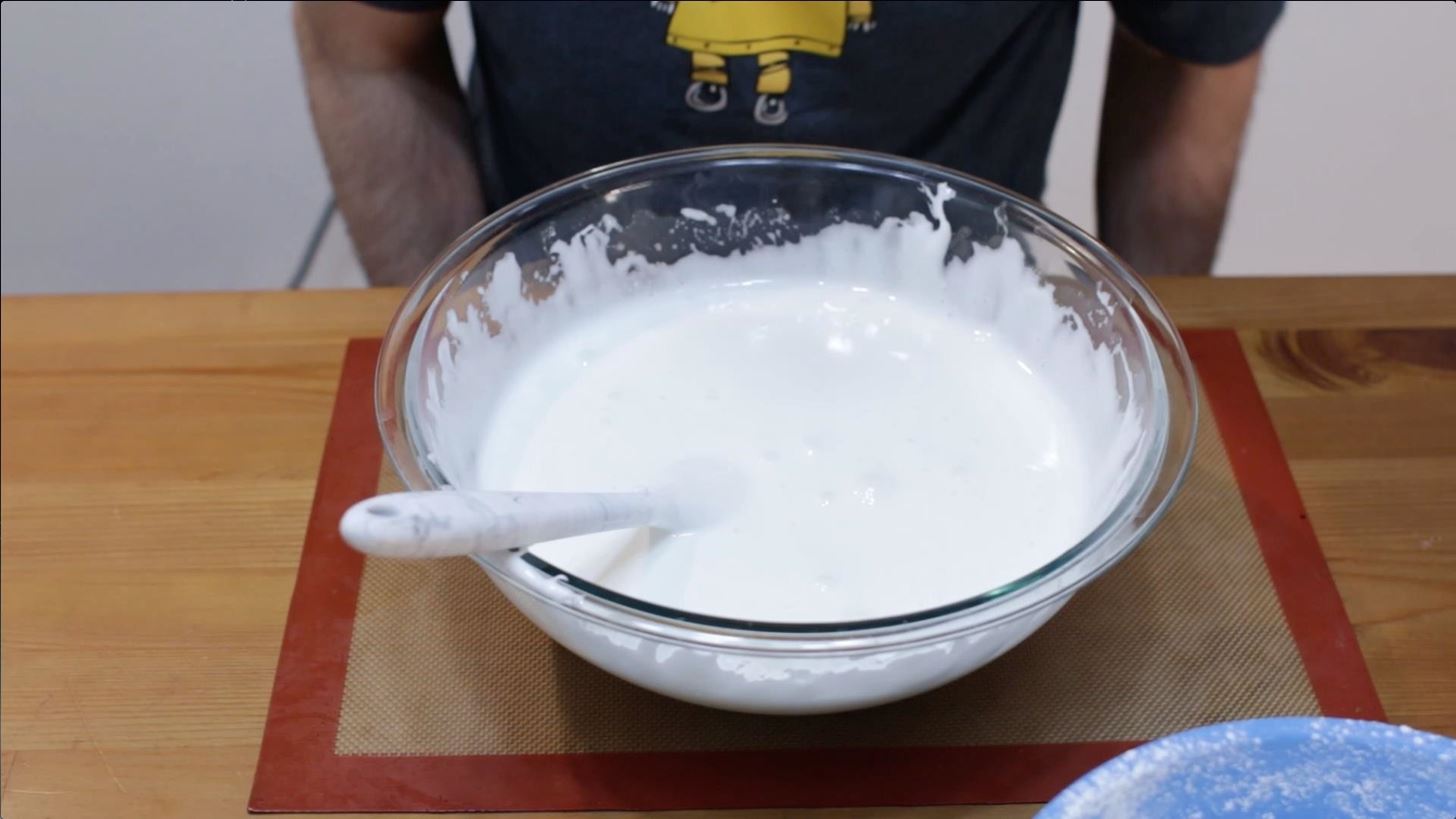
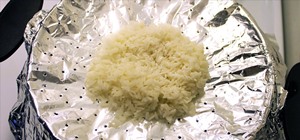
Step 1: Melt Away!
In a large bowl add all of your marshmallows. Then add about 2 tbsp. (30ml) of your water to the bowl as well. Now place it in the microwave on an high for 30 seconds. Then stir the marshmallows, then again in the microwave on high for 30 seconds, then stir, repeat process until the marshmallows are all melted and are nice and smooth. It will only take about 2 minutes, total.
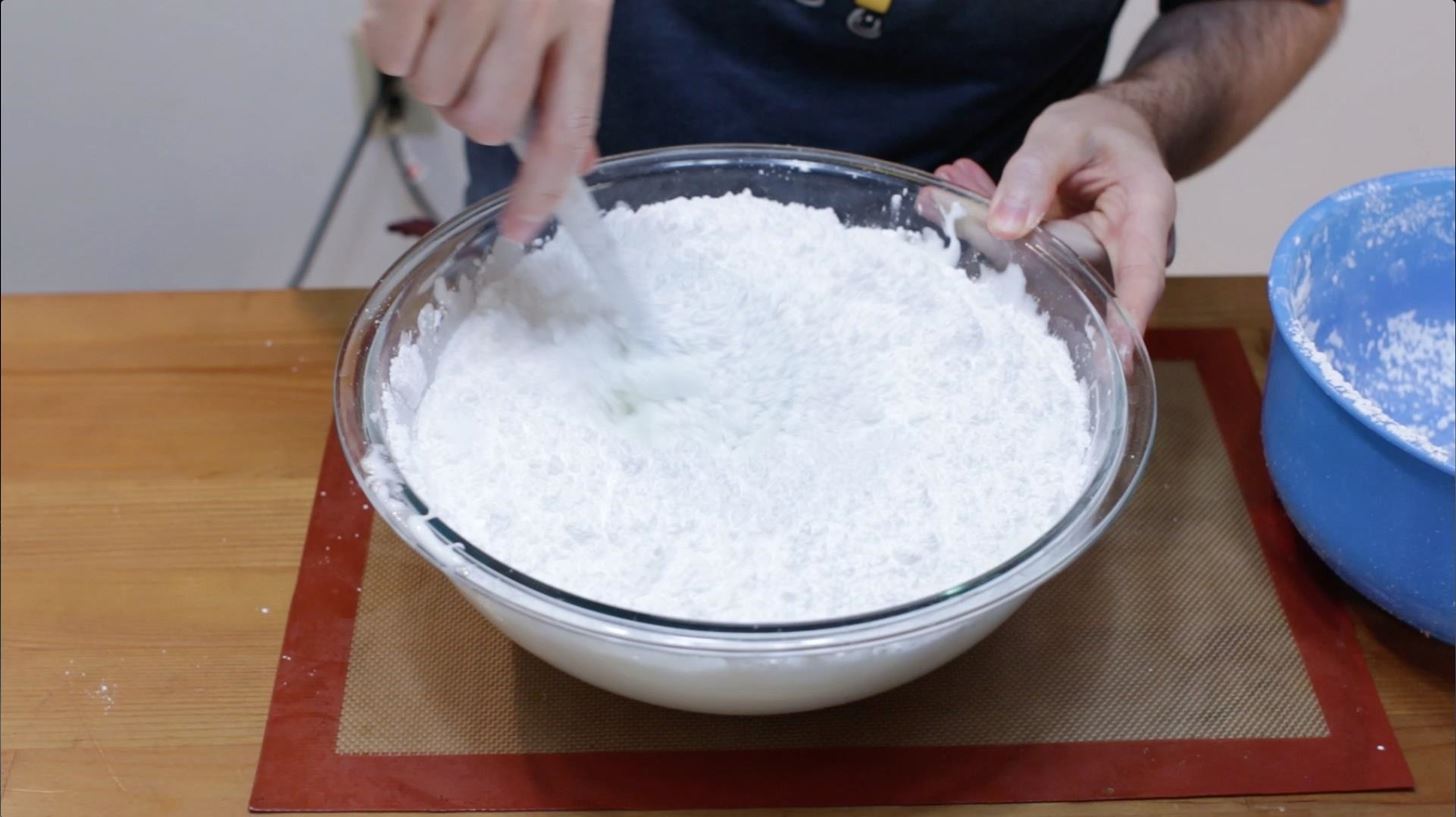
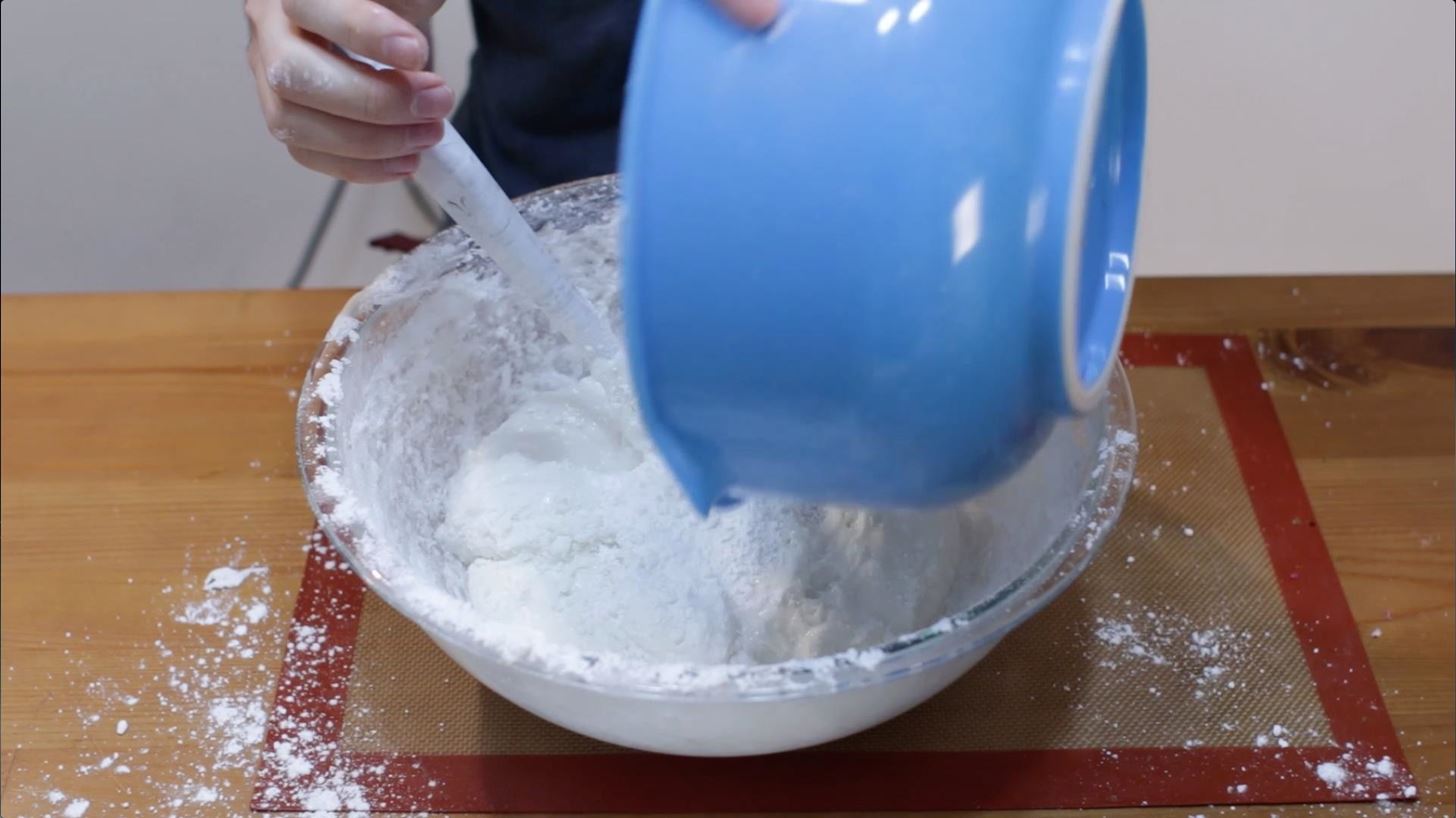
Step 2: Stir That Sugar In
Next we will add in a bunch of our sifted confectioner's (powdered) sugar. I just sift it all in the bowl beforehand. You can add in about 6 cups of it at once and then start stirring away with a heavy duty spoon like a silicone spoon or wooden spoon. Don't worry if powdered sugar flies everywhere, that is part of the fun...lol. You may want to wear an apron. Keep stirring until it comes together into a tacky dough.
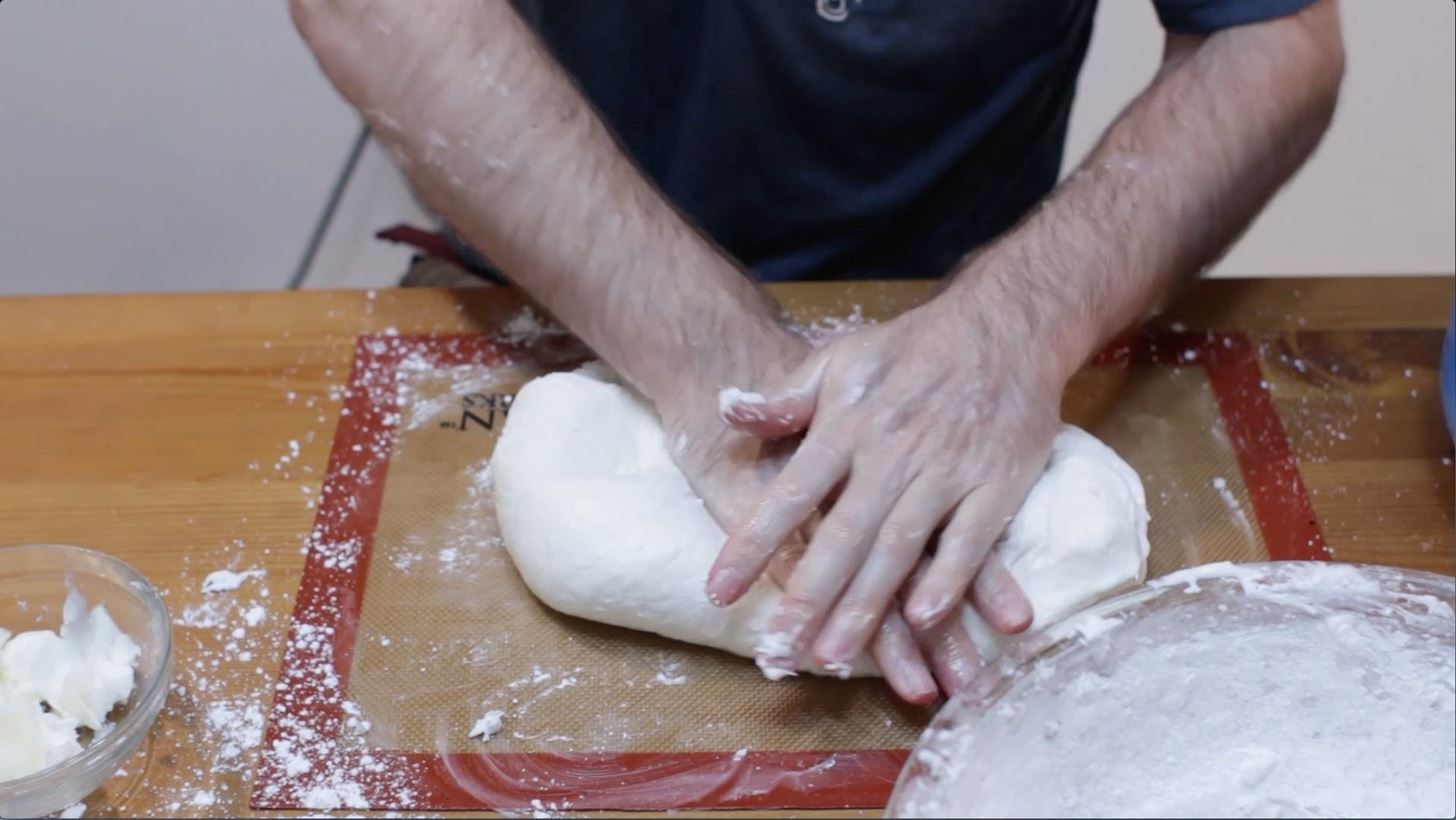
Step 3: A Little Shortening Goes a Long Way
Next on your counter top or if you are using a silicone mat, add a thin layer of shortening to it. This will help keep the marshmallow fondant from sticking while we knead it. Also add the shortening to your hands. Then start kneading the marshmallow "dough", like you would bread dough. Add more powdered sugar as necessary, you will wind up using most if not all of it. It really depends on where you live, how humid or dry it is, etc.
Step 4: Coloring
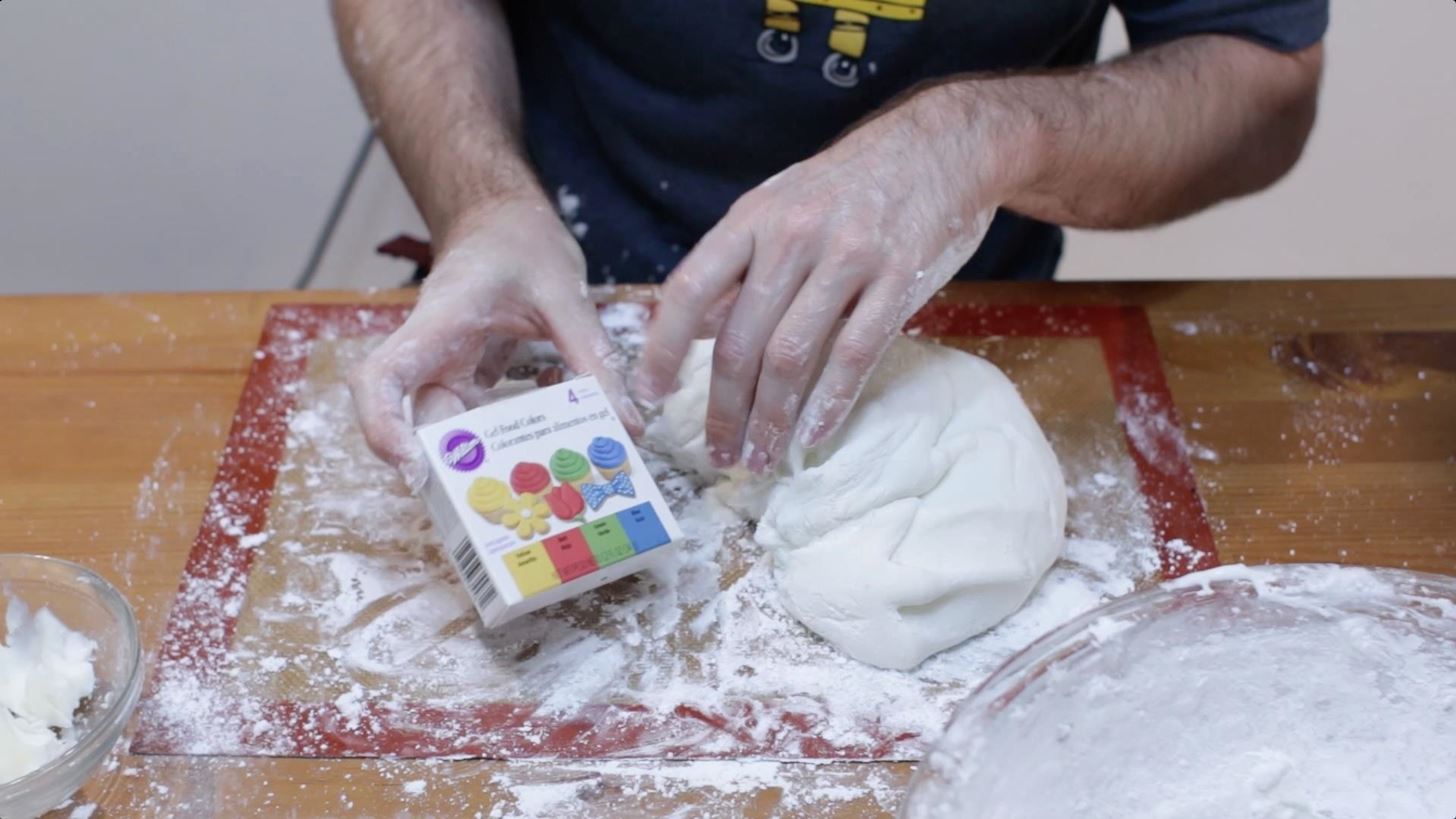
If you would like the fondant to all be one color, you can add the food coloring gel during the melting phase of the marshmallows. You need to use a gel based food coloring. :) If you want to have different colors we will add that in later.
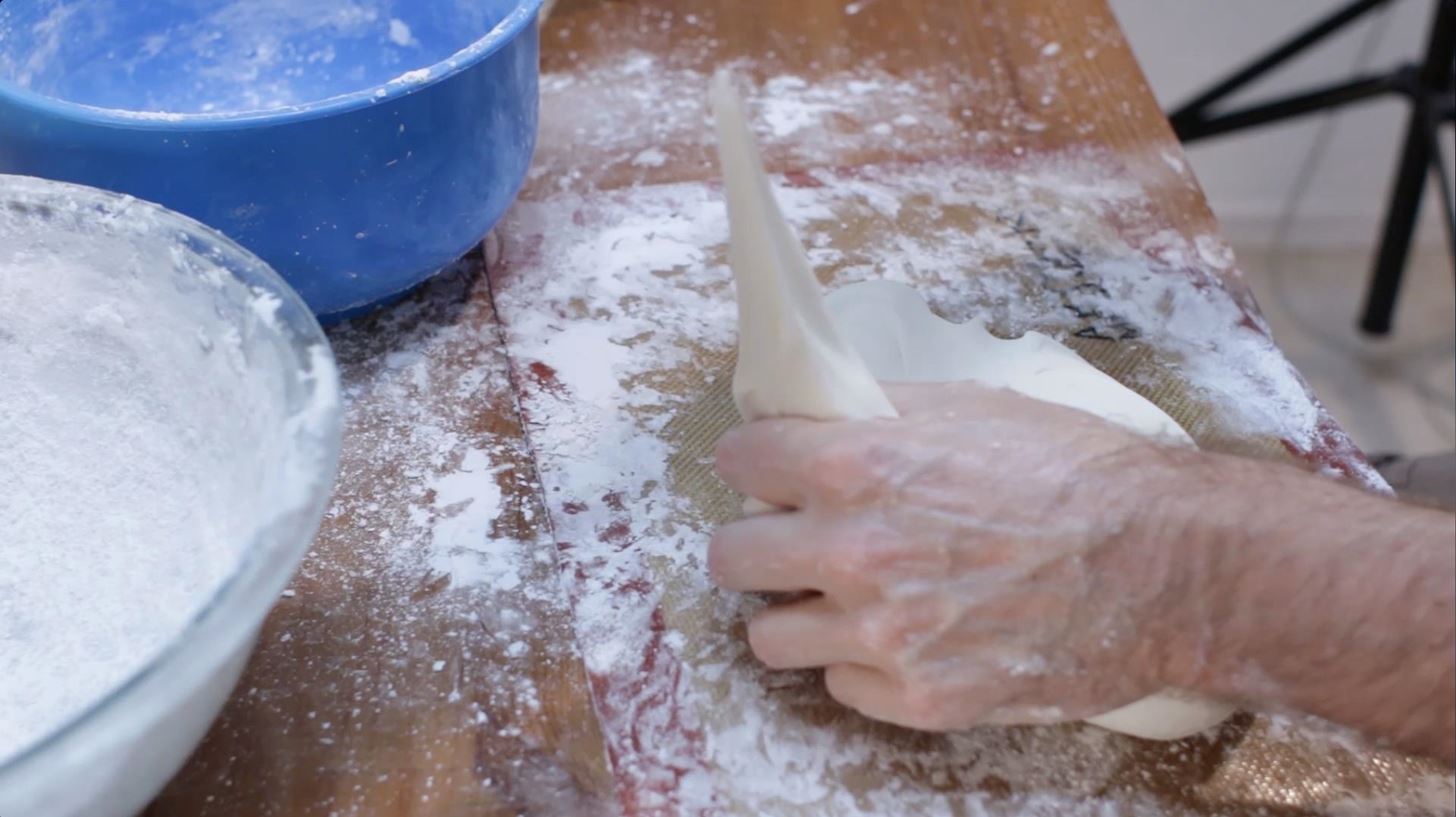
Step 5: Proper Consistency
Now we want to keep kneading and adding powdered sugar and shortening to the counter/silicone mat and hands as necessary until we reach a certain consistency. If when you pull it, it stretches super far and is still pretty soft, you need to add more powdered sugar and keep kneading, until when you pull on it, it stretches a bit and then breaks off, then it is ready to go! I wound up using all but 1/4th cup of the powdered sugar. Now the fondant is ready to be colored.
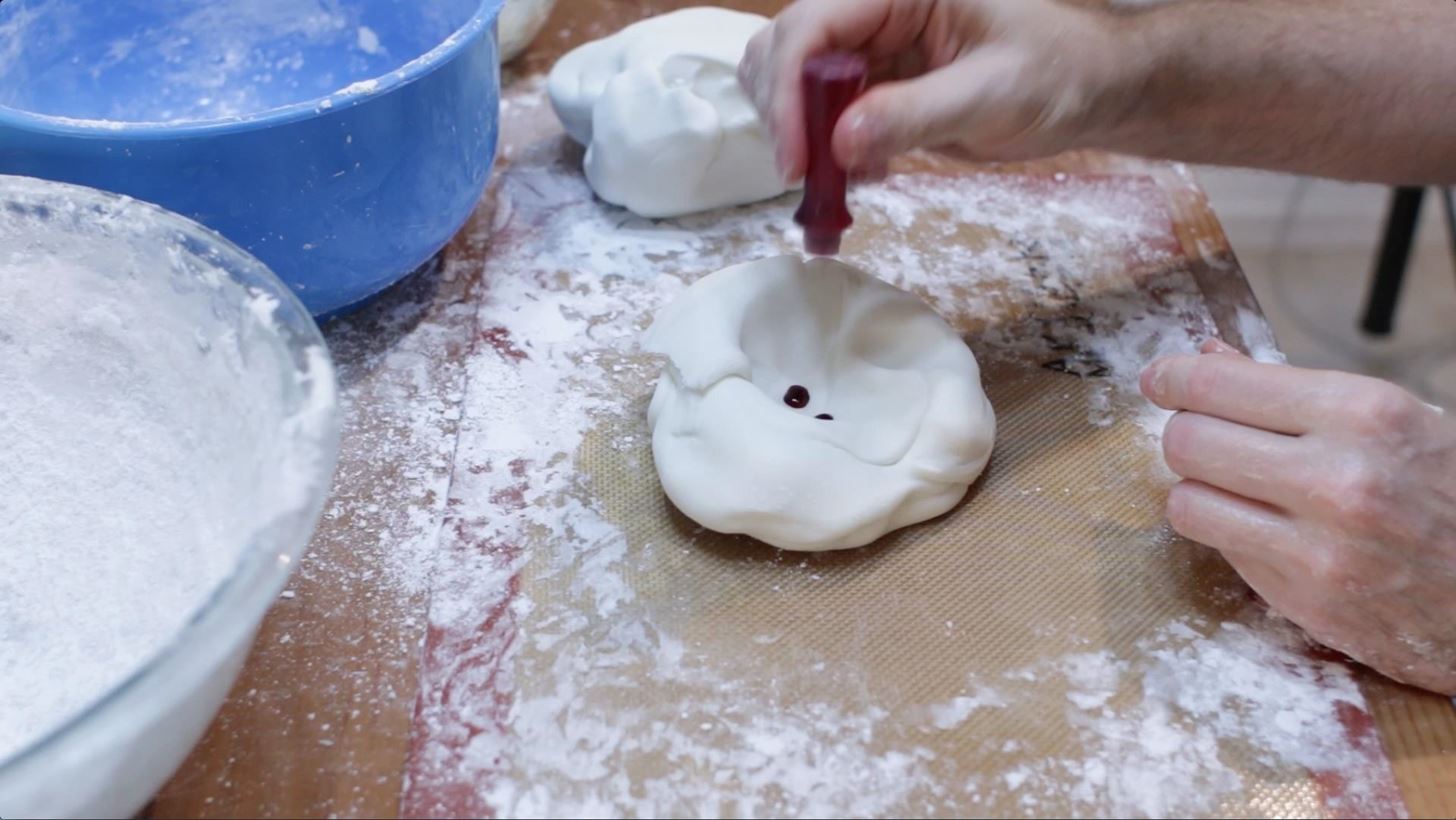
Step 6: Coloring, Shortening, and Kneading
Now we divide the white fondant into as many colors as we want to make. Then add a few drops of coloring to the fondant. Next we add some more shortening to our hands, this will help prevent the food coloring from coloring our hands. Then knead that color in, until you have a uniform color. Add more food coloring as necessary to get your desired color.
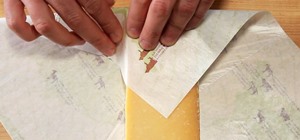
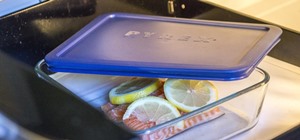
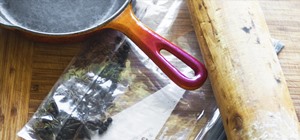
Step 7: Storage and Use
Now take a bit of shortening on your hands and then coat the fondant for storage. This will help keep it from drying out on us. Next wrap them really well with plastic wrap and then place in the fridge for about 12 hours. After that take the fondant out of the fridge, let it sit for a few minutes at room temp and then you can knead it a bit with your hands and roll it out for whatever you need it for. :) It is a fun project and cheap! Enjoy!
*Note - you can use it right after you are done making it, but it usually works better, if you store it in the fridge first. For long term storage, wrap it really well in plastic wrap, then place in air tight container, then in a dark cool area like a pantry, it should last for a few months. :)

Step 8: Video Tutorial
Now watch those steps in action by checking out the video tutorial. :)


Be the First to Respond
Share Your Thoughts