

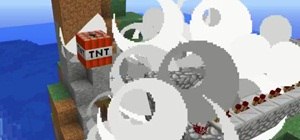
Have you always wondered how to make a customizable and efficient TNT cannon in Minecraft? Are you looking to raid some bases on a PVP/factions/griefing server, but don't know where to start? Well, this tutorial will go over how to make a TNT cannon, and the different ways you can customize it to your liking.
Step 1 Setup
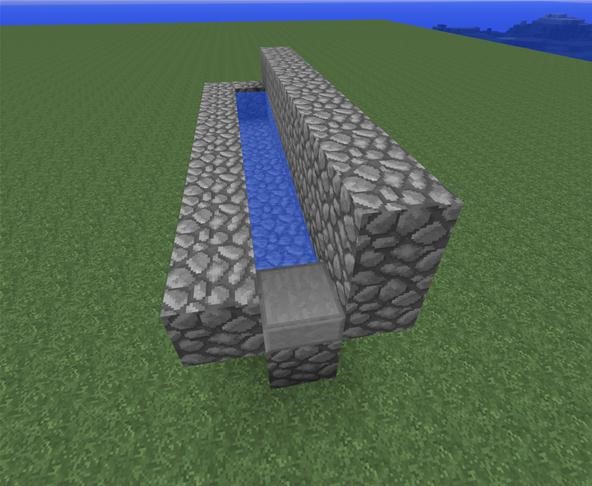
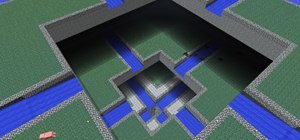
Since water flows 8 blocks in a straight line, we will be making our cannon 10 blocks long (we will need 1 extra block on each end).
Place 10 blocks down (1 block wide) on the ground making sure that it's pointing towards your kill target. At the back of your 10 long horizontal pillar, place 1 block to your left, and another block on top of that. Continue placing the remainder of the 10 blocks. Do this process for the right side as well.
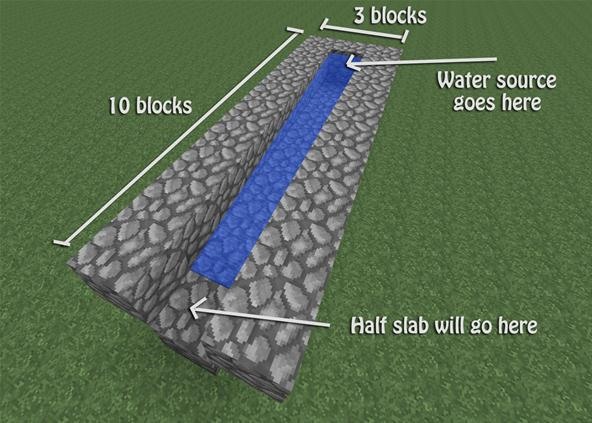
You will now want to place your water source. Place your water source at the back of the blocks, inside the little barricade you just made. For this step, you will want to make sure that your water is flowing TOWARDS your kill target.
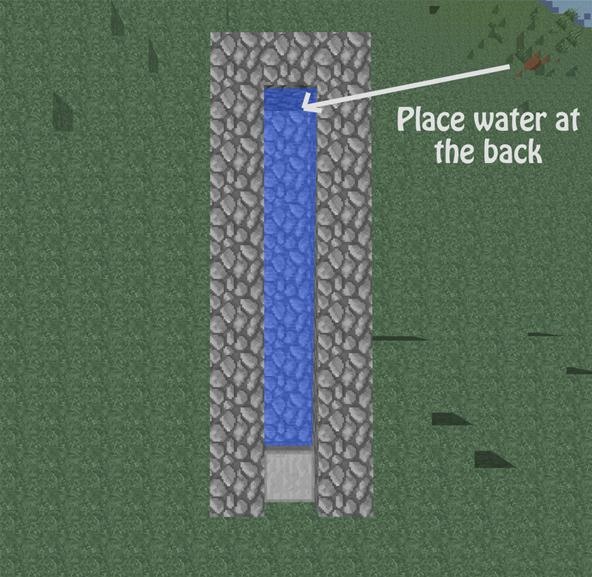
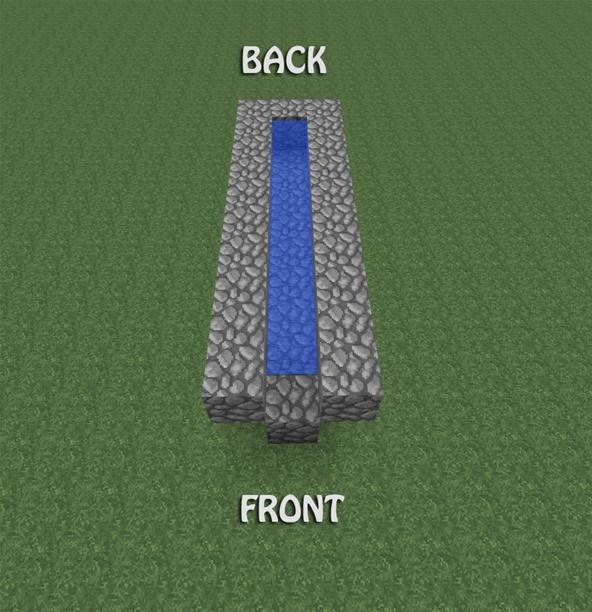
If you counted your blocks out correctly, your water should stop 1 block away from the edge. Now you can place a half-slab right after the block the water ends on.
Step 2 Preventing Mishaps
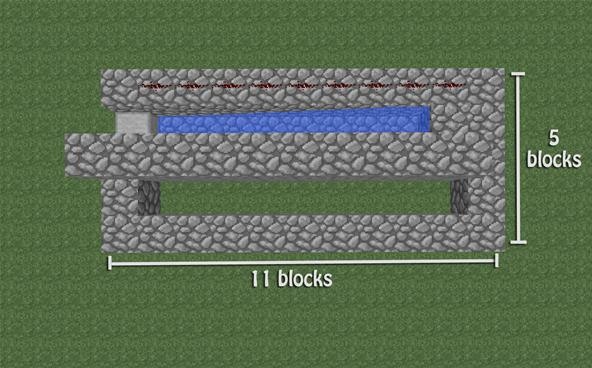
Build up the right side of your cannon so that is is two blocks tall instead of one (right side meaning—stand in front of your cannon and face the back of it). This will prevent the TNT from shifting too far out of place, and will keep the TNT inside the water so the water will absorb the block damage from TNT.
On the opposite side of the wall you just built, place redstone all along the side. You want redstone all on the left side, but NOT on the block to the side of the half slab! The half slab will be powered another way, so don't worry about that.

Step 3 Preparing for Repeaters
On the right side of your cannon, place two blocks along side of each other 1 down from the wall you built in Step 2.
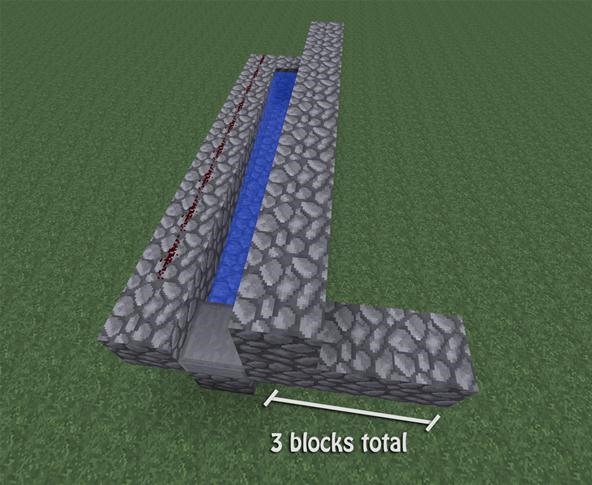
Turn, and continue building this layer all the way to the back of the cannon. This pillar will be 11 blocks long (1 block longer than the rest) by the time you reach the back.
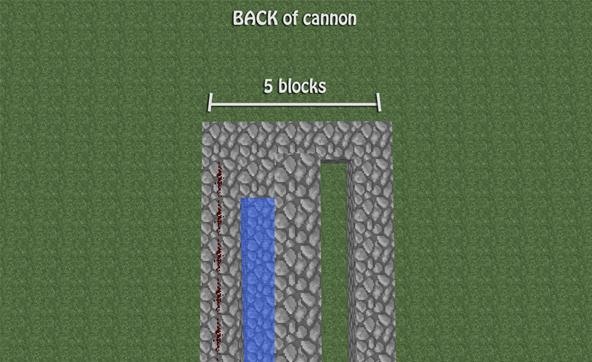
Connect the right blocks with the left along the back of the cannon.
This next part is optional, but I personally find it useful so that I don't accidentally place TNT on the water source.
Go to the back of the cannon, and place a block over top of the water source. This, in the long run, can save resources in survival (especially if you only have 1 water bucket on you while raiding).
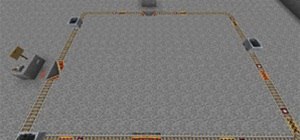
Step 4 Repeaters!
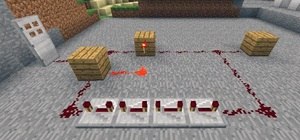
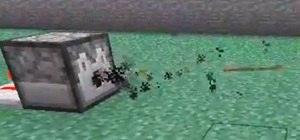
Go back to the front of your cannon, and place two redstone one block away from the half slab (on the blocks you just placed in Step 3).
Next you will want to place 9 redstone repeaters so that they are facing the front of the cannon.
Take some more redstone dust and connect the back of the repeaters with the left side of the cannon (the other redstone dust you placed earlier).
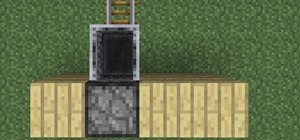
Step 5 Buttons vs. Levers
For TNT cannons, I personally like using buttons, as you do not need to worry about shutting the button off every time you shoot the cannon, like you would a lever. If you were to use a lever, the redstone would constantly be active every time you flipped the lever. This could end badly if you forget to turn off the lever before shooting off the cannon.
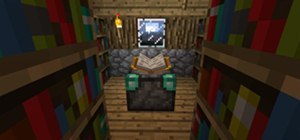
To connect the button, go to the back of your cannon and build one block out from the middle. You will want this to be on the same level as the other redstone. Next, place a different colored block (I used red wool) on top of the block you just placed. Place a button on the back side facing outward from the cannon itself.
Feel free to make a little platform if you're in the air like I did.
Step 6 Repeater Settings
As always, each server is different. Depending on if you play on a laggy server or not, this will take some getting used to. I generally set all my repeaters to 2 (1 right click on each) and the furthest back repeater to 3 (2 right clicks).
The great thing about this cannon is that because of the repeaters and the size of the cannon, it can be customized a lot.
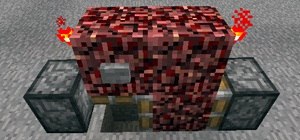
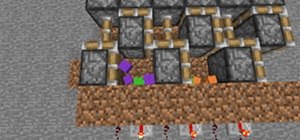
Step 7 Add TNT
Place your TNT in the cannon. You will want to place 1 TNT on top of the half slab, and the rest of the TNT should be in the water blocking the water flow. This step is entirely up to you depending on how much TNT you want to use. I'd suggest starting off with 4 total (3 in water, 1 on slab) to get a feel for the cannon and server lag.
Tips
- If you are using water in your cannon, you do NOT need to use a TNT-resistant block to create your cannon (like obsidian). The water will absorb the damage, so it will end up being a waste of resources.
- You can use different mounting blocks other than the half slab. Using different mounting blocks will result in the TNT being shot in different ways.
- Using Iron Bars/Glass Panes instead of a half slab will result in the TNT being shot at a higher angle. The blast energy is directed upwards on the block, so shot velocities are generally much slower than half slab shots. This is a good option if you are looking to shoot over terrain/walls. Larger delays on the repeaters is the way to go if you're looking to shoot over objects.
- Using a trap door (opened) will shoot TNT at a higher angle and a closed trap door will shoot more straight. Very little velocity is lost when firing, so the TNT tends to shoot very fast.

- Using a full block instead of a half slab will dramatically decrease the velocity of the TNT. Useful for hitting an elevated target, or a target behind terrain/walls. Larger delays on the repeaters is the way to go if you're looking to shoot over objects. Larger delay means the TNT won't go off in the air by mistake.
Questions for the Audience:
- Do you have experience with TNT cannons? What type of cannon is your go-to cannon?
- If you've never made a TNT cannon before, does this tutorial inspire you to try it out?
- What kind of tutorials would you like to see in the future?
I would love to hear a few words from the audience, so please... don't be shy!
Follow us on Twitter @MinecraftHowTo!
Just updated your iPhone? You'll find new emoji, enhanced security, podcast transcripts, Apple Cash virtual numbers, and other useful features. There are even new additions hidden within Safari. Find out what's new and changed on your iPhone with the iOS 17.4 update.


9 Comments
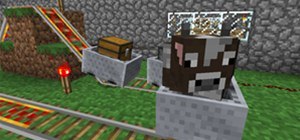
The Zombies helped you out I see.
Nice tut im going to tyr it now
I have used this desin before, but I have another that is used for launching manually. It is a square of 4 cobble, dirt and two TnT next to eachother on it do there is two spaces left. Then I put one red stone torch on the block next to the back TNT then after 6 seconds I put one on the block next to the front one and them I run. :) Sorry for the long post.
Yeah, this is a quick way to do it! I use this method all the time!
nice cannon
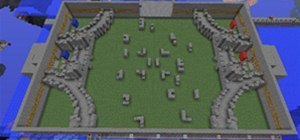
I think the MINECRAFT cannons are great for multiplayer/ PVP sieges. I have a HUGE artillery piece on my server to be with 5 cannons long and 2 tall resulting in a barrage of 10 TNT!!! I use the open trap doors alot for those pesky walls.
I created a tutorial on how to create an 'Auto-Cannon'. Shoots, reloads and fires again and again with a flick of a switch. Updated for 1.5!
does this only work for pc or can it be used on the 360 also?
i like this one mediafire.com/file/7pnn1n35cdl82tc/200stackernuke.schematic/file
no ads just click download and put in your schematics folder if u have the mod
or this one mediafire.com/file/gy1dld0ic2m8n27/FIX60StackerFusion.schematic/file
just download litematica or schematic depending on your version and run mc
then u need to go to windows + r and do %appdata% finally u just go to the .Minecraft folder and look for schematics and place it in there
there basically nuke cannons which blow through like everything
Share Your Thoughts