
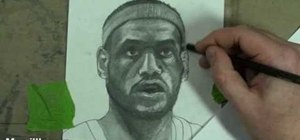
VCAD instructor Glen Kennedy introduces fundamental drawing techniques to encourage young artists to develop and hone their drawing skills.
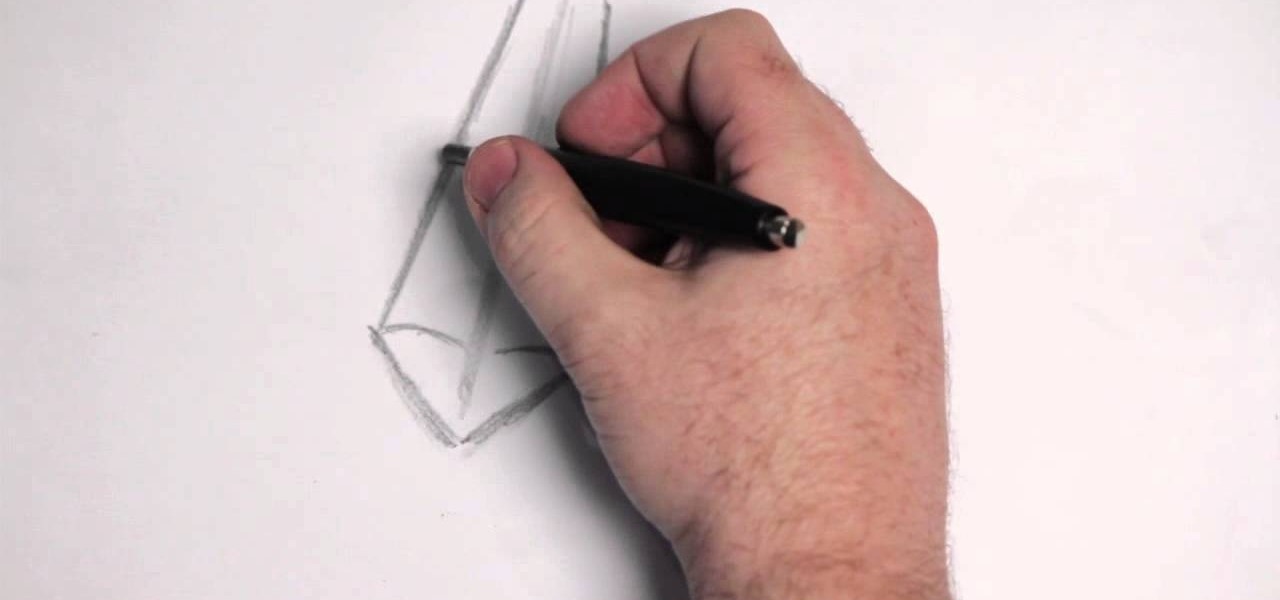
Step 1: In Part 1 of the Video Series, Kennedy Begins the Drawing with Simple Shapes to Start and Uses a Center Point to Draw the Nostrils and Bridge of the Nose. The Shapes and Lines Start to Form the Outline of the Nose Structure.
Step 2: In Part 2 of the Video Series, Kennedy Begins Sketching the Shape of the Mouth and the Outside Areas of the Nose. In Order to Give Volume and Life to the Drawing, He Shows Viewers How to Soften the Shapes and Lines and Make the Nose and Mouth Look More Life-Like.
Step 3: In Part 3 of the Video Series the Concept of Shading and Blending Is Used by Kennedy to Introduce a 3-D Effect on the Shape of the Nose and Mouth. Kennedy Encourages the Viewer to Create a Contrast of Colours by Understanding Where the Light Hits the Drawing.
Step 4: In Part 4 of the video series, the final details are applied to the human nose and mouth to soften up some of the line images. By continually shading and blending parts of the drawing with the pencil and eraser, Kennedy demonstrates how a few simple shapes were transformed into a life-like, 3-D, human nose and mouth.
Just updated your iPhone? You'll find new emoji, enhanced security, podcast transcripts, Apple Cash virtual numbers, and other useful features. There are even new additions hidden within Safari. Find out what's new and changed on your iPhone with the iOS 17.4 update.


Be the First to Comment
Share Your Thoughts