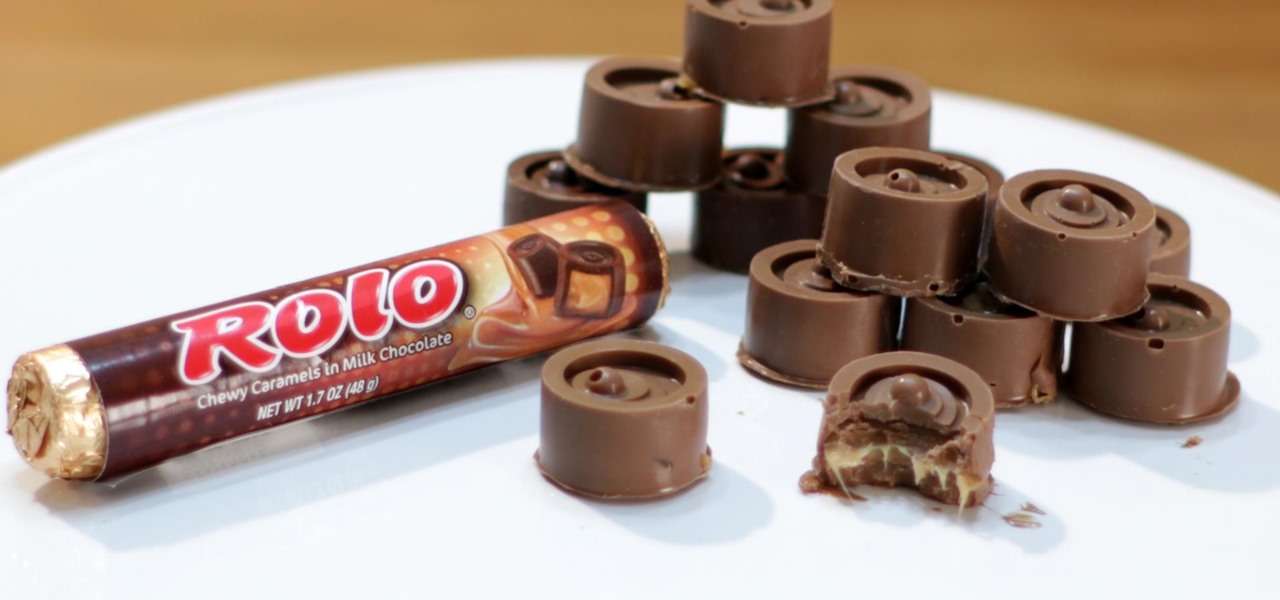

This recipe for homemade Rolos is super easy to make, and they taste really close to the real thing, a bit better in my opinion. Chewy caramel covered in milk chocolate...mmm yummy, who can resist that? If I can make these you can make these, let's get started! Follow the easy steps below or watch the video tutorial, or do both!
Step 1: Ingredients

- Silicone Chocolate Mold
- 1 milk chocolate candy bar (or any chocolate) -120g
- 12 caramels (I use the Kraft brand) - 110g
- 1 tbsp. of milk or cream
- Straw (or some kind of tool for "painting" the chocolate on sides of mold)
- Spoon
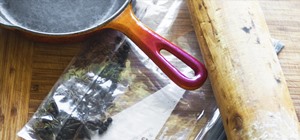
Step 2: The Mold
For these I purchased a cheap silicone round mold. It works great and has a cool little design on the top. It was the closest thing I could find to a Rolo shape. Plus I am a little bit addicted to buying silicone molds and making chocolate treats with them. You can use any silicone candy mold you like.
Step 3: Melt Your Chocolate
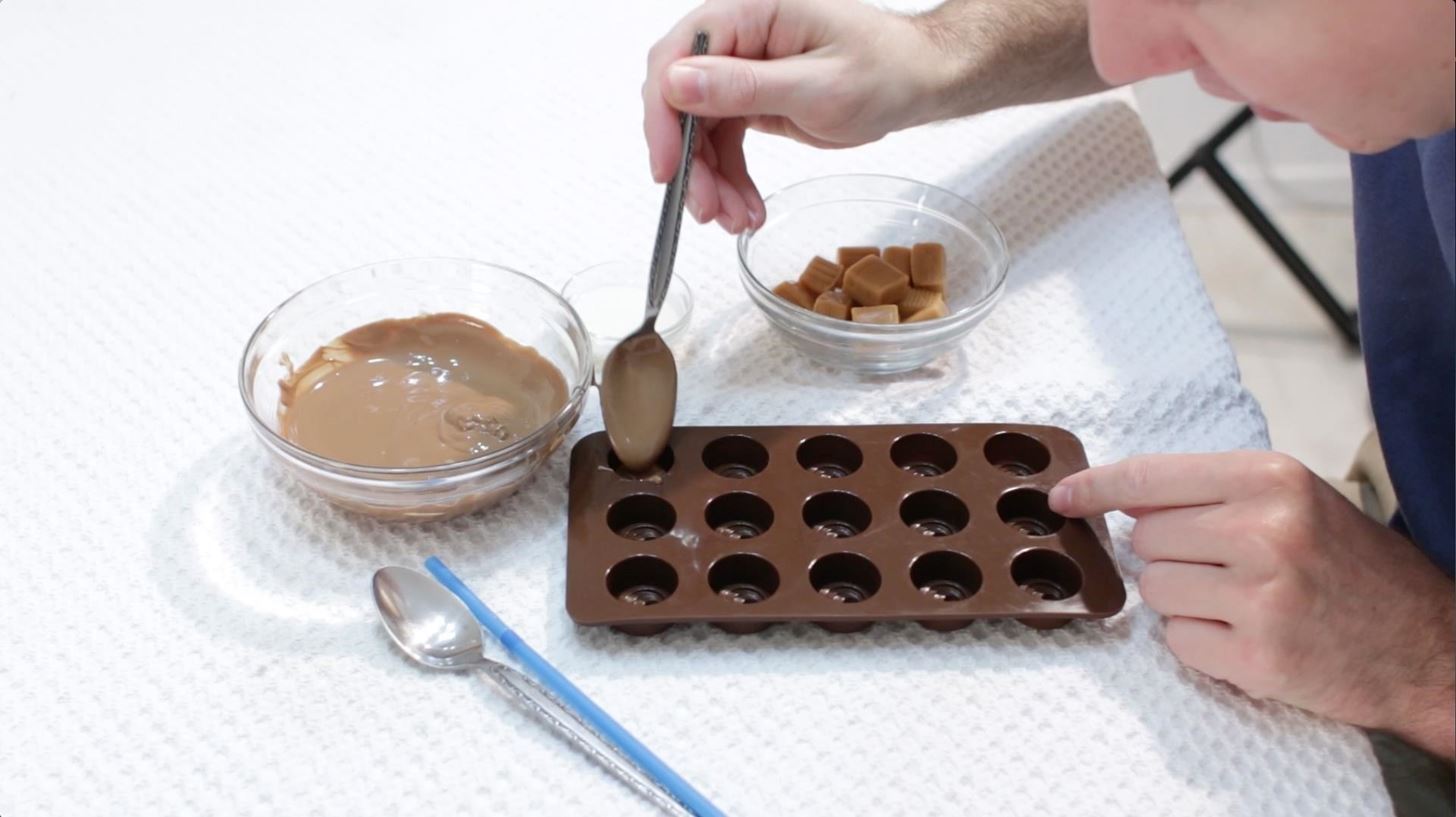
Now we want to melt our chocolate. I am using a Hershey's Symphony bar. I really like the taste, but you can use whatever kind of chocolate that you like. Chocolate chips will work find too, or candy melts. I would suggest using chocolate candy melts, if you are going to have these sit at room temperature for a long time, like for a party or something, otherwise if you use real chocolate you will need to temper that chocolate. Or just keep the treats cool so they don't get too soft at room temp. I just store mine in the fridge. To melt the chocolate I am using the microwave, just put the bowl in the microwave, and microwave on high for 30 seconds, then stir with a spoon, then microwave again on high for 25 to 30 seconds, then stir, then 10 seconds. The chocolate should be nice and melted at this point. Now spoon a little bit in each piece. About a third of the way full.
Step 4: "Paint" the Sides of the Mold
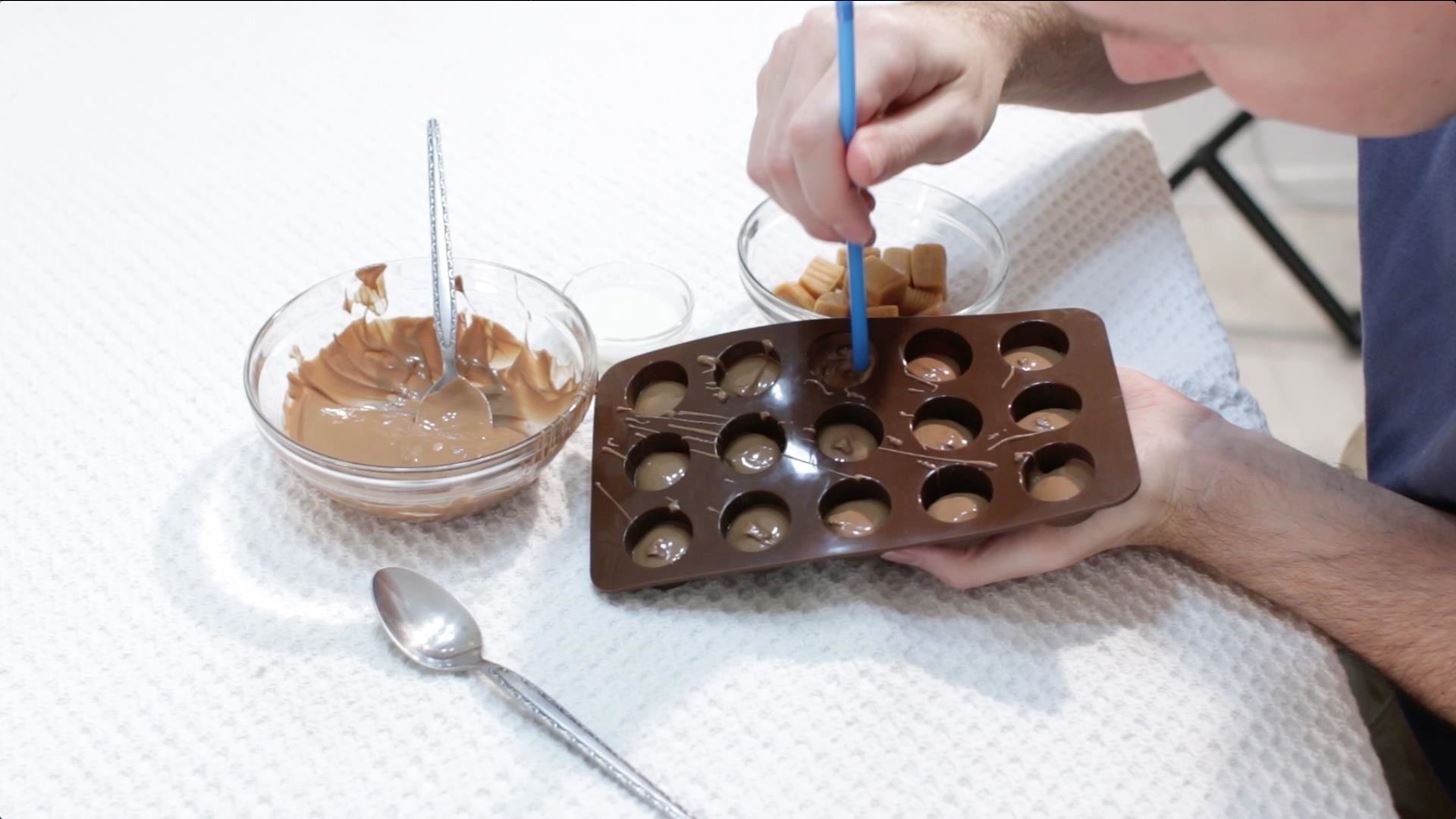
Now we need to "paint" the sides of the mold with a straw or some sort of tool. I like to use straws because they are cheap and I can just throw them away after. Just dip the straw in the chocolate and move it around the insides walls of the mold. The reason we paint the sides of the molds with chocolate is we want to create a little crater of chocolate for the caramel to set in, this way we won't see any caramel. But if that is the look you are going for, then skip the painting part. Now just place the mold in the fridge for the chocolate to set, about 20 minutes.
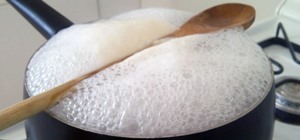
Step 5: Melt the Caramel
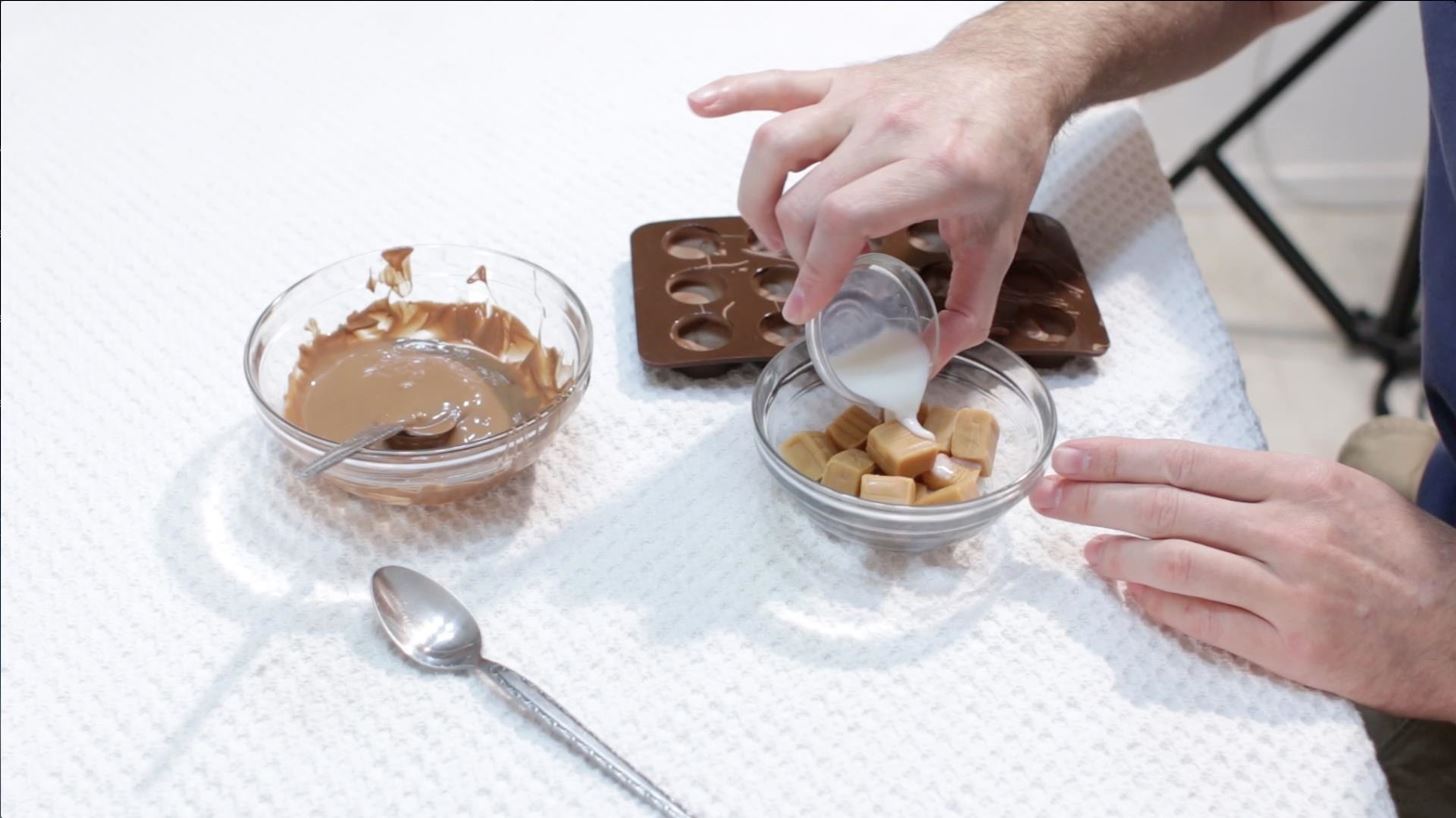
After the chocolate sets, we add our milk or cream to our caramel. We add the milk or cream because this will keep the caramel from getting really hard after it sets. Just like we did with the chocolate let's melt our caramels with the milk or cream in a small bowl in the microwave, start with 30 seconds, stir, 30 seconds stir, 10 seconds.
Step 6: Fill, Top Off, Tap
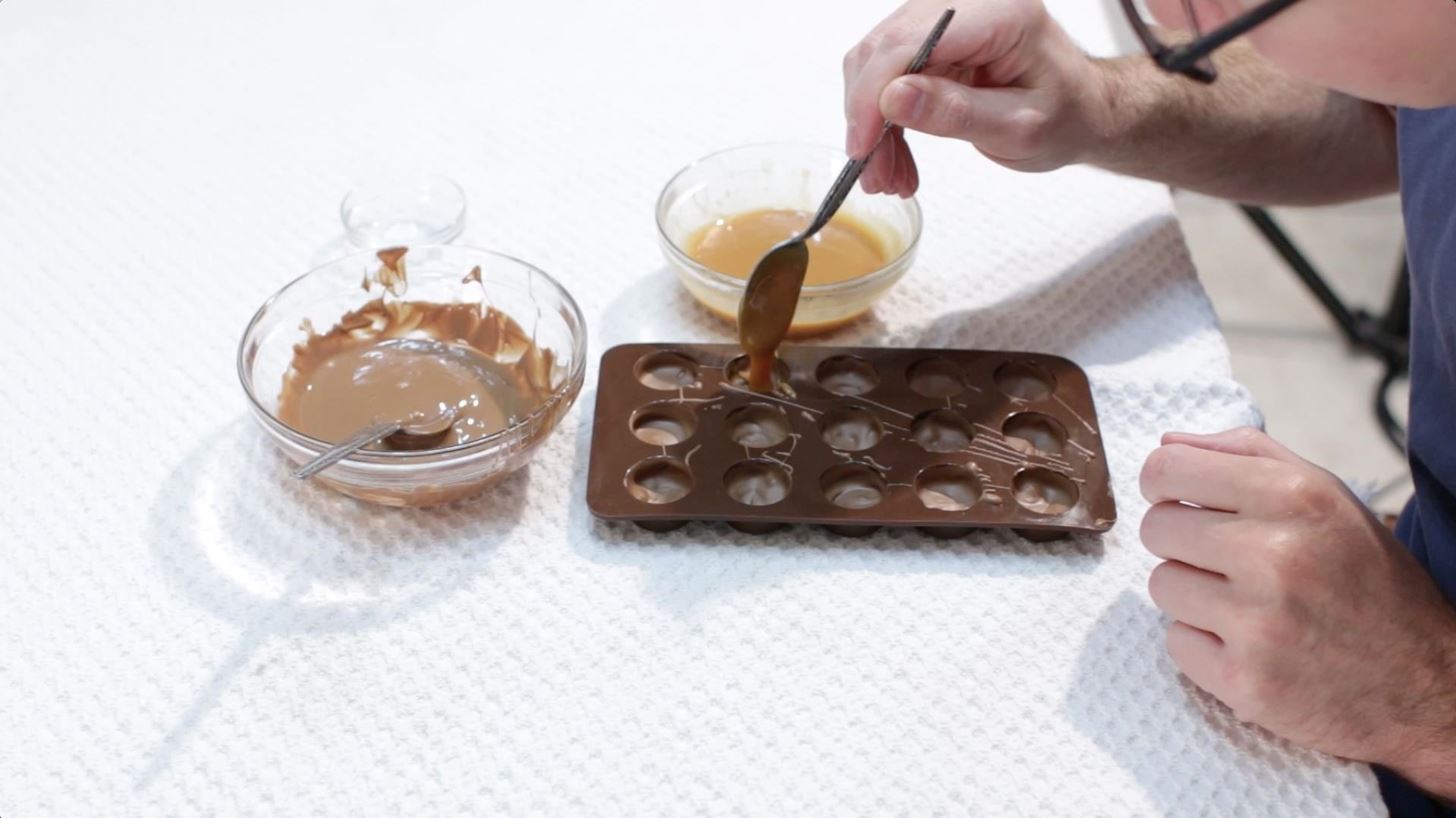
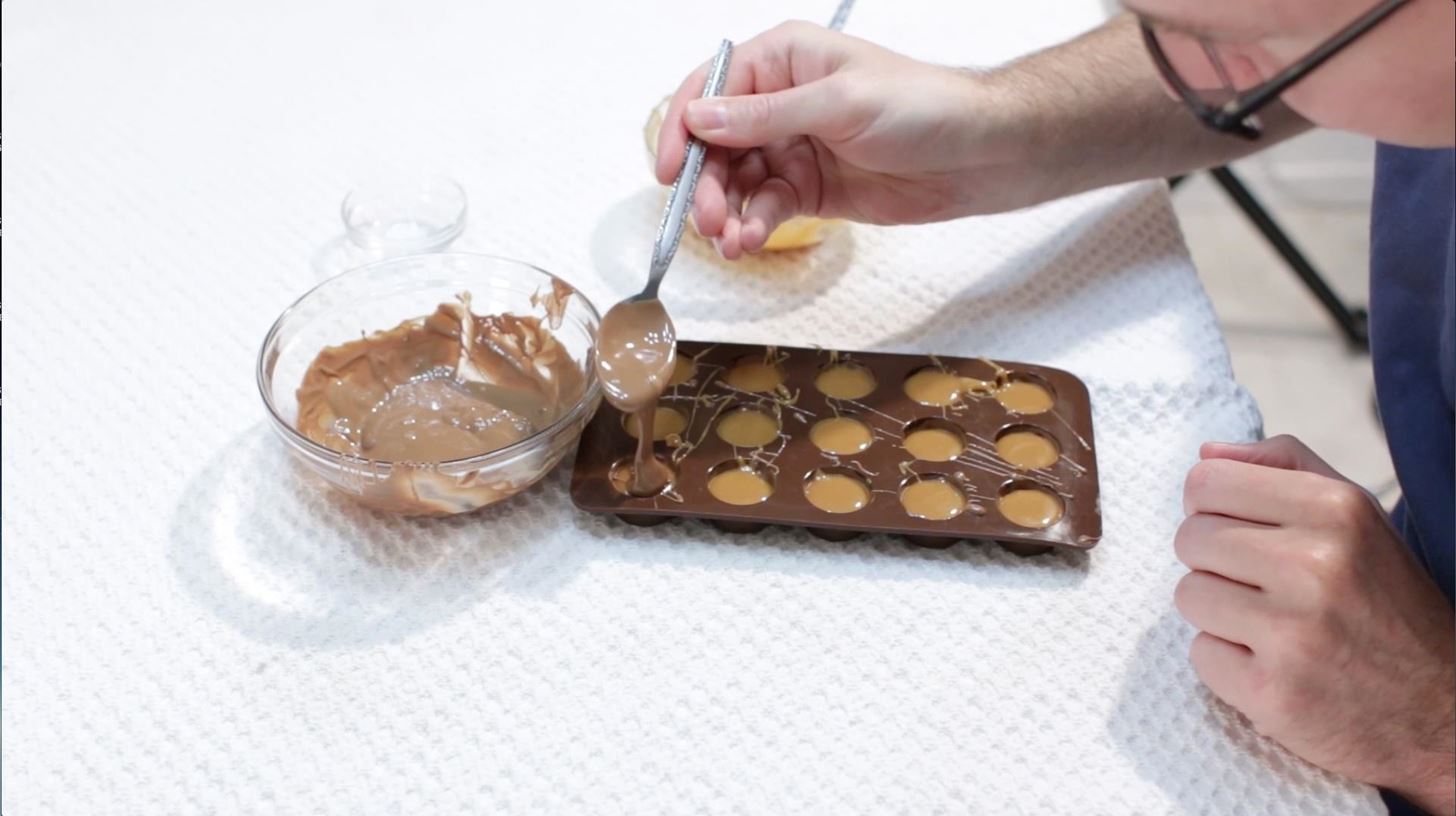
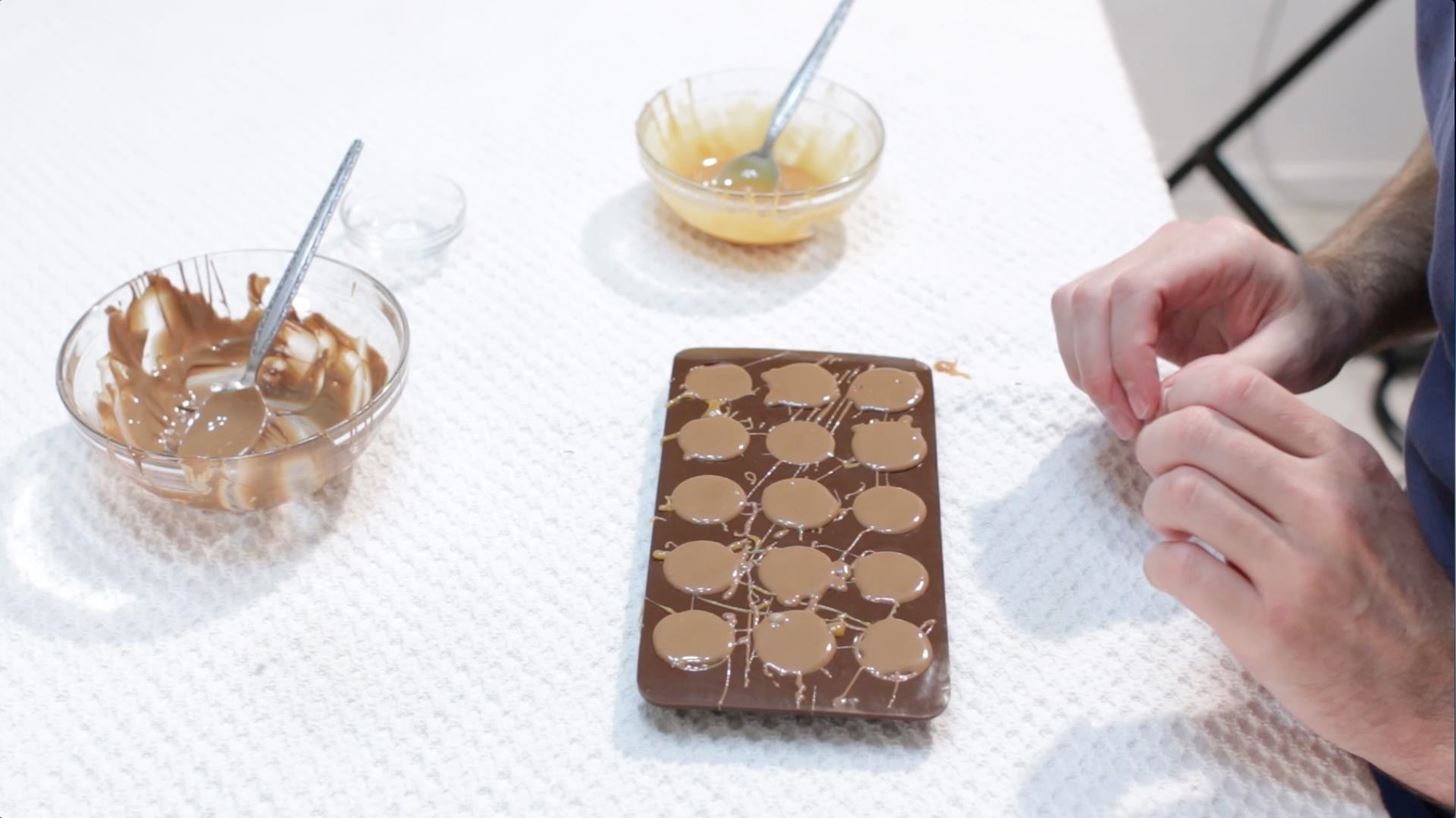
Now we take our melted caramel and fill up the little chocolate craters until they are almost full. Then we cap them off with more chocolate. At any time during this step, your caramel or chocolate gets too thick to pour, go ahead and pop it back in the microwave for 10 seconds. After we cap them off with chocolate gently tap the mold on the counter for the tops to even out. Now place it in the fridge for about 20 to 30 minutes to fully set. If you are in a hurry, the freezer works great too.
Step 7: Remove the Candy from Molds
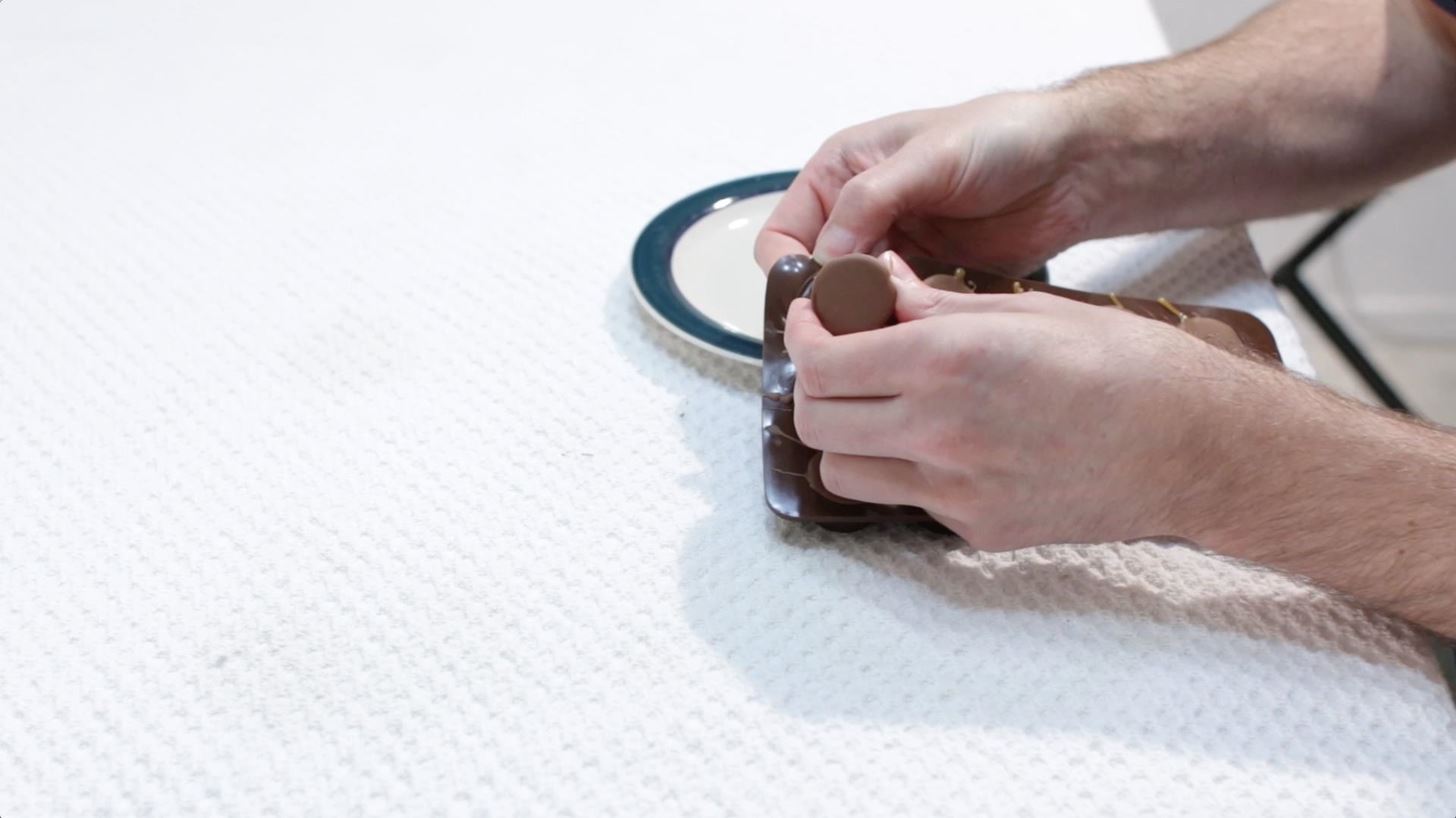
Now after our chocolate and caramel has set we are ready to remove the tasty morsels from their homes. Using your finger just push up on the bottom and they will pop out. You also can gently tug on the sides of the molds to help them release the chocolate. There you go! Awesome homemade Rolos, that in my opinion, are better then the real thing. :) Enjoy!


Be the First to Respond
Share Your Thoughts