

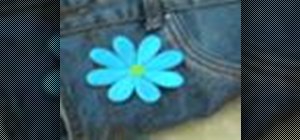
Is you favorite pair of jeans suffering from a hole in the knee? No problem. Extend the life of your clothing by using patches to cover worn or torn areas, or to embellish tired items and give them a fresh new look.
You Will Need:
• Old or worn clothing
• An iron-on patch
• Scissors
• A pillow case
• An iron and ironing board
• Fabric and iron-on adhesive tape (optional)
Step 1: Prepare garment and patch
Prepare your garment and the patch by ensuring that both are clean and dust free. This will allow the patch to adhere more securely to the clothing fabric.
Step 2: Trim frayed area
Trim frayed areas around the hole or worn area with the scissors. Leave a bit of fray around a hole for the patch to adhere to.
Step 3: Position pillowcase and press garment
Position the pillowcase over the area to be patched and iron your garment through the pillowcase.
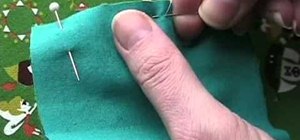
Step 4: Align patch
Align the patch with the hole or frayed area, making sure it provides complete coverage. Position the pillowcase over the patch to provide a buffer between the fabric and the iron to prevent scorching.
Step 5: Iron patch
Iron the patch to your garment securely by pressing down firmly and passing the iron over the area four or five times.
Step 6: Let garment cool
Let your garment cool for at least an hour without moving it. Once the glue adheres, the patch will be set.
Trivia: Fashionable people in the 18th century adorned themselves with facial patches to hide pox scars and other marks.
Just updated your iPhone? You'll find new emoji, enhanced security, podcast transcripts, Apple Cash virtual numbers, and other useful features. There are even new additions hidden within Safari. Find out what's new and changed on your iPhone with the iOS 17.4 update.


Be the First to Comment
Share Your Thoughts