

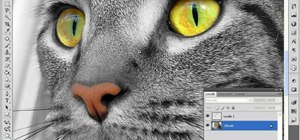
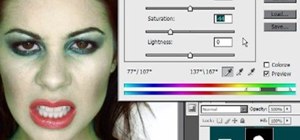
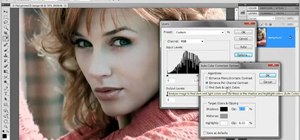
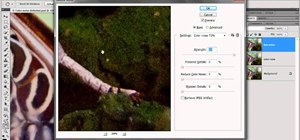
This video teaches us to make a photo black and white with coloured parts in Photoshop. This procedure consists of many steps. In the first step, we choose the magnetic lasso tool from the application. This is followed by the second step. In the second step, we draw the contours of the places we want to stay colored in the photo. Press the 'Shift' key to keep the contours selected while drawing contours across multiple places in the image. After drawing the contours, go to step three. Right click on the mouse above the selected part and choose 'Feather'. Write 2 or 3 in the text box for pixels. Press 'OK'. Choose the layer via copy. The selected parts are in the different layer. Now modify the color in the first layer. Go to 'Image', 'Adjustments' and 'Black and White'. This finishes the task.
Just updated your iPhone? You'll find new emoji, enhanced security, podcast transcripts, Apple Cash virtual numbers, and other useful features. There are even new additions hidden within Safari. Find out what's new and changed on your iPhone with the iOS 17.4 update.


Be the First to Comment
Share Your Thoughts